Vegan Chive Pesto
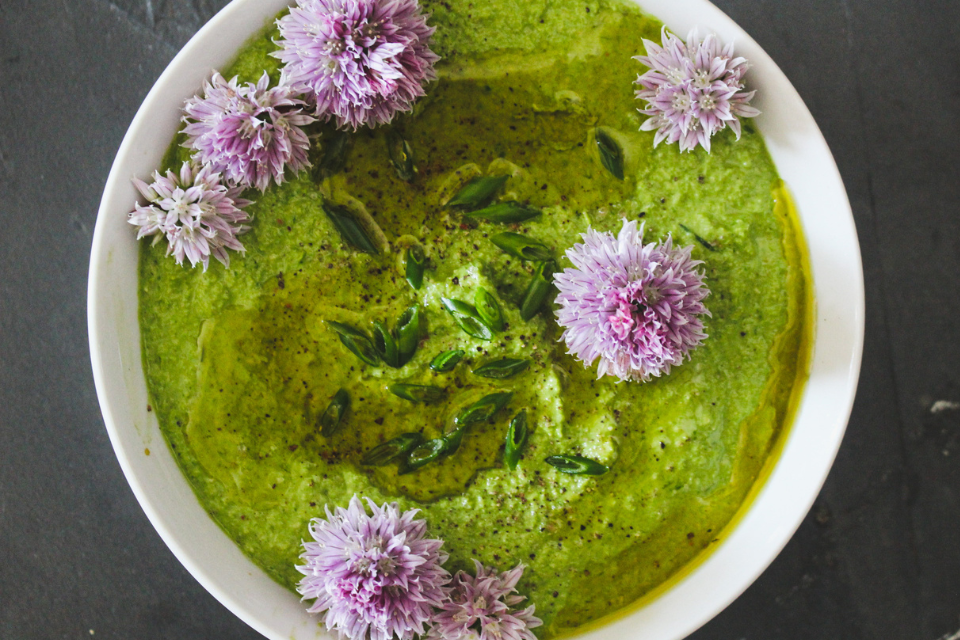
Chives are one of those herbs that keep giving all season long, but they only bloom once throughout the season. And when that happens, I typically rush to make all types of delicious chive recipes! Like this Easy Vegan Chive Pesto garnished with chive blossoms. It’s a light and refreshing Spring dip! You’ll also find links at the end of this post to a few of my many other favourite chive recipes.
Best Chive Pesto Recipe
I may be biased, but I consider this the best chive pesto recipe because it’s easy to make, super flavourful and easily adaptable based on what ingredients you have on hand. Plus, it’s vegan!
The nut base for my chive recipe is cashews, but pine nuts or almonds would work well too! Alternatively, you can make this pesto nut-free and use sunflower seeds instead.
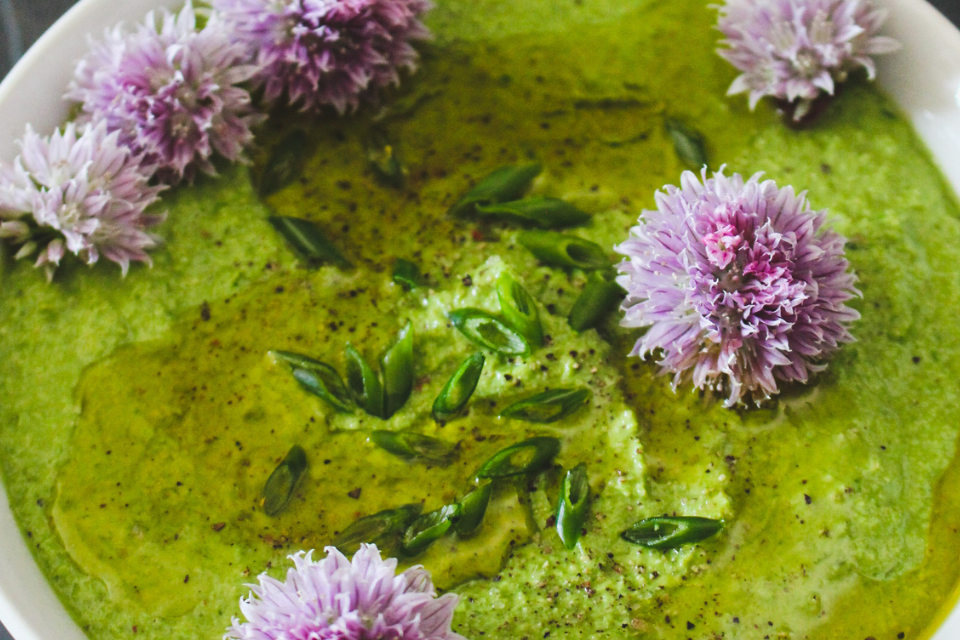
I also love this recipe because of the bright, green colour the chives give the vegan pesto. It doesn’t only taste like Spring, it looks like Spring!
How To Make Chive Pesto
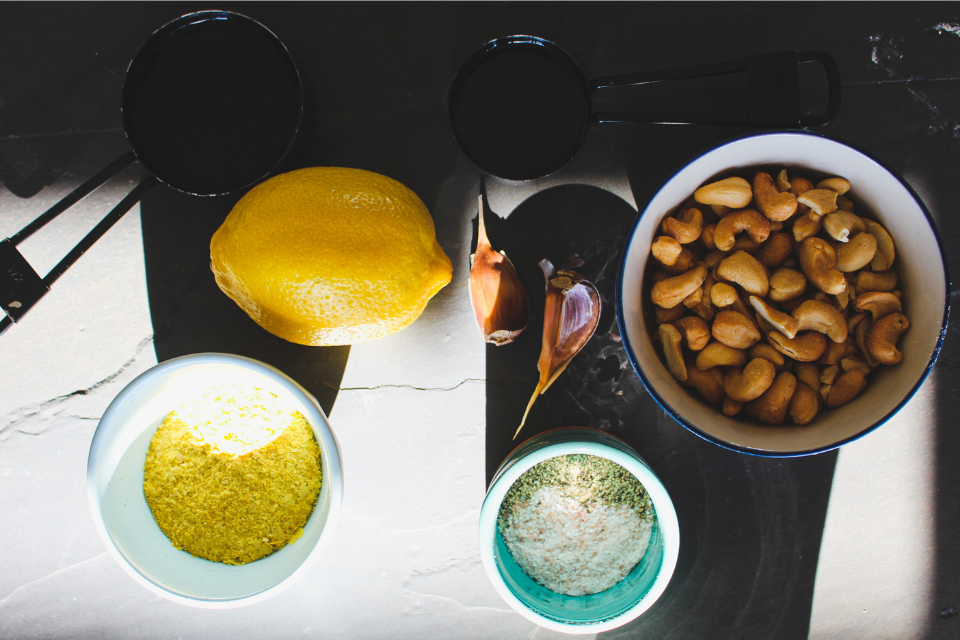
For this easy vegan chive pesto recipe, you’ll need 10 basic ingredients:
- Fresh chives — ideally from your own garden!
- Lemon juice
- Cashews — or another nut of your choice
- Nutritional yeast — a must for veganizing this recipe
- Garlic
- Shallots — optional, but tasty!
- Olive oil
- Water
- Salt & pepper
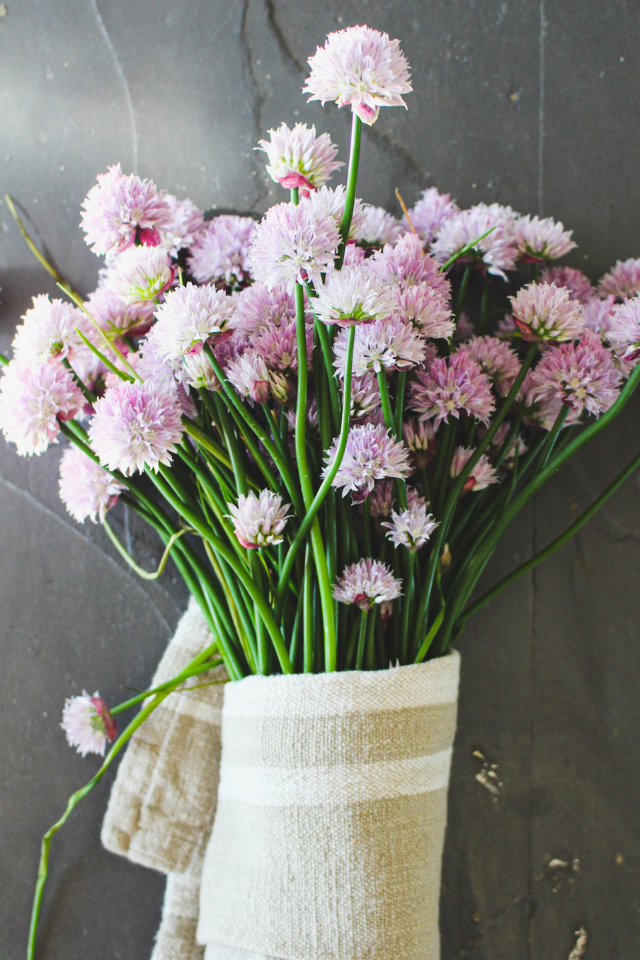
The first step to making vegan chive pesto is removing the blossoms from the chives.
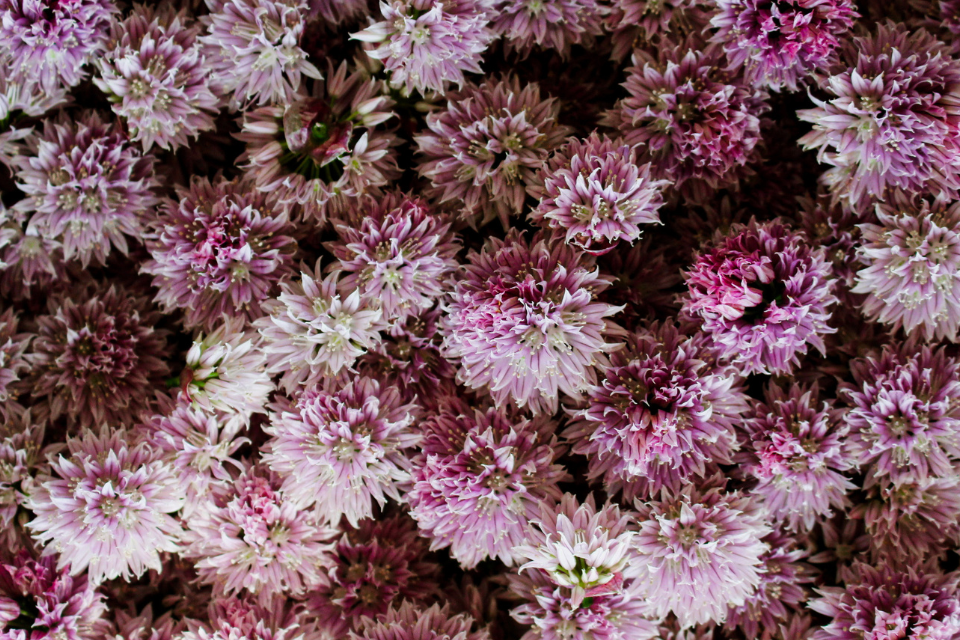
Gently remove the blossoms from the chives with your fingers. Pinch below the flower and it will come away.
Be sure to keep a few flowers for garnish. It really elevates the presentation of the chive pesto.
Next, add all ingredients to a food processor or high speed blender (I like using a Vitamix).
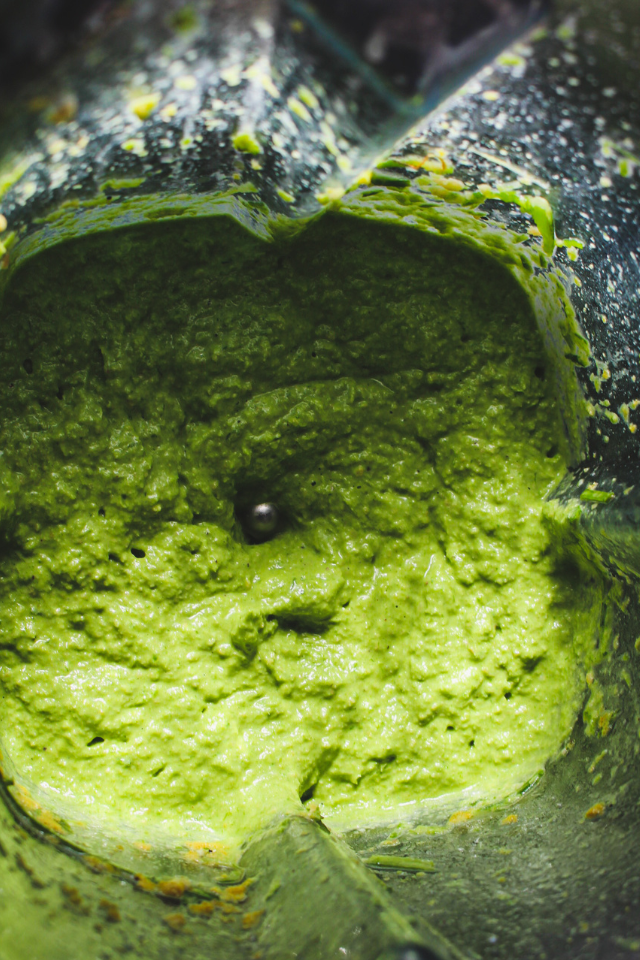
Blend for 10-15 seconds at a time. You don’t want to purée the pesto too much. The nuts should still add some texture to the dip.
Be careful not to overblend by pulsing for a few seconds, checking the consistency and then pulsing again.
Add small amounts of water as you blend until consistency is smooth. Be sure to also taste as you blend. Add additional salt, pepper and lemon juice as needed.
Then, garnish with chopped chives, chive blossoms, salt, pepper and olive oil.
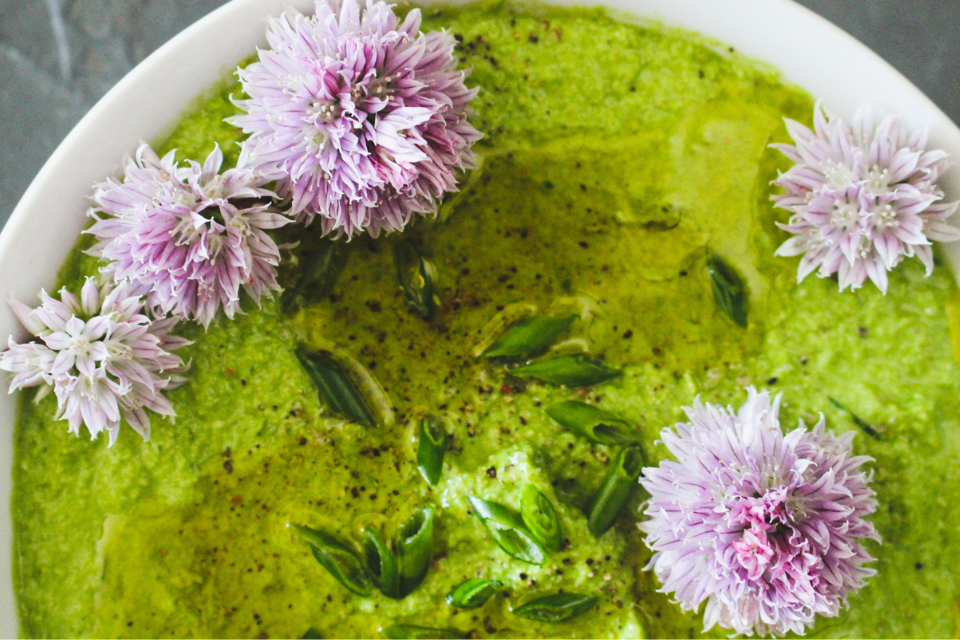
You can enjoy chive pesto as a dip with crackers and veggies (my go-to!) or you can use it as a traditional pesto for pasta.
I love adding Spring peas and sundried tomatoes with it in a pasta dish. So fresh-tasting.
The 10 Best Recipes For Chives
All recipes are either plant-based or can be easily veganized!
Note: Recipes with * are for chive blossoms.
- Chive Salt by Burch Acres
- Green Goddess Dressing by From My Bowl
- Cheesy Potato Chive Galette by Half Baked Harvest
- Spiralized Beets with Balsalmic Chive Dressing by Inspiralized
- Crushed Sour Cream Potatoes with Chives by Alison Roman
- *Easy Chive Blossom Vinegar Recipe by Urban Farm & Kitchen
- Vegan Ranch Dressing by Ela Vegan
- *Chive Blossom Biscuits by Getty Stewart
- Creamy Cucumber & Chive Salad by Paleo Leap
- Chive & Chickpea Herby Stew by Half Baked Harvest
Vegan Chive Pesto
- Prep Time: 10 minutes
- Cook Time: N/A
- Total Time: 10 minutes
- Yield: 4-6 1x
Description
Light and refreshing, this vegan chive pesto works great as a dip for crackers and veggies, or as a spread on toast, or as a sauce on pasta. So many possibilities!
Ingredients
Large bunch of garden chives chopped (approx. 2 1/2 cups)
Juice from one large lemon
2 large cloves of garlic
1 small shallot or 1/2 a yellow onion chopped
1/4 cup olive oil
1/4 cup nutritional yeast
1/2 cup of soaked raw cashews
1–3 tbsp of water (add gradually as needed)
1 tsp of coarse salt
1 tsp of pepper
Instructions
1. Place cashews into a small bowl and add warm water, then let sit for 1-2 hours. Or for a quicker approach, add boiling water to cashews and let sit for 15-30 minutes. Cashews are ready when they can be cut in half with a spoon. Set aside until ready to add to pesto.
2. Harvest chives from your garden by using sharp, clean kitchen scissors and cutting near the base of the plant. Alternatively, purchase a large bunch of chives from your local farmer’s market.
3. Gently remove flowers from chives by pinching off with your fingers. Set a few aside to be used as garnish (see above for additional recipe ideas for chive flowers). Once flowers are removed, rinse chives under water then roughly chop into 1-2 inch pieces.
4. Add chives to a high powered blender or food processor (I use my Vitamix) along with the lemon juice, garlic, shallot, olive oil, nutritional yeast, soaked cashews, salt and pepper.
5. Blend on high for 15-20 seconds or until all ingredients are combined. Turn off blender/food processor and add 1 tbsp of water. Blend again for another 5-10 seconds, adding 1-2 tbsp of additional water as needed. Be careful not to over blend. Pesto is ready when it’s smooth but still has some small chunks from the cashews.
7. Use a spatula to remove pesto from blender/food processor and place into a small serving bowl. Garnish with additional salt, pepper, olive oil and a few chive blossoms.
8. Serve as a dip with crackers and vegetables or use as a pasta sauce.
Enjoy!
I got your url from a college who lives in your neighbourhood. So cool as I was just looking for chive flower recipes beyond putting them in salad. One question? so you use the stems the flowers are on for the pesto, or just the flowers.
Hey Monica! This recipe calls just for the stems to be blended into pesto. The flowers are used for garnish only, however you’ll find other recipes linked in this post for ways to use chive blossoms.