How To Grow Artichokes In A Short Growing Season (Complete Guide For Zone 3-5)
Artichokes are one of those vegetables that are not only eye catching in a home veggie garden, but so unexpected too. I love the look of surprise on people’s faces when they see us growing artichokes in our Zone 3 garden. And yes, it is very possible! Though artichokes can be a bit trickier than other veggie crops, they’re not necessarily hard to grow. Especially not with these tips and tricks I’ve learned over the years! So let me walk you through how to grow artichokes in a short growing season. Consider this your complete guide for Zone 3,4 and 5.
Artichoke Quick Growing Notes:
Vegetable: Artichoke

Latin name: Cynara scolymus

Difficulty level: Moderate

Life cycle: Annual (not a perennial in Zone 3-5 climates or colder)

Sun exposure: Full-sun

Days to maturity: 85-95 days

Timing: Start indoors as early as January for Zone 3 and as late as mid-March for Zone 5

Planting seed depth: Sow seeds 1/2" deep

Soil needs: Well draining soil that's been well-amended with compost and organic fertilizer
This post covers (click any link to be brought directly to that section):
- Can artichokes grow in Zone 3–5?
- What are the best artichoke varieties for short growing seasons?
- How to start artichoke seeds indoors & timing for Zone 3-5
- How to properly transplant artichokes seedlings and vernalization (cold exposure)
- 3 top tips for soil, watering and caring for artichoke plants
- How often to fertilize artichoke plants in the home garden
- How to harvest artichokes and end-of-season care guide
Can artichokes grow in Zone 3–5?
The answer is absolutely yes, you can grow both ornamental and edible varieties of artichokes in Zone 3, 4 and 5.
Now there’s a key thing to remember when growing artichokes in short growing seasons…
If you’re growing artichokes in colder climates, they must be treated as an annual plant.
In warmer regions, artichokes can be overwintered and will survive as perennial plants. However, this is not the case in Zone 5 or colder. The growing season is simply too short and the Winters too cold.
So with that being said, be sure to select an artichoke variety that requires fewer days to maturity. Plus if growing edible artichokes, look for a variety that will produce fruit in its first year.
More on my favourite artichoke varieties for Zone 3,4 and 5 next!
What are the best artichoke varieties for short growing seasons?
This is a really important question! Because selecting the right artichoke variety is the only way you’ll succeed in a colder region.
There’s two key things to look for when choosing the right artichoke variety for Zone 3, 4 & 5.
Choose artichoke varieties bred for early maturity and annual production.
These are artichokes that will produce either edible buds or ornamental flowers before summer ends — unlike many traditional artichokes that need two years to flower!
So what artichoke variety should you choose if you live in a cold climate?
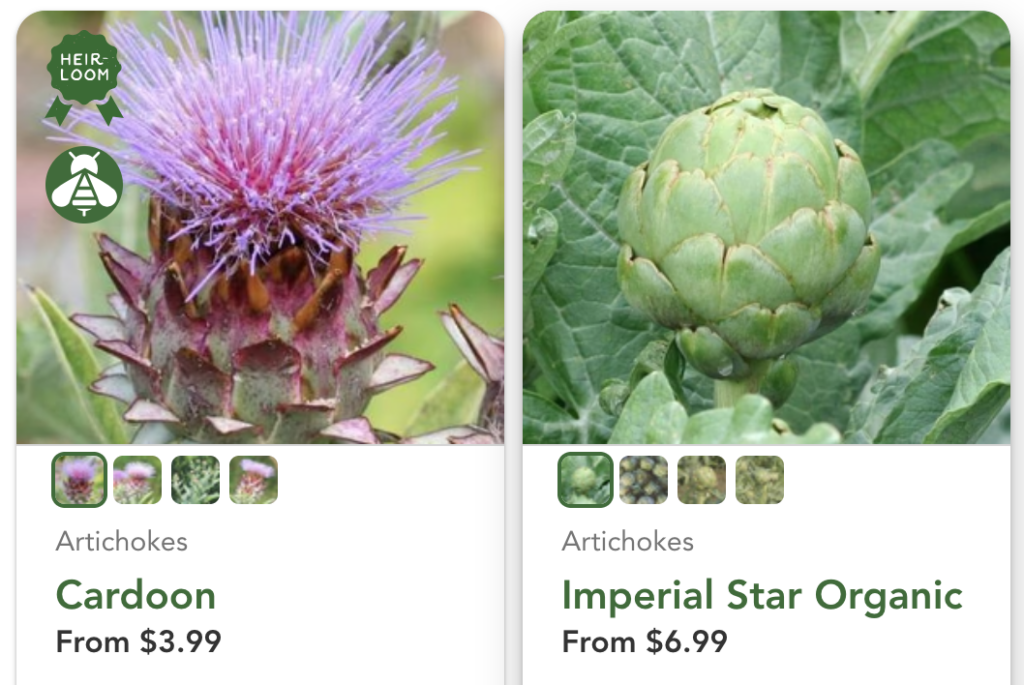
Here’s the two varieties we’ve had success with in our Zone 3 garden:
- Imperial Star — produces 4-8 uniform fruit per plant, really meaty and delicious! Highly recommend, we’ve had a ton of success with these artichokes here in our Zone 3 garden.
- Cardoon — ornamental flowering artichoke that flowers in its first season. If you’re looking to add visual interest to your flower beds or cut flower bouquets, this is it!
How to start artichoke seeds indoors & timing for Zone 3-5

To succeed growing artichokes in Zone 3,4 & 5 it’s best to start seeds indoors during Winter.
Personally, I’ve started our artichoke seedlings indoors under grow lights as early as January. However, you could easily push this to mid March (especially if you’re in Zone 4-5). Just expect your harvest to be a bit later in Summer or early Fall.
But what’s the exact timing to start artichoke seedlings indoors?
That sweet spot is about 12-14 weeks or so before your average last Spring frost date.
Artichoke seedlings are actually pretty slow to germinate and get going. So starting them nice and early indoors under grow lights gives them a head start.
3 easy steps for starting artichoke seeds indoors
Step 1: Create your seed starting soil blend
Artichokes are heavy feeders from day 1. So I like to add a little compost or worm castings to my seed starting soil blend.
My soil blend is simple: Pro-Mix Veggie & Herb Potting Soil with a small handful of perlite and sprinkle of compost or worm castings.
More of my seed starting content here!
Step 2: Sow seeds 1/2″ deep in a cell tray
Artichoke seeds are comparable in size to a cucumber seed. So fairly large!
I’ve had the strongest germination rates when I plant the seeds about 1/2″ deep. I like to plant one seed per cell.
But you could easily do two seeds per cell if you have limited space. Just be prepared to pot-up your seedlings sooner if you go in that direction.
Step 3: Keep seedlings on a heat mat during germination, then under grow lights and a fan until ready to be moved outdoors
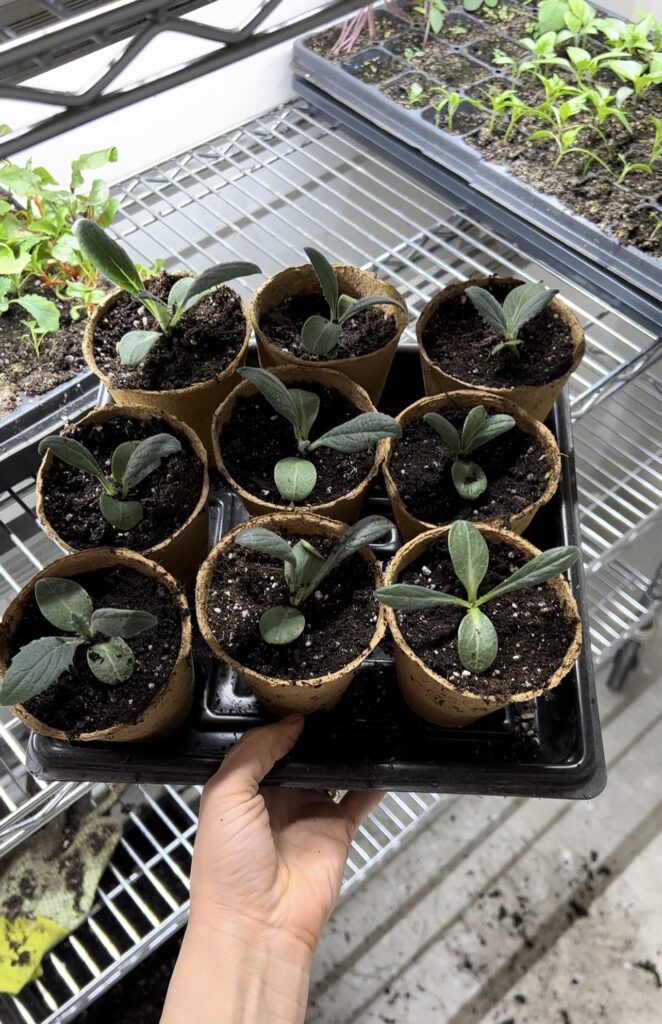
Lastly once your seeds have been planted into damp soil, cover them with a humidity dome.
Then place the covered trays on a heat mat under full-spectrum grow lights.
A heat mat will speed up germination significantly! We love this one from Vivosun.
When it comes to grow lights, our personal preference are these LED full-spectrum T5 grow lights from SunBlaster.
We keep our grow lights on for about 10-12 hours a day, turning them on when we wake up and off before bed.
Lastly, add a fan on your seedlings to maintain good ventilation, which is a huge help in reducing disease. A fan will also help prepare them for natural wind that they’ll eventually be exposed to outdoors.
How to properly transplant artichokes seedlings and vernalization (cold exposure)
Vernalization is the practice of exposing seedlings to cold temperatures before transplanting them in the ground.
From what I understand, this is key if you are growing an artichoke variety that requires two growing seasons to bud.
However I’ve found it helps annual artichokes produce fruit faster too. So I like to apply the method!
How to expose artichoke seedlings to cold (vernalization practice)
My approach is simple!
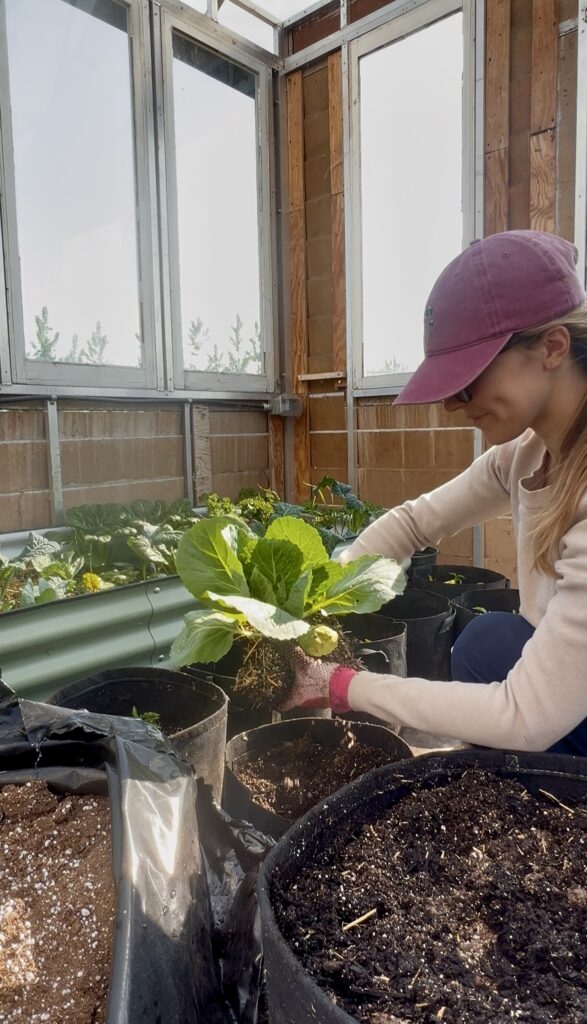
I use my unheated greenhouse as a vernalization space. I move our artichoke seedlings from indoors out to the greenhouse when the average night time temperature is no colder than approx. 5°C.
They then live in the greenhouse space for 2-3 weeks before I transplant them outside.
If you don’t have a greenhouse, you can follow a similar approach but keep the artichokes outdoors during the daytime only for a week, bringing them in at night.
Then after a week or so, keep them outdoors over night as well.
This gradual approach will ensure your seedlings don’t get transplant shock as they’ll already be used to the outdoor elements.
3 top tips for soil, watering and caring for artichoke plants
Artichoke Growing Tip 1: Transplant into rich soil, artichokes are heavy feeders!
Amend your soil before transplanting your artichokes.
I like to mix in by hand an organic bagged compost. Your local garden centre should have something in stock. Or if you make your own, even better!
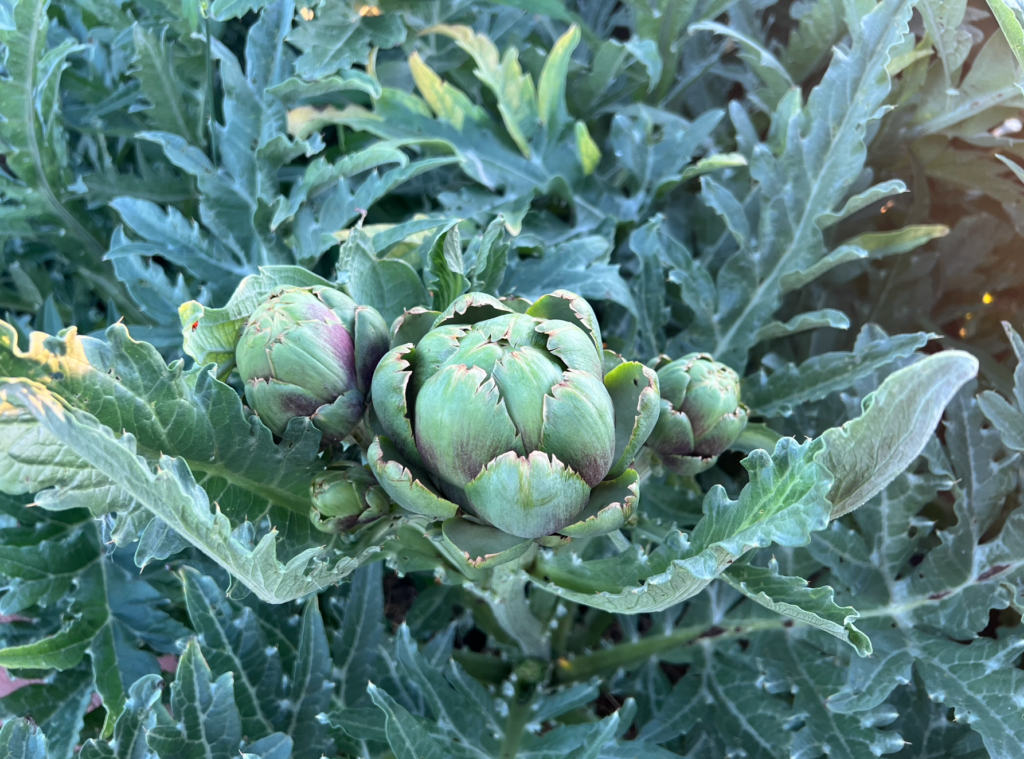
Artichoke Growing Tip 2: Space artichoke seedlings at least 12″ apart, the plants will get bushy and an average of 40″ tall!
Folks are always surprised at how big artichokes plants are at full maturity.
The leaves get broad and spiked while the fruiting buds shoot upwards from the middle. So space your seedlings at least 12″ apart so they have lots of room to mature.
Artichoke Growing Tip 3: Set-up a watering system or schedule of sorts to maintain consistency, this is key for buds to produce!
Consistent watering is so important for artichokes to produce fruit.
We love this drip irrigation system and run it daily in the early mornings.
If watering by hand, be sure to get out there daily if there’s no rain in the forecast. And of course, add mulch! If you’ve read my content before, you know I love mulching all my beds with straw mulch to retain moisture.
Mulched beds = less watering!
How often to fertilize artichoke plants in the home garden
Personally, I aim to fertilize all my veggie crops, including artichokes, twice throughout the growing season.
Now exactly how often you should fertilize your artichokes is dependent on two things:
First, how nutrient rich your soil is to begin with.
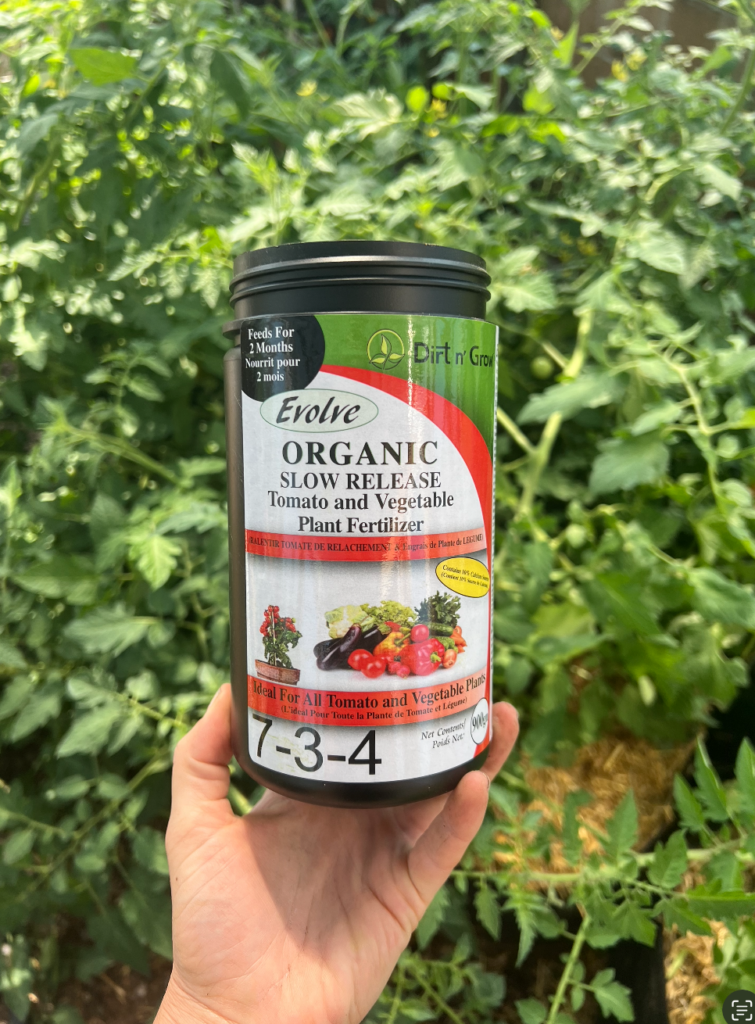
If you amend your soil at the start of the season with compost and/or a slow-release organic fertilizer (like the Evolve Organic one!), then you will probably only need to fertilize your artichoke plants once more throughout the growing season.
The second factor that will influence how often you fertilize your artichokes is the type of fertilizer you’re using.
For example like the name suggests, a slow-release granular fertilizer will slowly give your plants nutrients over several weeks.
So you could easily apply it once maybe twice throughout the season and your artichokes would have enough nutrients.
But if you’re choosing a liquid fertilizer, it will likely be faster acting. Your plants will absorb it immediately but not have the nutrients accessible long-term. In that case, you’d want to fertilize more often.
To keep it simple, fertilize at least once throughout the season and more if you are finding your artichoke plants aren’t budding.
The great thing about organic fertilizer is you can’t over do it and hurt your plants! If anything you’ll just have some wasted nutrients. No big deal!
When and how to harvest artichokes and simple cooking suggestions
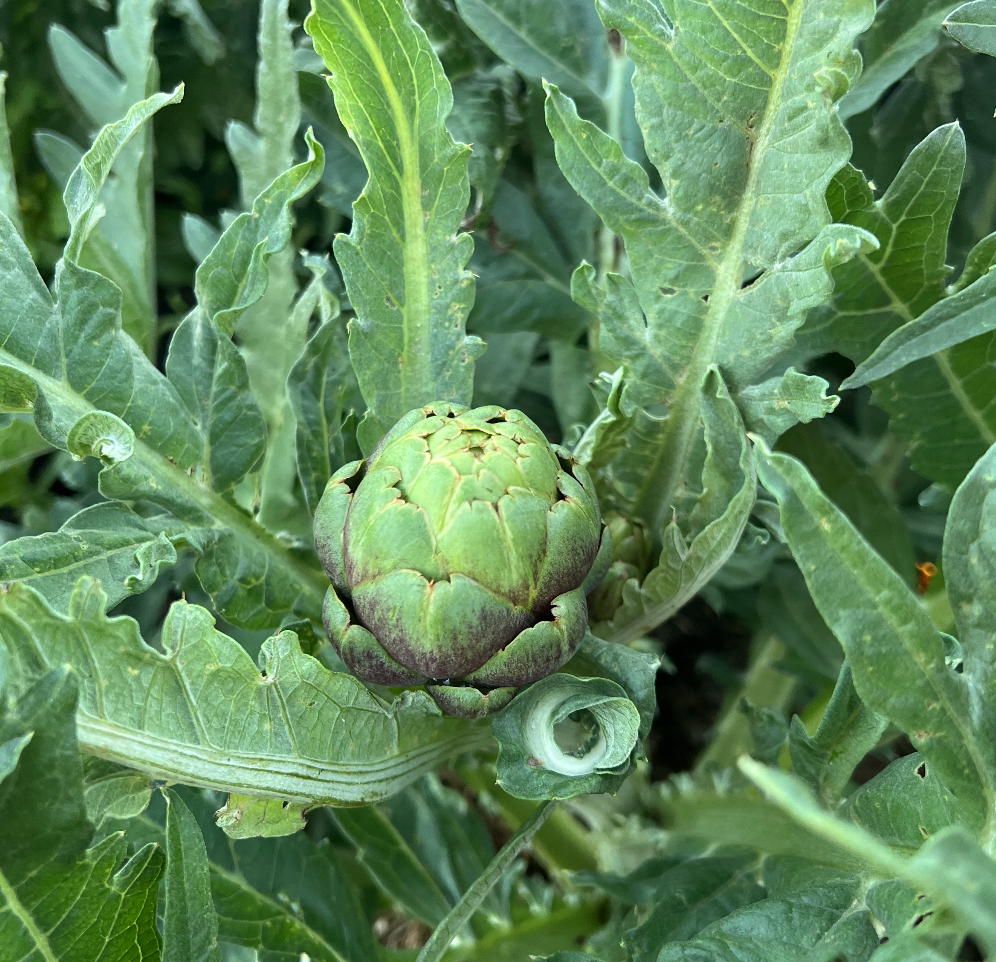
The first question is when do you know it’s time to harvest your artichoke buds?
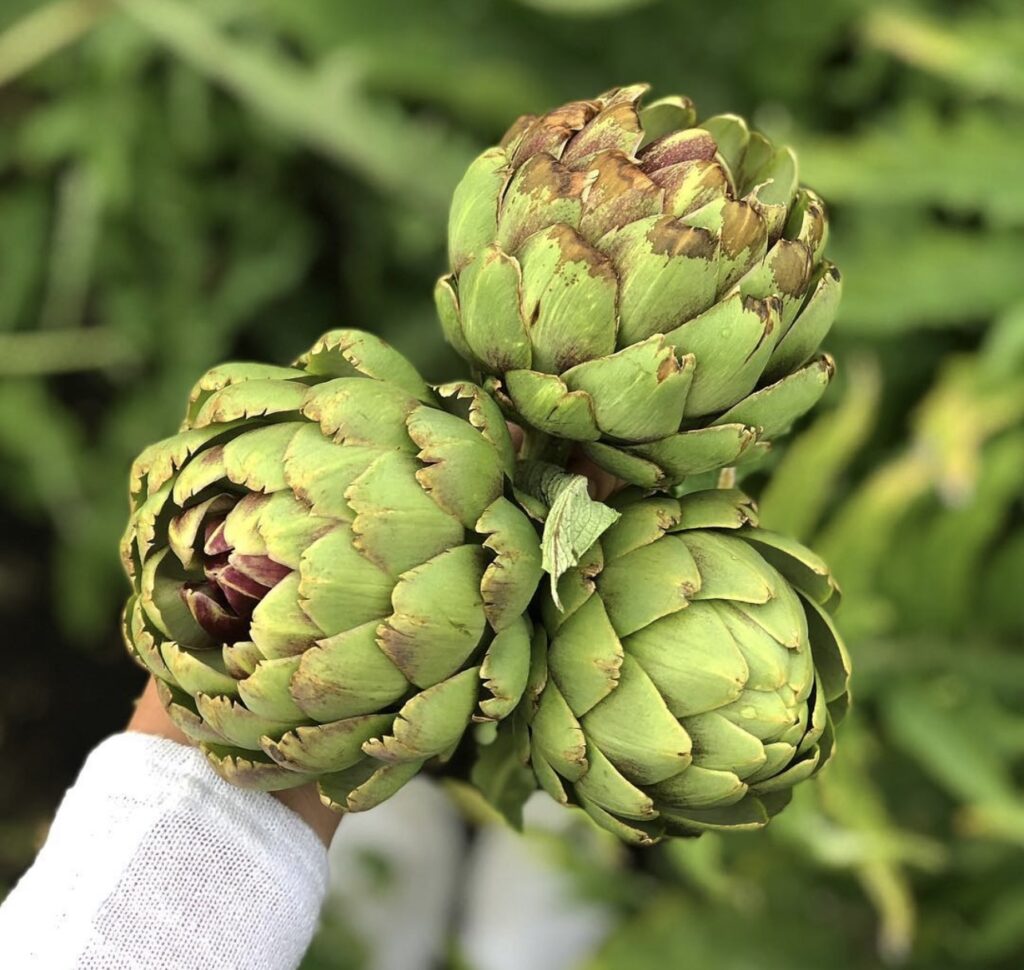
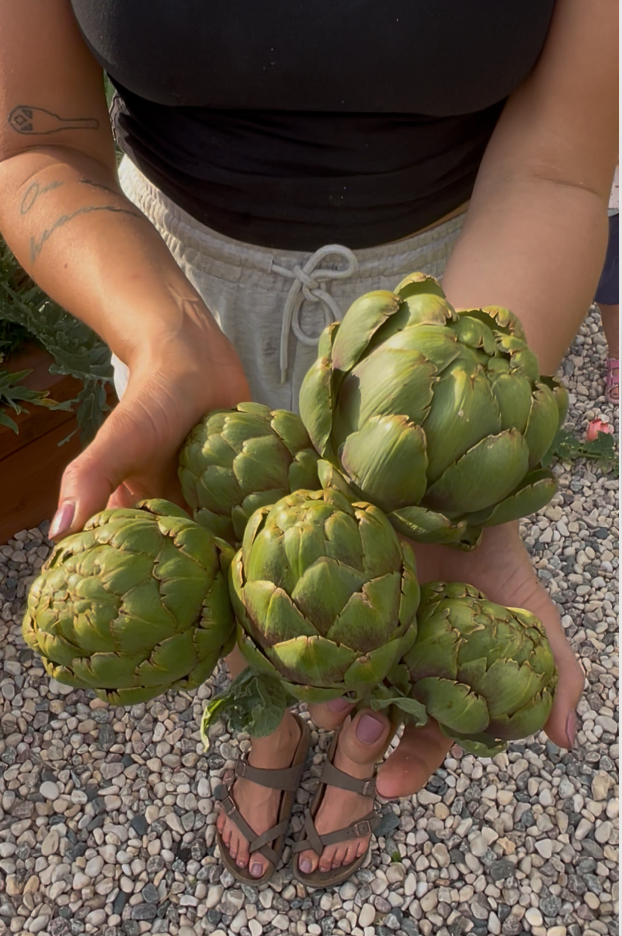
In our experience, artichokes taste best when harvested early and when the petals are still tightly tucked.
You want your fruit to be uniform and have not yet opened up.
Another tell tale sign you’ve waited too long to harvest your artichoke is if the petals start turning purple.
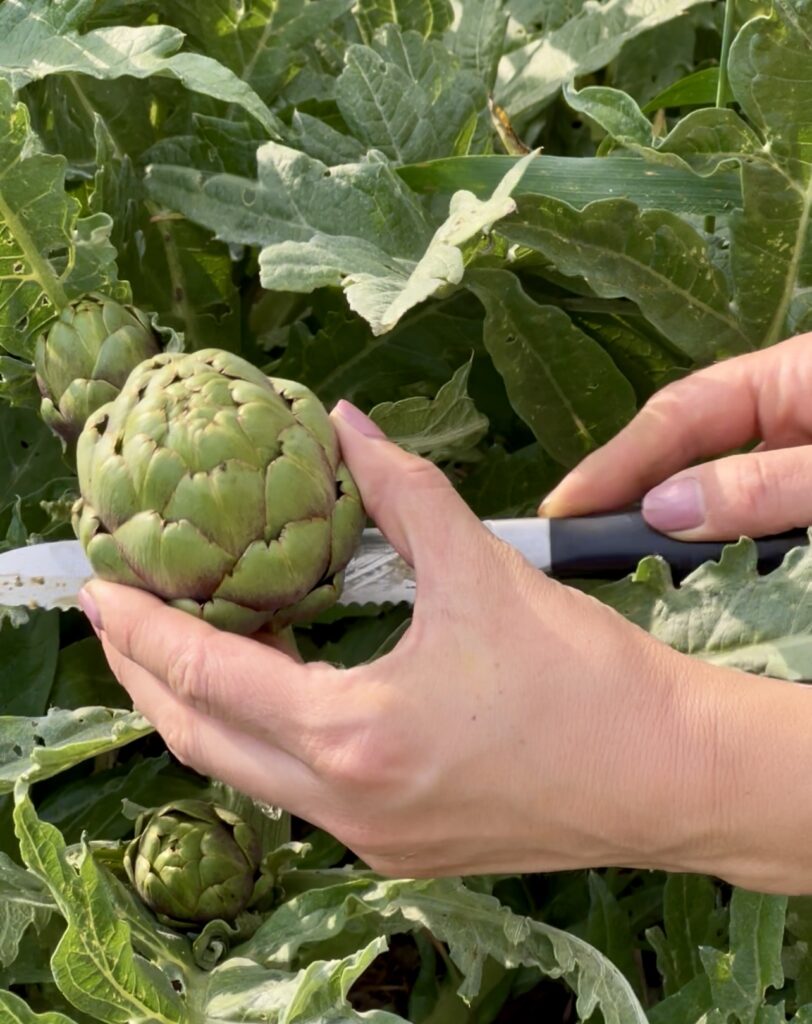
The second commonly asked question about growing artichokes is how do I harvest them?
And this is a simple answer too!
Simply use a sharp serrated knife or pair of kitchen scissors to easily harvest artichokes, cutting a few inches below the bud at the stem.

Lastly, I often get asked how we best like to cook and eat our garden atichokes.
And I know artichokes aren’t a flavour for everyone. But we personally love them!
Again, simple is really better when it comes to cooking fresh artichokes from the garden.
We like to steam them and then dip the petals in melted salted butter before eating the flesh.
Fresh artichokes are meaty, rich and delicious. Such an amazing garden treat that you can grow even in a colder climate.
And there you have it!
That’s my complete guide to growing artichokes in Zone 3, 4 and 5. I hope you found it useful!
To see more of our greenhouse & garden, follow me on Instagram @fromsoiltosoul. You can also browse my other blog posts for more organic gardening advice.