Our Manitoba Garden Redesign: Prairie Homestead Meets Dinner Party Hangout

I’m beyond excited to officially reveal our new Manitoba garden redesign! Wow it’s been a labor of love to finish this project. But we did it! And our Zone 3 garden is officially (and finally) planted. I’m calling this space “Prairie Homestead Meets Dinner Party Hangout.” It’s equal parts a garden of function and productivity as it is a space we can enjoy with friends and family. I hope you enjoy this reveal and would love to hear what you think of it in the comments.
This project could not have been possible without the support of Shelmerdine Garden Centre & Geller’s Landscaping.
Big, BIG love to both these local Manitoba companies who helped bring this to life. More on their involvement later in this post!
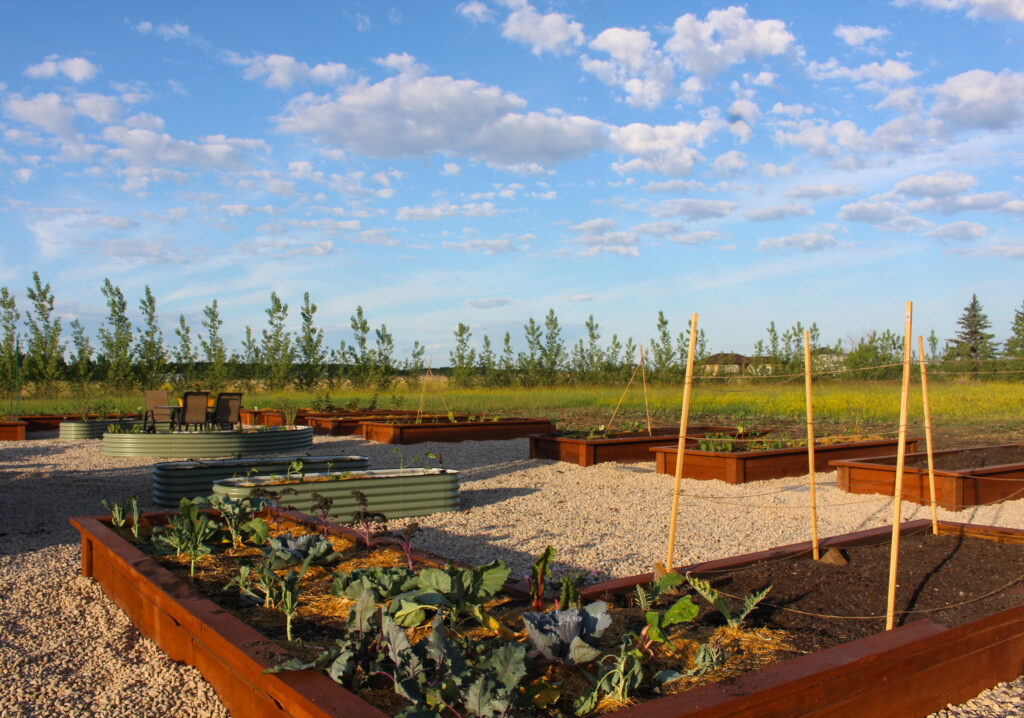
But without further ado, here’s a full look at our new “cottage-core” backyard veggie and flower garden.

The Data On Our Manitoba Garden Redesign
- Total Space = 3,500 square feet
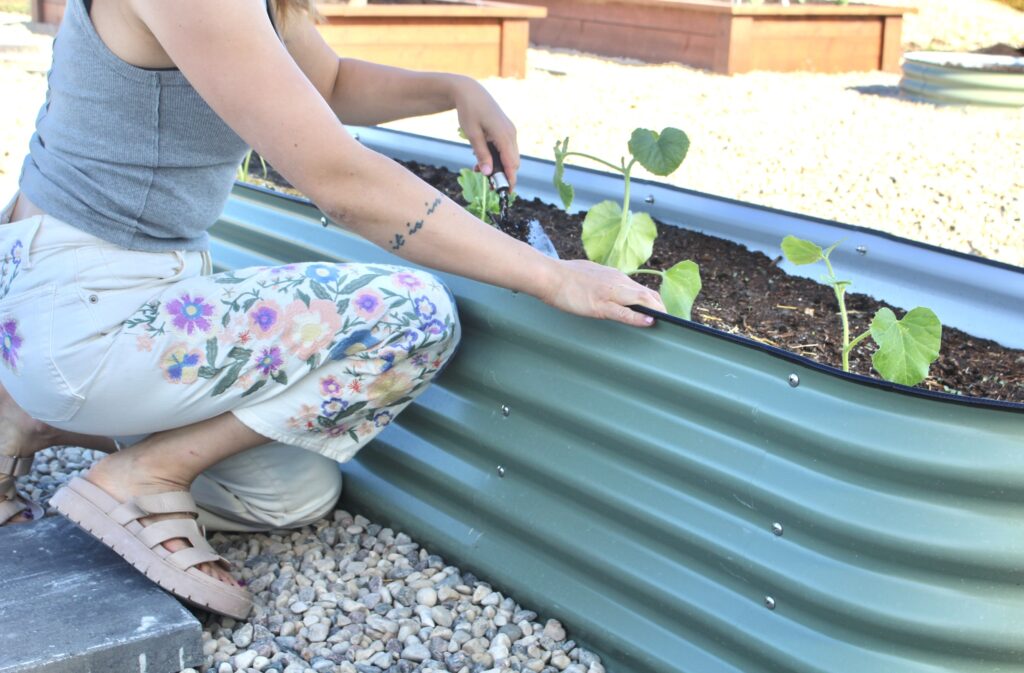
- Total Raised Beds = 16 total (10 wooden, 6 Sproutbox galvanized steel)
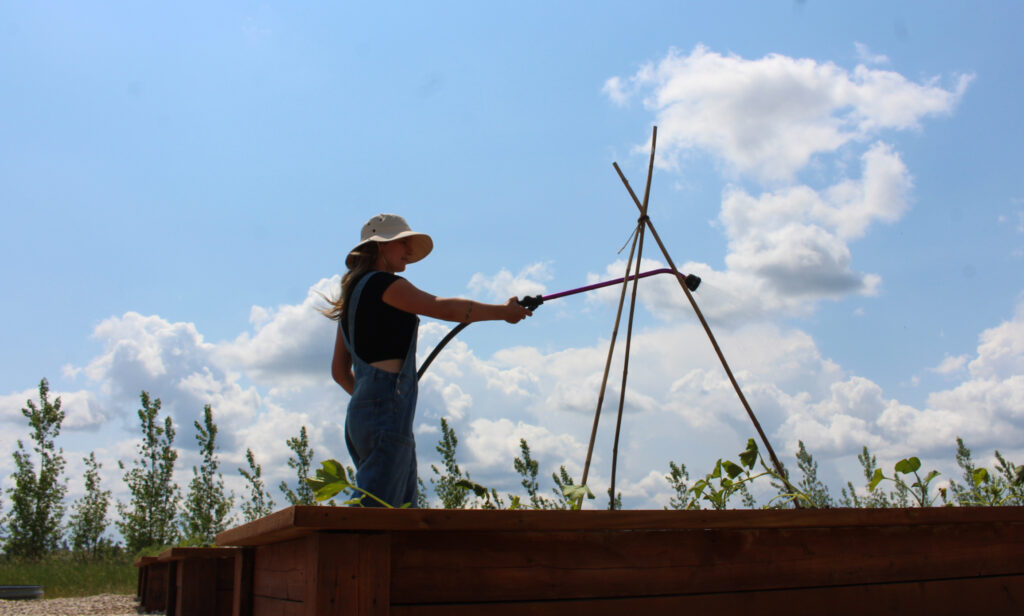
- Raised Bed Specs = Wooden beds are 12’x4′ (rectangular beds) and 14’x12’x4′ (L-shaped beds) and 18″ tall
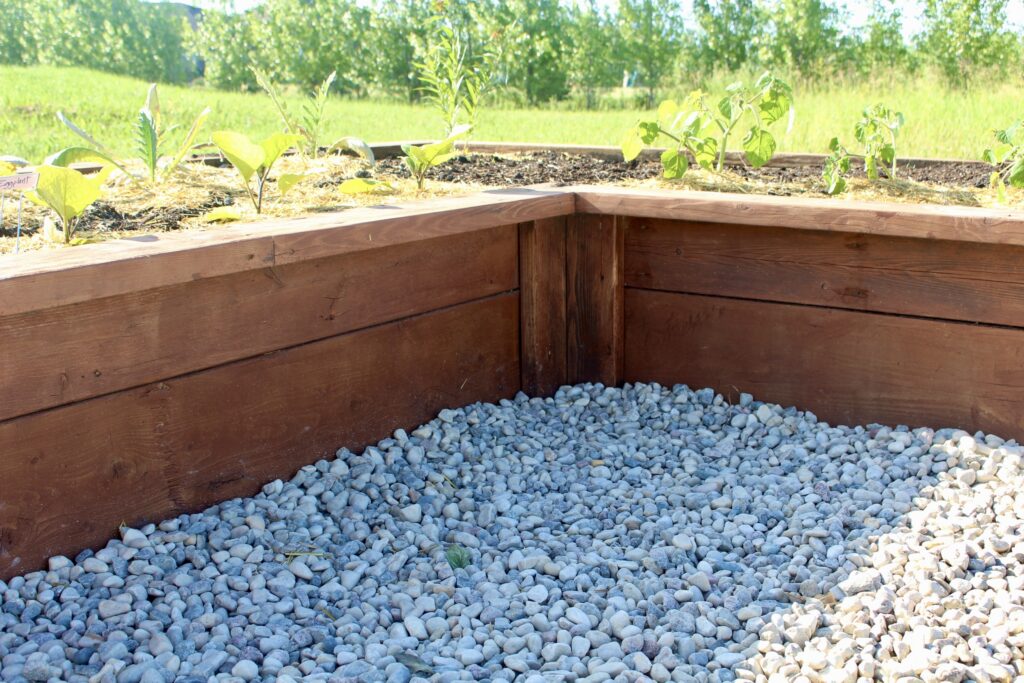
- Pathways = 3/4″ river wash stone with 16″x16″ paver stones
Why We Decided To Redesign Our Zone 3 Garden
To keep it concise (for the full in-depth story, check out my other blog post Our NEW Zone 3 Garden Plans) we wanted to make our garden the focal point of our backyard. And to do so had to move our greenhouse.
So a new garden went hand in hand with that!
Another big factor, which I didn’t mention in my other blog post, was the weeds.
I was SO sick of weeding constantly!
An organic inground garden here in the Canadian Prairies can not be without weeds (there, I said it). Especially living out in the country.
And so I immediately knew raised beds would be incorporated into the redesign.
Further, I wanted to create a space that would allow us to grow the majority of the food our family eats. Yet also a space we could come to for morning coffee and happy hour alike.
And I do think we achieved that nicely!
Our DIY Raised Bed Designs
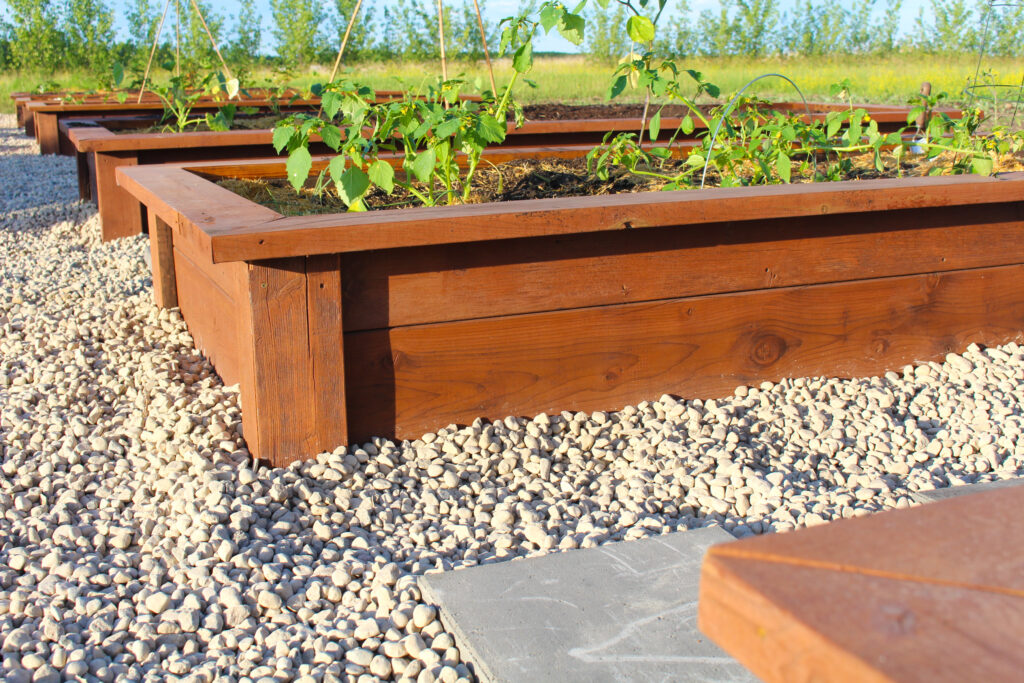
We are so pleased with how our new DIY wooden raised beds turned out.
And I know there’s going to be questions on these!
So let me start with a breakdown of the materials we used for our DIY raised beds;
- Reclaimed cedar lumber (from our old deck)
- New pressure-treated lumber
- Thompson Watson water-based stain on the exterior
- Raw linseed oil sealant on the interior (food safe!)
In total, the new garden has 10 wooden raised beds.
My husband and I do love doing DIY projects together. And these beds were definitely that.
In fact, they might be one of the largest projects we’ve taken on to date!
Though they took hours and hours to complete (from the build to sanding, staining, filling, etc..), we’re so proud with the finished product!
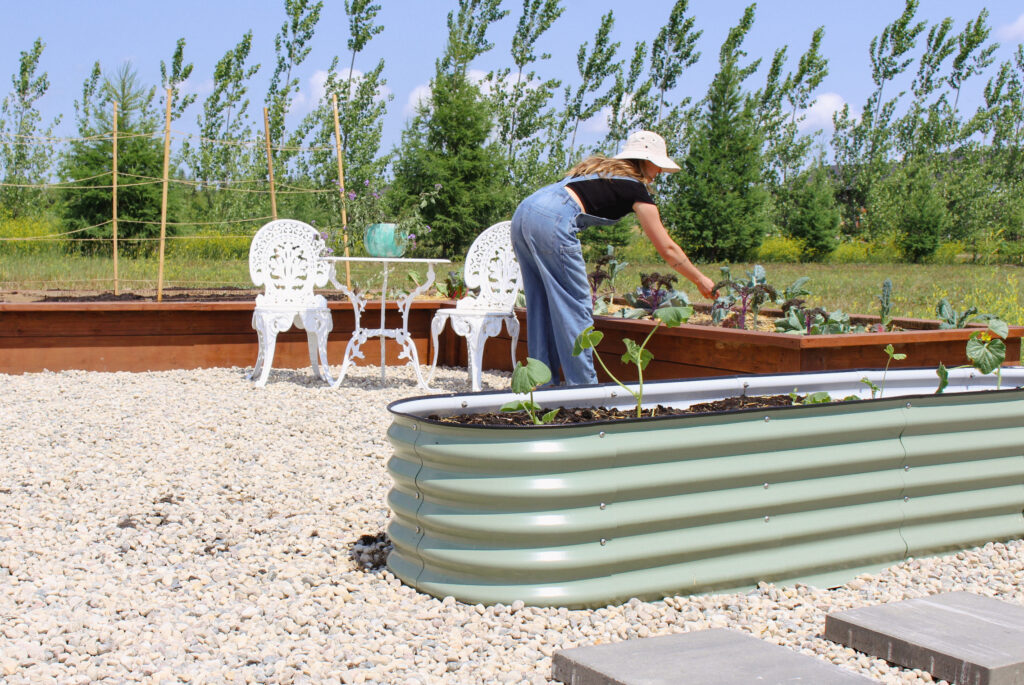
How We Customized Our Wooden Raised Beds To Look “Expensive”
There’s two distinct design elements our raised beds have that I think really elevates them.
The first is the lip around the edge.
Not only is this functional as it will make planting and harvesting easier, but it finishes off the beds so nicely.
I feel like it almost gives them a vintage look too!
I also love how it adds weight to them. And with such a big space, this is needed.
The second is the caps around the corners.
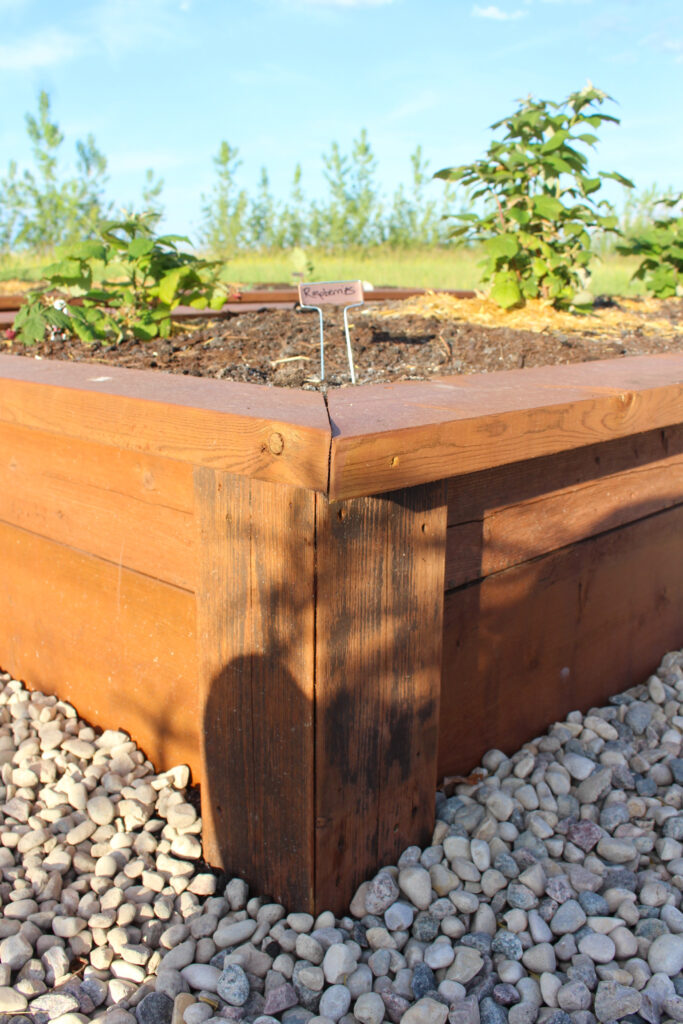
This was all my husband Justin’s idea. And I’m so glad we took the time (and wow did it take a lot of time!) to add caps to all the corners.
It’s such a small, simple detail that goes far.
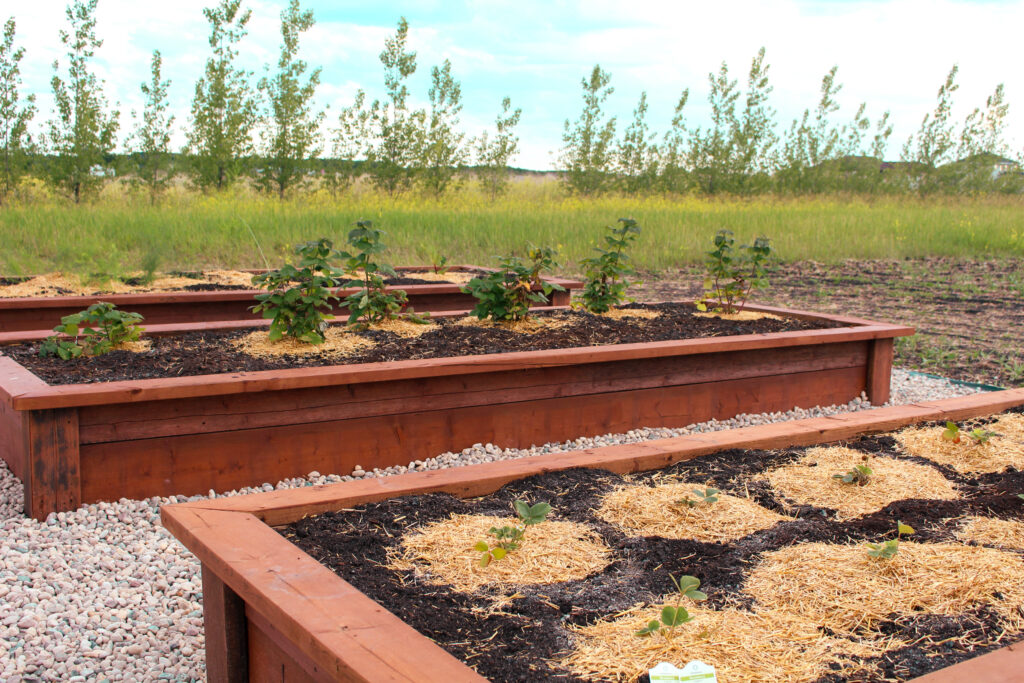
Our New Manitoba Garden Layout
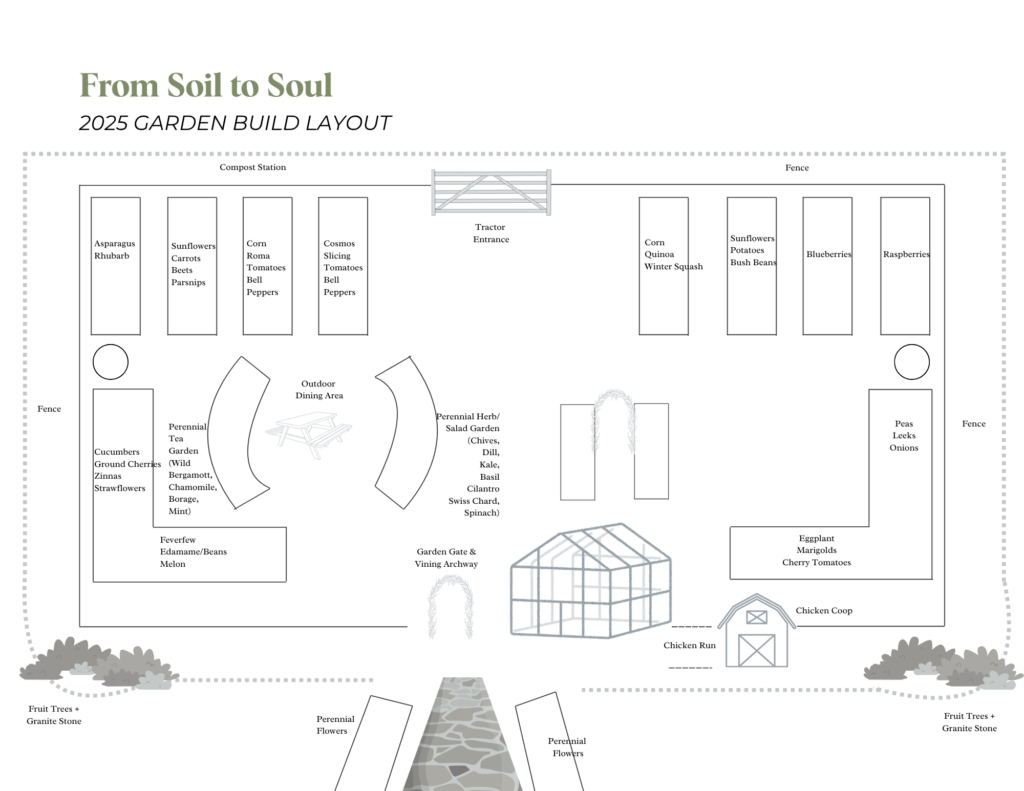
The entire space is about 3,500 square feet. Crazy, I know!
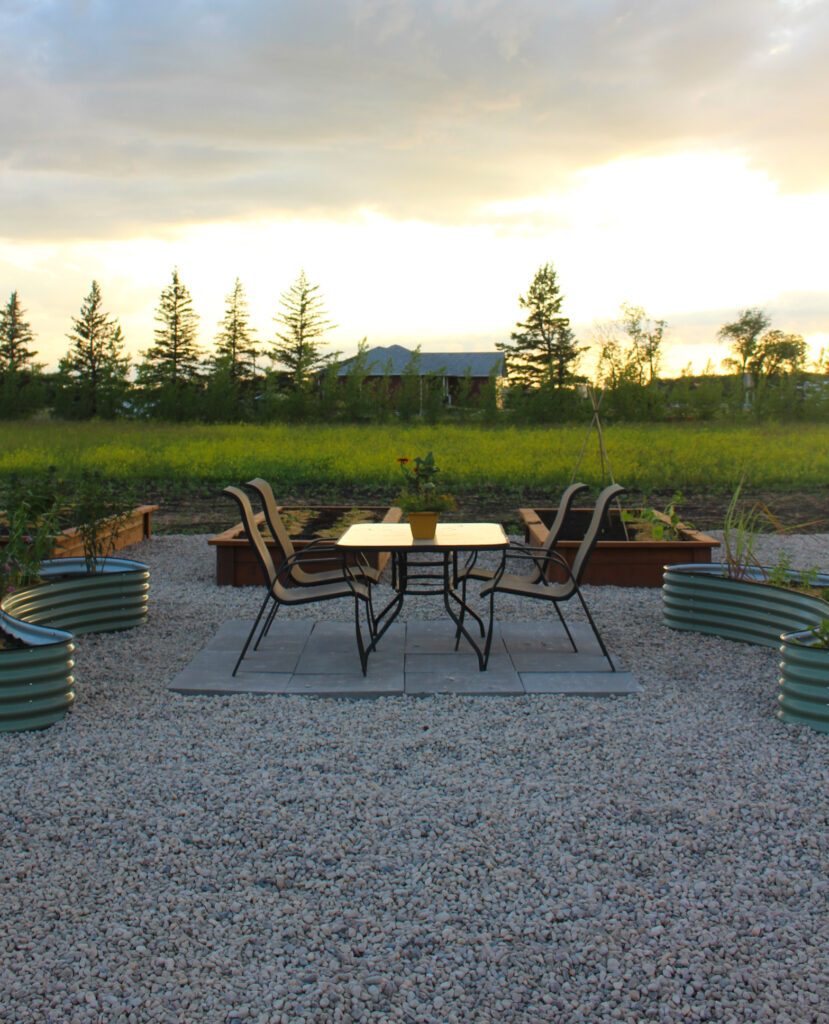
My vision was for the space to function as a productive food and flower garden. Yet also be a tranquil space where our family could enjoy meals in, host friends or just sit and watch the bees work.
These are a few of the garden design elements I think lend well to that:
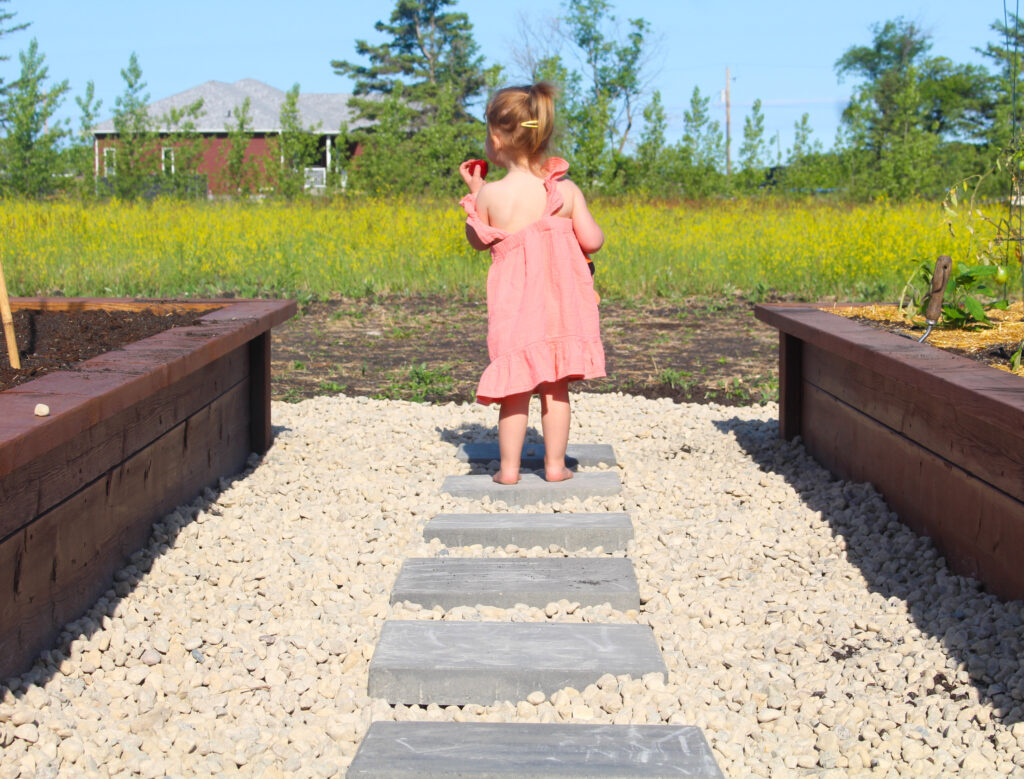
- Wide gravel pathways to allow for a tractor to fit in as needed
- Stepping stones to add a rustic, natural feel
- A dining area…for obvious reasons!
- Beds that frame the perimeter of the space to make it feel more intimate
- Beds that are 18″ tall so that at full-bloom the garden will tower above us (magic!)
What Soil & Pathway Stone Did We Use For Our Manitoba Garden
We were lucky enough to have help from Geller’s Landscaping when it came to the supply side of this project.
Geller’s is known for their award winning Winnipeg landscaping. And so I jumped at the opportunity to get some advice from their team on the best soil and stone to source.
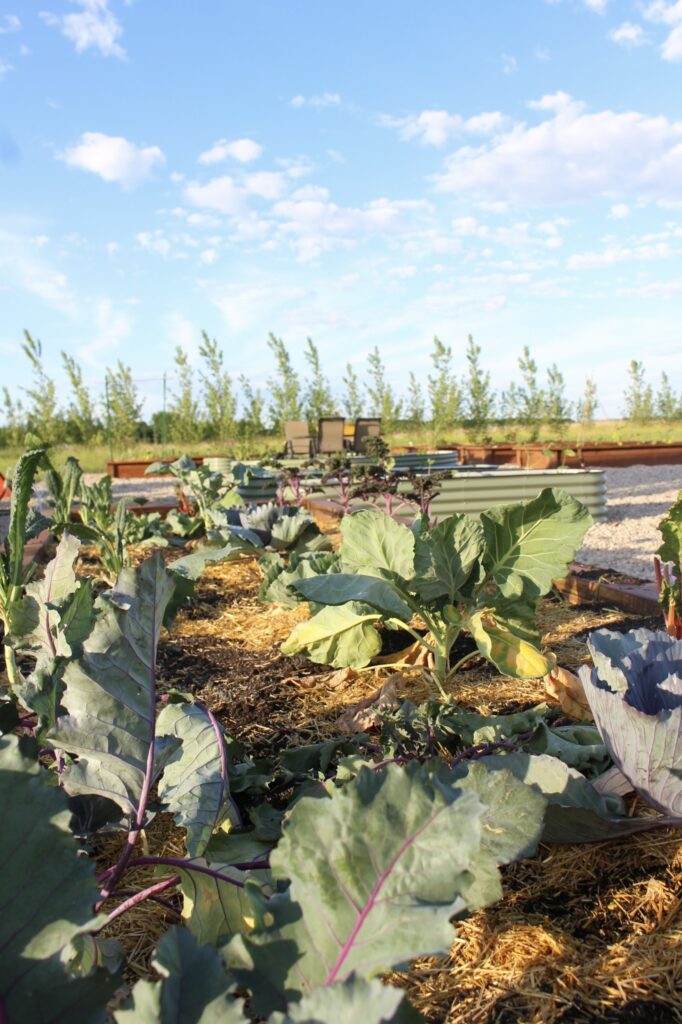
Our Garden Bed Soil
For all of our garden beds, we went with a 4-way soil mix. This includes top soil, peat moss, compost and sand.
This was the right fit for us as I was adding additional compost and organic material to the soil prior to planting. However I recommend considering a 5-way mix for your garden too as it is richer in nutrients.
Our Garden Pathways
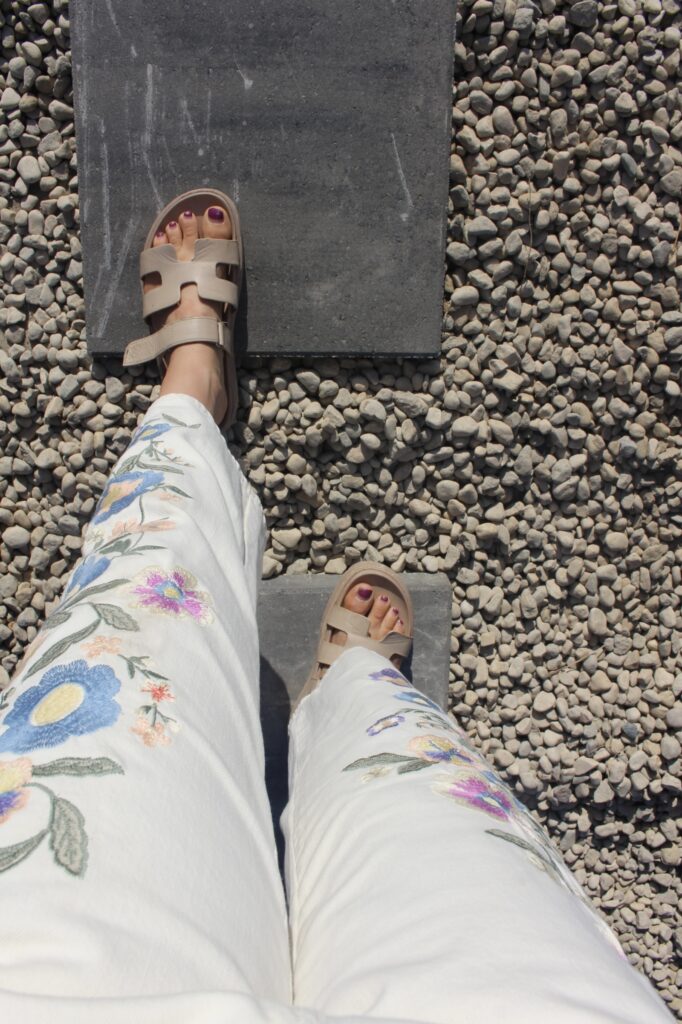
For our pathways, we chose ¾” river wash stone. I love how gentle it is on your feet.
The light pathways with the mixed wood and metals of our beds is a really good balance of texture.
We also added 16″ x 16″ paver stepping stones between the back beds. I love the polished look this adds to the space.
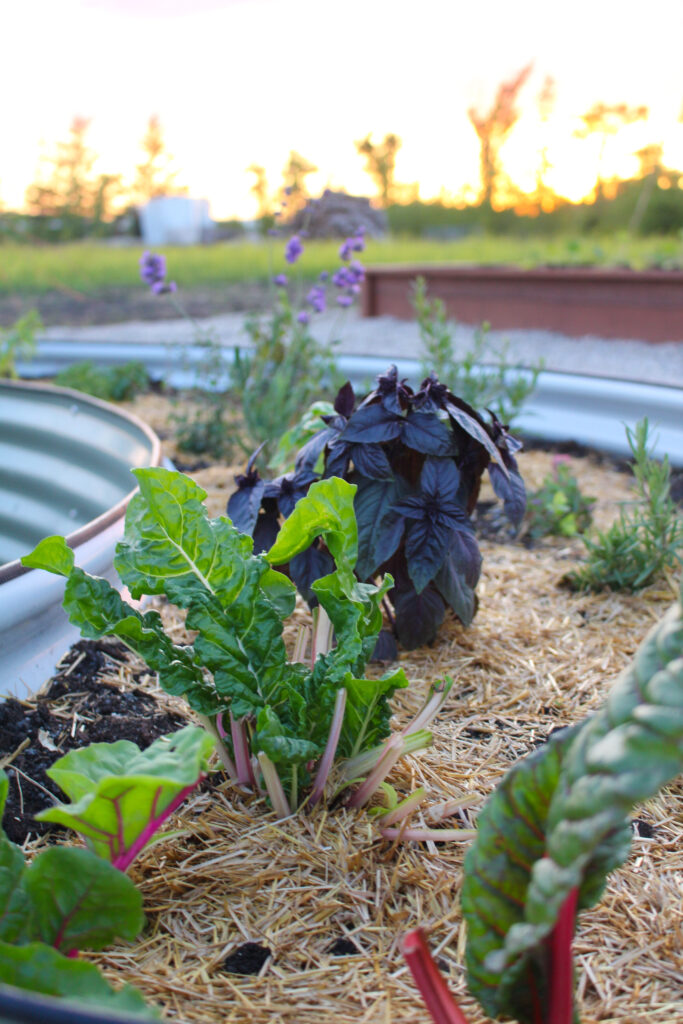
Where Did We Get Our Perennials For Our Manitoba Garden
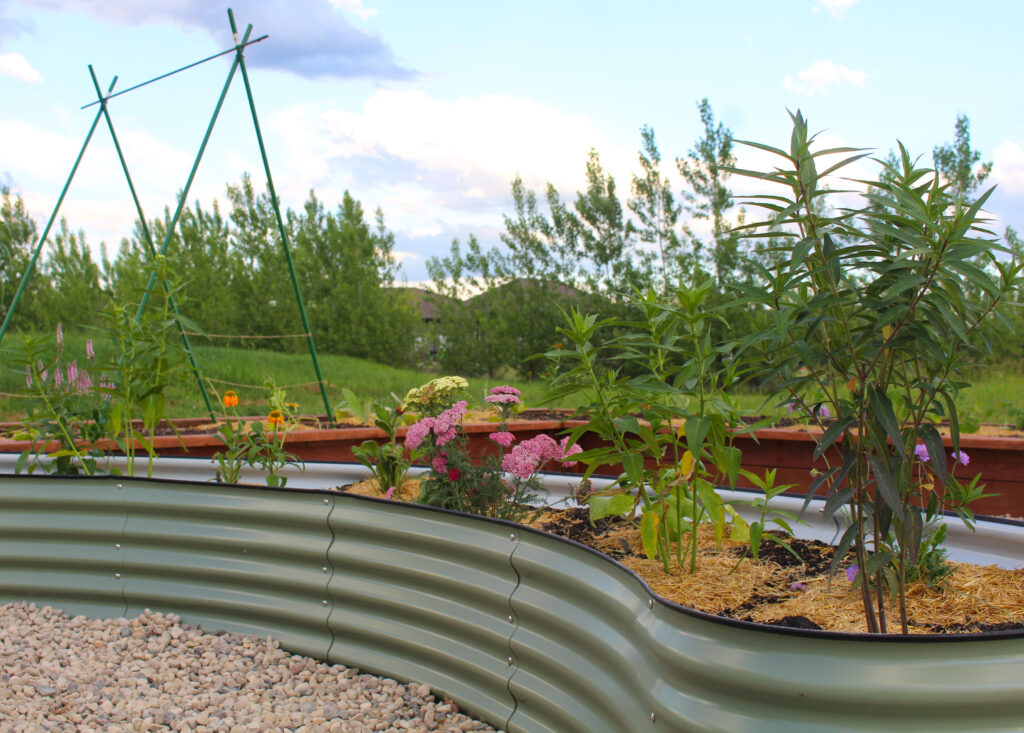
All the perennial plants in our new garden were sourced from Shelmerdine Garden Centre.
I had the best time browsing their Headingley, Manitoba store for all the plants on my wish list. It’s really a lovely shopping experience.
The inventory at Shelmerdine (for both plants, supplies & tools) is so unique!
Lots of items I hadn’t seen elsewhere. So definitely recommend visiting if you’re local to Manitoba!
Our Zone 3 Perennials from Shelmerdine Garden Center in Headingley
- Milkweed
- Yarrow
- Mint
- Rhubarb
- Strawberries
- Raspberries
- Wild Bergamot
- Chives
- Tarragon
My Gardening “Must Haves” I Sourced From Shelmerdine Garden Centre
- Sea Soil Compost
- GardenStraw mulch
- West Coast Seeds assorted seeds
- Extended watering wands
- Bamboo posts
Fashion & Accessories For My Manitoba Garden From Shelmerdine Garden Centre
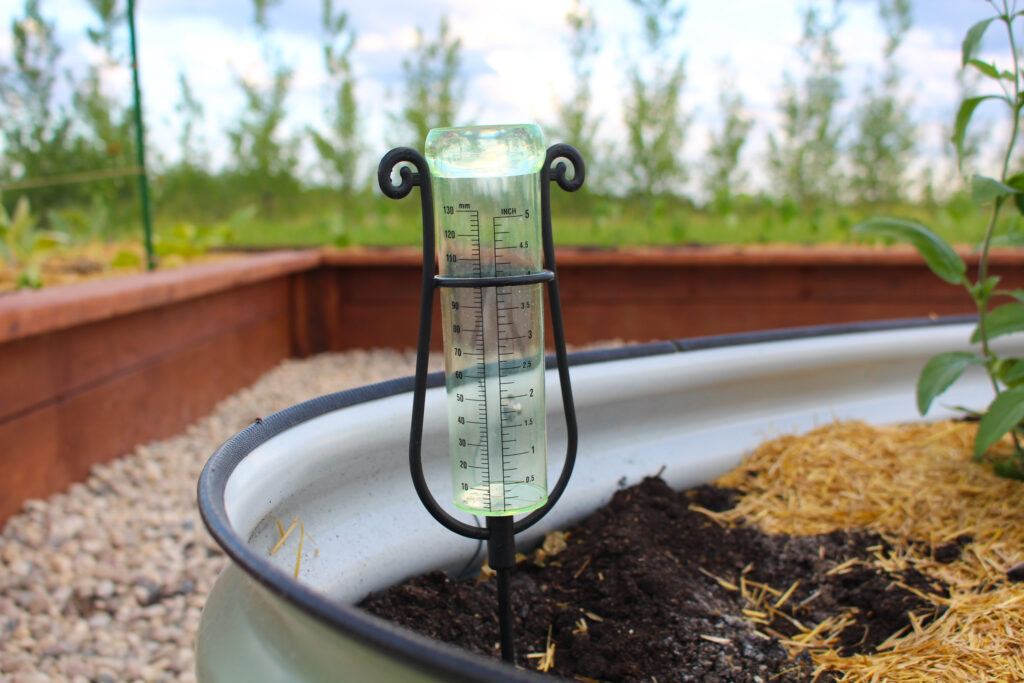

- Rain gauge
- Copper plant tags
- Free People tank (available for purchase in store)
- Free People embroidered white jeans (available for purchase in store)
- Free People overalls (available for purchase in store)
What’s Next For Our Manitoba Garden Redesign
Truthfully, we’re a little burnt out from this rebuild and excited to just enjoy the garden for the next few weeks/months.
But the work is nowhere near done with this project! Ahhh!
We actually scoped this out as a 3 year project. So we’ll be picking away at tasks now until…forever.
Here’s what’s next for our Zone 3 garden redesign:
- Move chicken coop
- Begin fence build
- Plant fruiting trees
- Water feature (we will 100% be getting this from Shelmerdine, their fountain selection is amazing)
- Arbors & archways
- Perennial shrub & additional landscaping around the fence
And there you have it!
I have to say a huge thank-you to my amazing community for all the support over the years. This is truly my dream garden space.
And creating gardening resources for Zone 3 gardeners is a dream come true for me.
So thank you! For taking the time to read my content, like the posts, follow….all of it!
If you’re dreaming of your own outdoor transformation, I highly recommend checking out Geller’s Design Build Landscape, Winnipeg’s experts in stunning landscape design.
Excited for the next chapter in this new garden space. I hope you’ll stick around for the ride.
Oh my gosh Maggie, Justin and Lucy! This is simply amazing! All the work involved is really worth it to grow all the wonderful, beautiful and edible wonders that this garden will produce.
Thank you, too, for all your knowledge that you have so generously passed on and shared in your post.
My comment is “WOW”!
Thank you so much for taking the time to comment! I so appreciate it.
loving the raised beds!
Thanks Matt! So are we, they’ve made this gardening season super low maintenance!