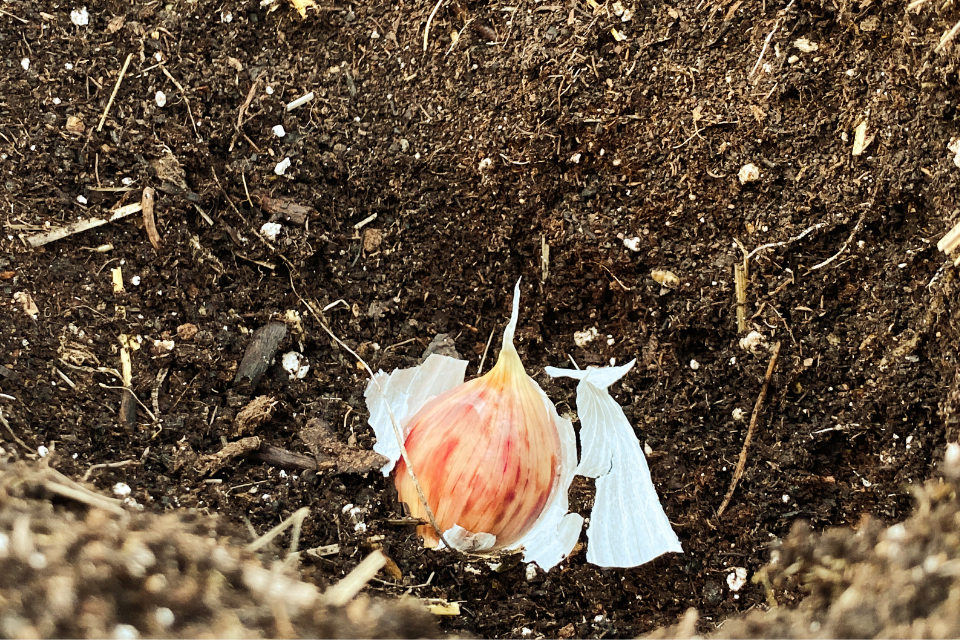
7 Easy Steps For Planting Hardneck Garlic In Cold Regions
Hardneck garlic is a staple in our Zone 3 Canadian garden. It’s one of the last things I plant in the ground in Fall, typically in October, and one of the first crops to pop up come Spring. Feed it, mulch it and water it, and you’ll reap in the benefits.

But the real key to growing big, juicy garlic bulbs is to select the right hardneck garlic variety for your climate.
In this post, you’ll learn why planting garlic in the Fall works best, how exactly to plant your cloves and my 7 easy steps to planting hardneck garlic correctly.
After you grow garlic once, you’ll never want to go back to store bought….trust me!
This post covers:
- What Is The Difference Between Garlic & Seed Garlic
- Hardneck Garlic vs. Softneck Garlic – The Main Differences
- When To Plant Hardneck Garlic In Cold Regions
- 7 Easy Steps To Planting Hardneck Garlic
What Is The Difference Between Garlic & Seed Garlic
You’ve wondered whether you can go to the grocery store, buy some garlic and plant it in your garden, right? Well the answer is no.
And that’s because there’s two different types of garlic.
Grocery store garlic vs. seed garlic.
When you’re planting garlic in your garden for growing, the grocery store stuff won’t cut it. You likely won’t get a substantial harvest, if any at all.
This is because garlic sold at the grocery store for mass consumption is typically softneck garlic, which will not survive throughout Winter if you live in a Northern area.
The cloves of softneck garlic are also usually too small and won’t yield large bulbs if you try planting. Too large of cloves and you’ll end up with the same results.
Most grocery store garlic is grown in China or California. It will not adapt well to Canadian soil and growing conditions. There is also the chance it can be carrying pathogens that could transmit to your soil if planted.
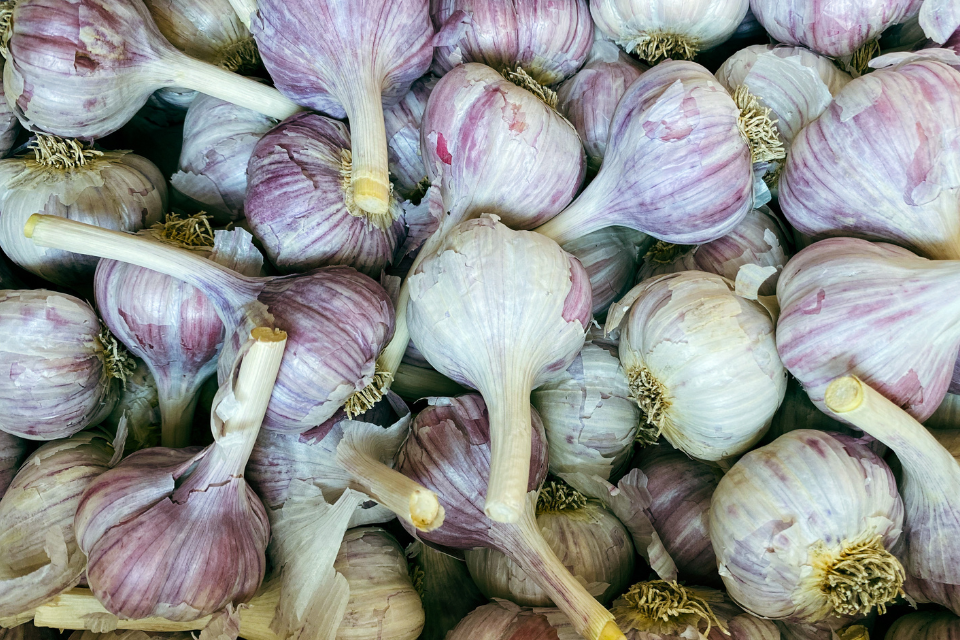
So what type of garlic do you need to successfully grow it in a cold climate? Answer: Hardneck seed garlic.
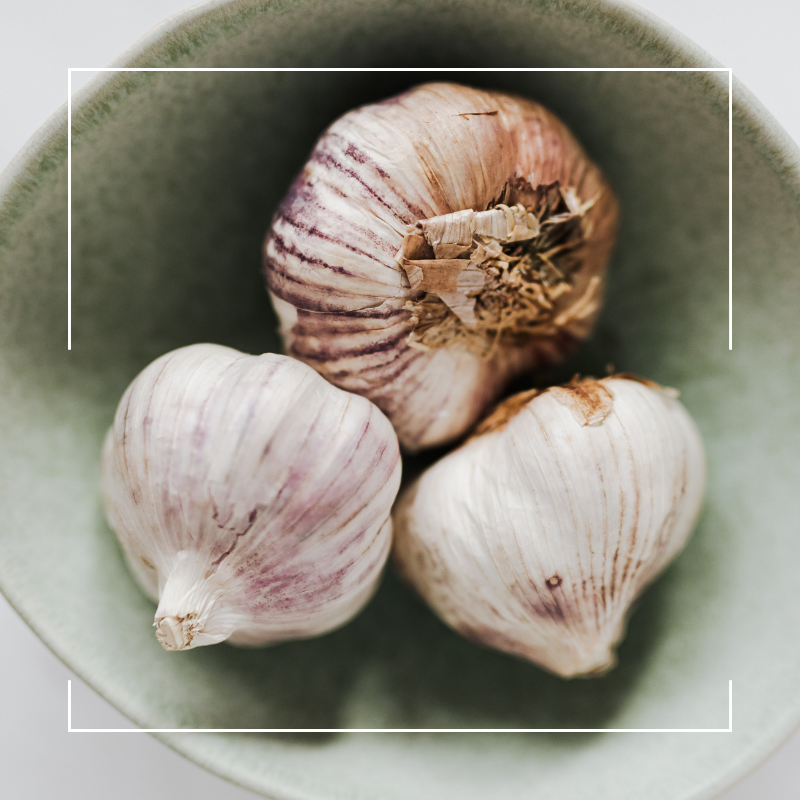
Seed garlic is specially grown by garlic farmers with the intention of it being replanted in the next season.
It’s a tireless job that requires specialty growing conditions and ongoing breeding. This is often reflected in the higher price of seed garlic. But, it’s worth it!
Seed garlic is typically very disease-resistant and top graded….especially when compared to food garlic you’d find at the grocery store.
Garlic is grown from bulbs (similarly to potatoes), but is referred to as seed garlic. This can be a little confusing, considering there’s no actual seed that comes from garlic.
So just know…when garlic is called seed garlic it is in fact referring to the garlic clove or bulbil.
Great varieties of hardneck seed garlic that grow well in a Zone 3 garden include:
- Music – spicy, wasabi-like flavour, and well adapted to most Canadian grow zones.
- Majestic – traditional garlic flavour, great for Italian cooking. Known to produce large quantities of garlic scapes.
- Chesnok Red – sweet and savoury flavour, a very “rookie friendly” variety for first time garlic growers.
Hardneck Garlic vs. Softneck Garlic; The Main Differences
Now that you know hardneck garlic is the way to go for planting garlic in a cold climate like Zone 3, here are the main difference between hardneck and softneck.
Hardneck Garlic
- Is best suited to cold climates with severe winters (Zone 1-5).
- Produces a long stem, otherwise known as a garlic scape. The BEST!
- Stores well for 4-6 months after harvesting.
- Is said to produce more flavourful cloves.
Softneck Garlic
- Is best suited to warmer climates with moderate winters, not cold hardy for Zone 6-12.
- Produces many different sized cloves within a single head (while hardneck garlic produces 5-8, large cloves).
- Stores for long periods of time (12-15 months). This is the reason softneck garlic is mass produced worldwide, and likely the type of garlic you’ll find at the grocery store.
When To Plant Hardneck Garlic In Zone 2-4
Timing is key when it comes to planting hardneck garlic, and the best time to plant hardneck garlic is in the Fall. This is a must for success.
Garlic requires a full 8-9 months of growing time!
Some gardeners will try and plant hardneck garlic in the Spring, but in order to harvest full-size garlic bulbs, you have to plant in the Fall.
The cool weather gives a clear message to the garlic bulbs not to produce any shoots yet. While the soil in the Fall has still accumulated enough warmth over summer that the garlic roots will actually slowly start to grow even as Winter arrives.
My two most important tips when planting hardneck garlic in the Fall are…
- Mulch — you must cover your garlic with a thick layer of “insulation.” This can be leaves or garden straw.
- Fertilizer — you need to provide each clove enough fertilizer for strong root development over Winter.
When Is The Perfect Time To Plant Hardneck Garlic In Canada
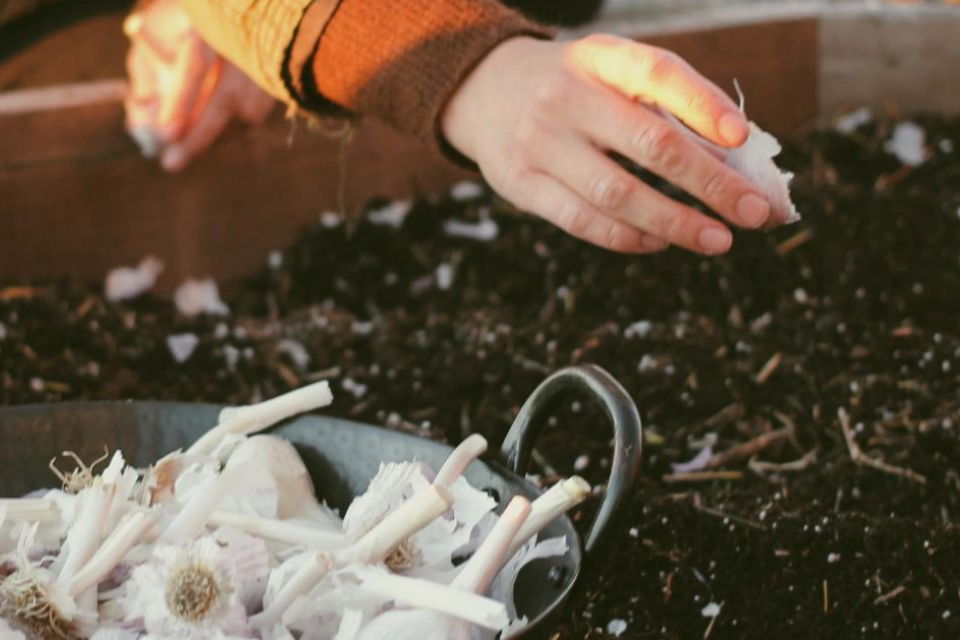
I believe “later is better” when it comes to planting hardneck garlic. Of course, you can only plant when the soil is still workable. So, waiting until December to plant or waiting until you’ve had several hard frosts is probably too late….
So, when exactly should you plant hardneck garlic in the Fall in Canada?
The exact timing depends on your grow zone, however anytime between early October to late November is typically good for most Canadian climates.
For a more exact answer, plant your hardneck garlic when the average nighttime temperatures are consistently around freezing, and day time temperatures are no higher than 5-7ºC.
There’s been many years when I’ve planted my garlic in the snow. Yes, gardening in the snow! This has been the case for years when we’ve gotten an early snow fall in Manitoba. And the results were still the same in the Spring, harvesting big, beautiful garlic cloves.
Here’s a Tik Tok of me planting my garlic in the snow last year.
If you happen to experience a snowfall before you plant your garlic, simply clear off the snow and use a hand trowel to dig your planting holes.
7 Easy Steps For Planting Hardneck Garlic In Cold Regions
Here’s my 7 easy steps to planting hardneck garlic, follow along and you’ll definitely have success!
Step 1: Select a planting site
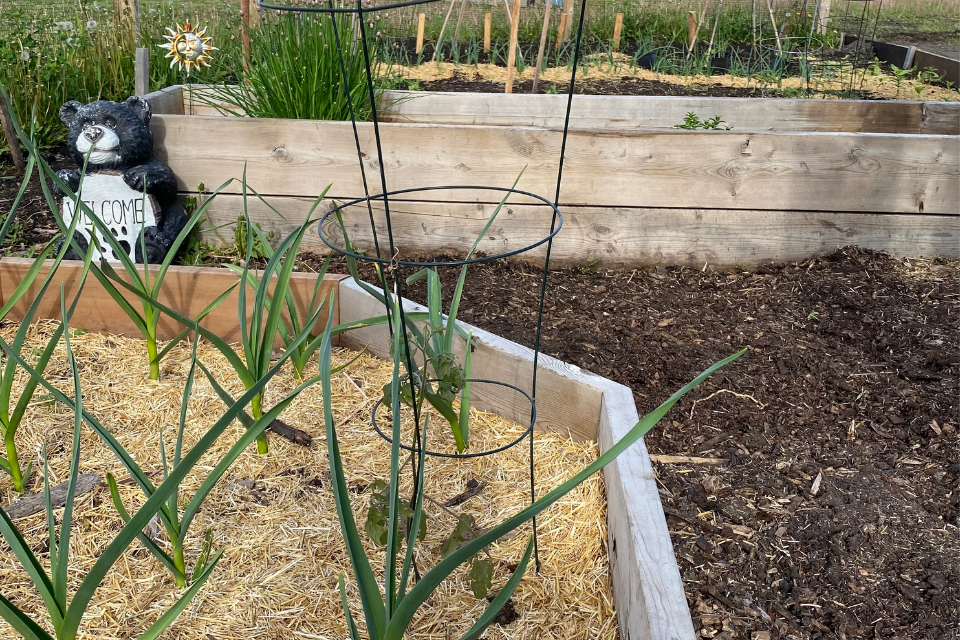
Choose a spot in your garden or yard that receives full-sun, this is considered 6-8 hours minimum of direct sunlight daily.
Plant your garlic in a raised bed or directly in the garden in rich, well-drained soil. We plant our garlic in a raised bed that receives 12+ hours of full sun during July.
*Note: Do NOT plant your garlic in a container.
In order for hardneck garlic to survive the winter months, it needs to be well insulated and protected from the cold. A container can’t provide this. I highly advise against planting hardneck garlic in a container.
But….if growing in a container is your only option, wrap it in burlap or surround with other containers to provide wind protection. Also ensure to place a heavy layer of mulch on top for additional insulation.
Step 2: Amend your soil with compost
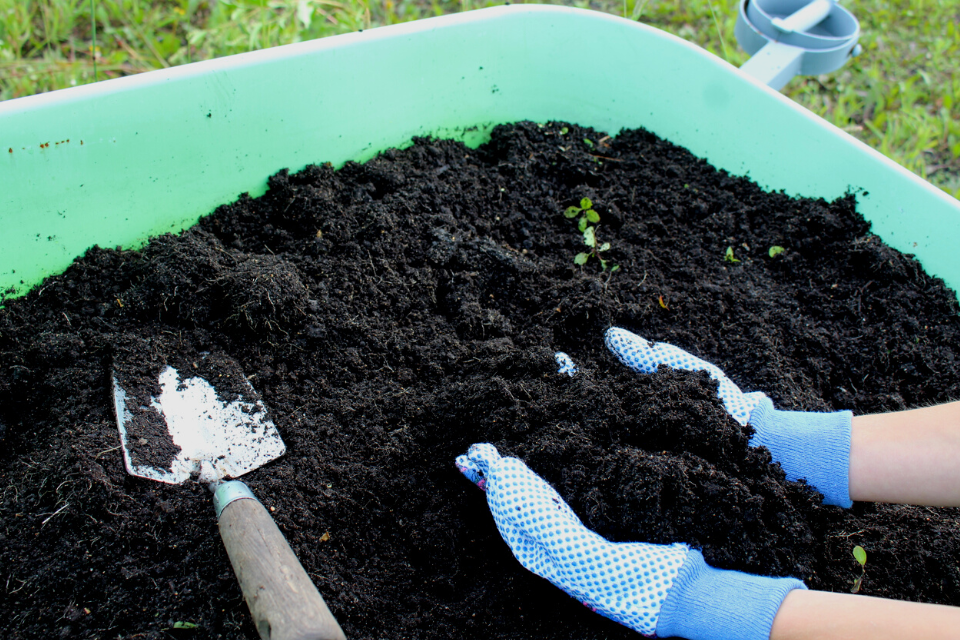
Soil amending is the act of adding new organic matter to your soil to improve its structure, nutrients and drainage, which in turn will help your garlic develop strong, healthy roots.
Healthy soil is the key to growing big, beautiful garlic bulbs.
Start by removing any debris, roots, weeds and foliage left over from plants that were in this site prior.
Next, using a hand rake, gently till the soil surface by turning the top layer of soil over. This is especially important for clay soils.
Now, add your compost. Apply 30L of compost to every 25-30 square feet of garden space.
Using your hands, thoroughly mix your compost into your soil. If you are planting in a new garden site, improve your soil’s nutrients even further by mixing in shredded leaves and/or coco coir.
Step 3: Dig your holes
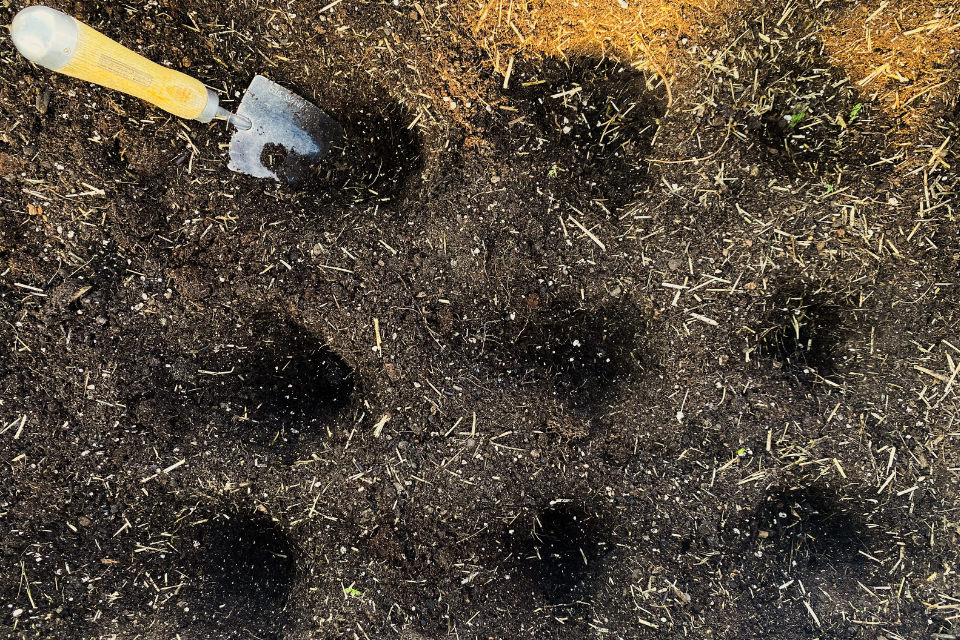
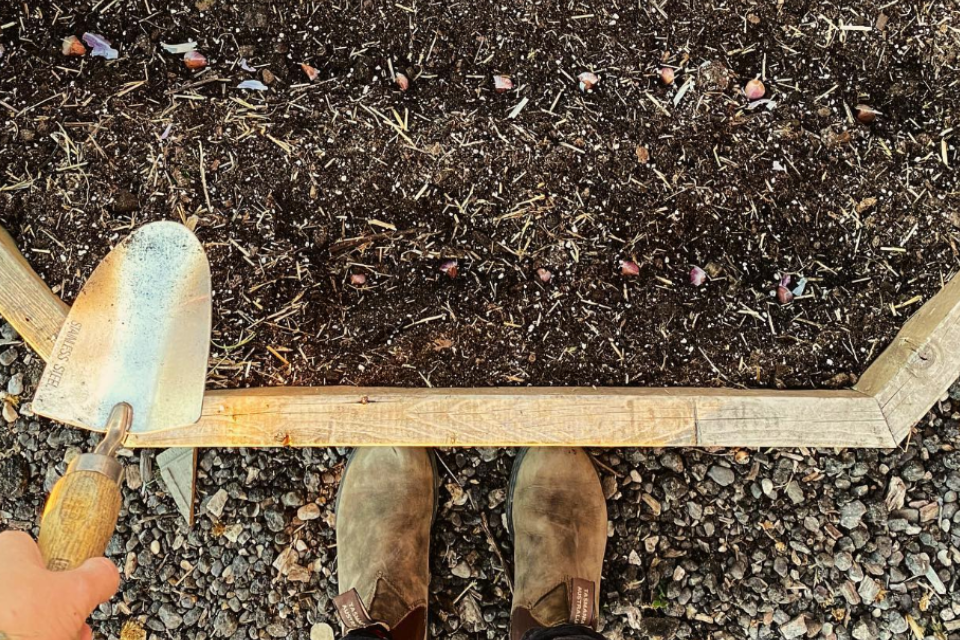
Before you start digging, consider what formation you want to plant in. For garlic, I recommend straight rows with each hole spaced 4-6 inches apart.
However, if you’d like to interplant garlic throughout various areas of your garden, you certainly can. Garlic is an excellent companion for most vegetables as it helps repel aphids!
To dig holes, use a hand trowel or transplanter (small shovel) to dig 4inch deep holes.
Step 4: Add fertilizer to each planting hole
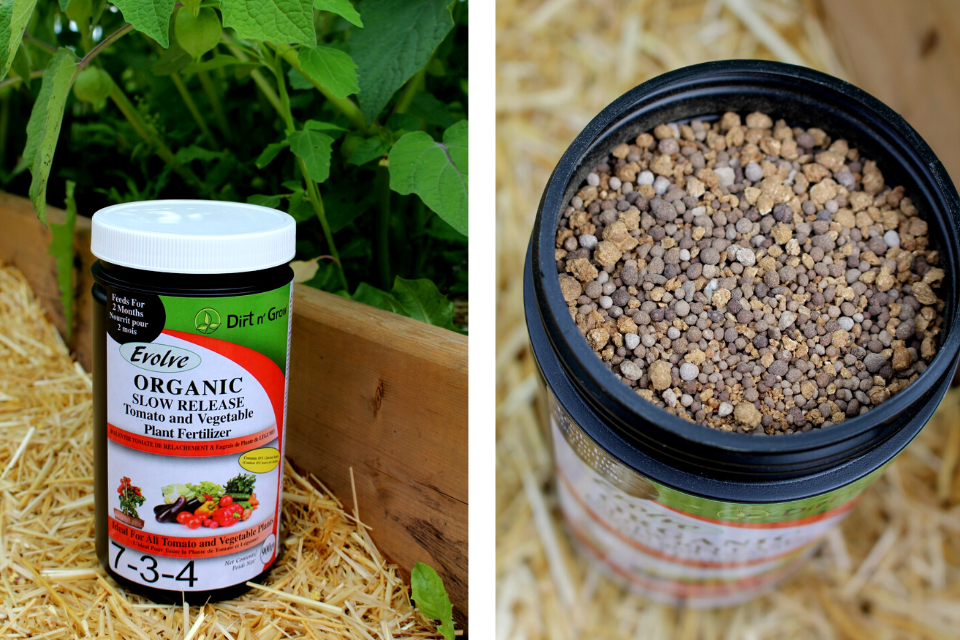
Garlic is a heavy feeder and requires high nutrients to develop strong roots and large bulbs.
To each hole, add 1 heaping tablespoon of slow release, organic, granular fertilizer. Our preferred brand is Evolve Organic Fertilizer, which is made locally here in Manitoba.
Use your hand to sprinkle the fertilizer into each hole. It does not need to be mixed deeply into the soil, but should be evenly dispersed.
Step 5: Divide your cloves from each bulb
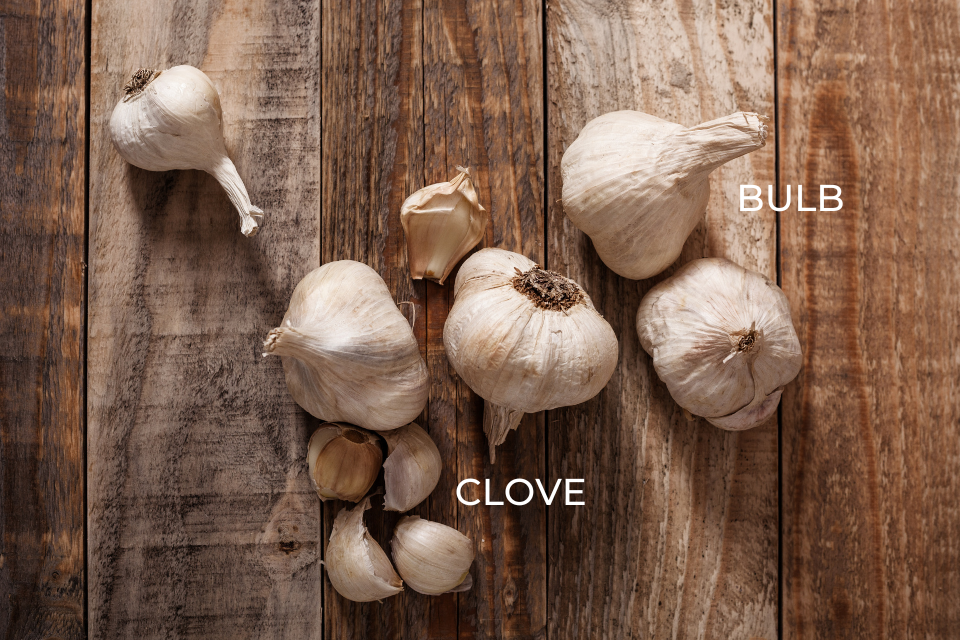
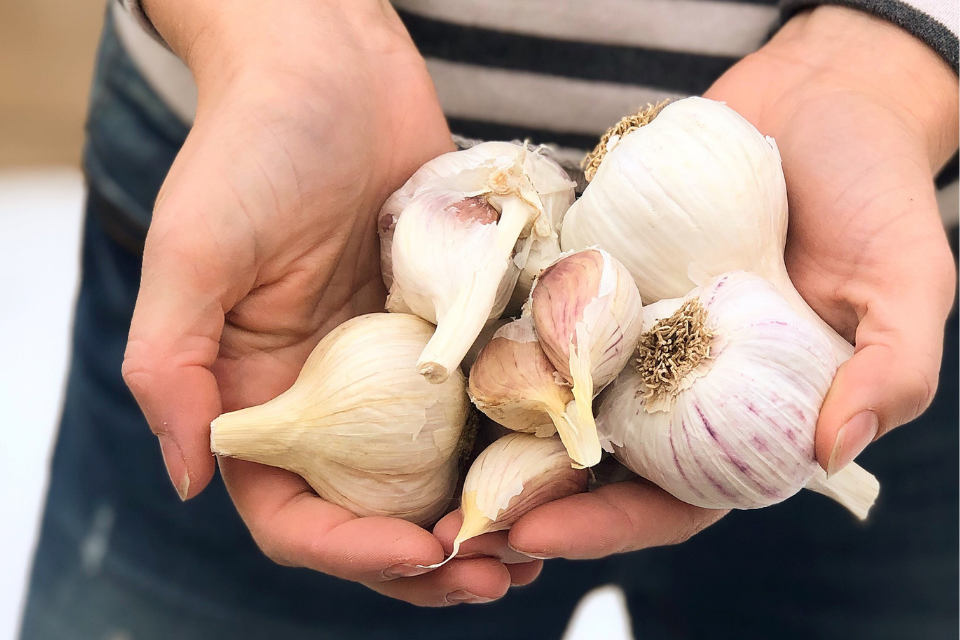
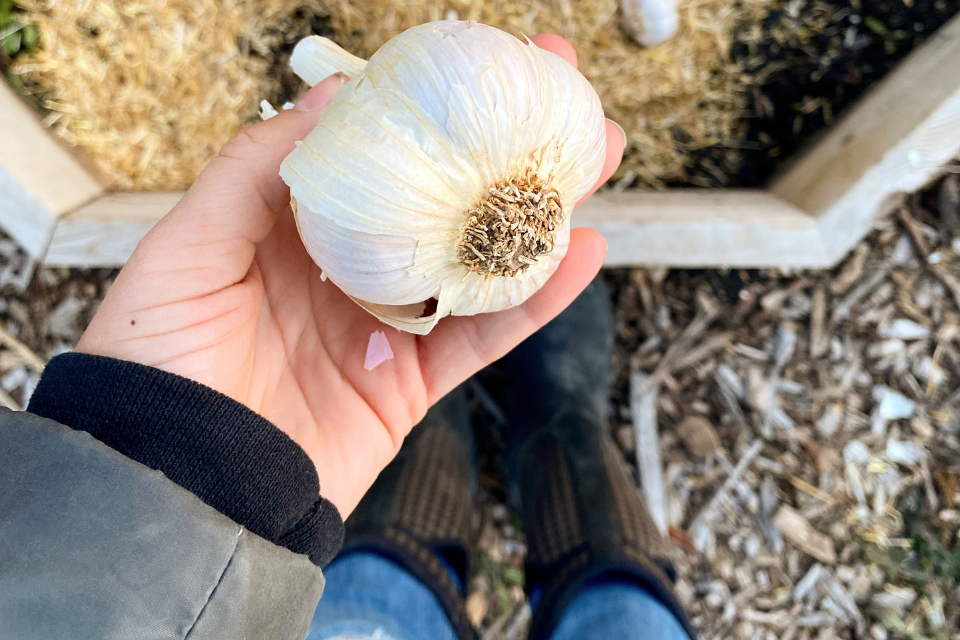
Take your seed garlic bulbs and gently separate each clove.
Be careful not to remove the papery exterior wrapper. You want to keep this on each clove as a protective barrier.
The neck of the garlic (the middle stalk at the center of the bulb) can be discarded.
Step 6: Plant one clove in each hole with the pointy side up
Take each individual clove and place it pointy side up in your hole.
You’ll want your cloves to remain as upright as possible to support uniform bulb development. This is especially important with hardneck garlic as it ensures garlic scapes develop properly in the Spring.
To keep cloves in place, gently push each one into the soil to secure it. The base of each clove should be sitting in the fertilizer.
Step 7: Cover each hole with soil and then mulch with straw
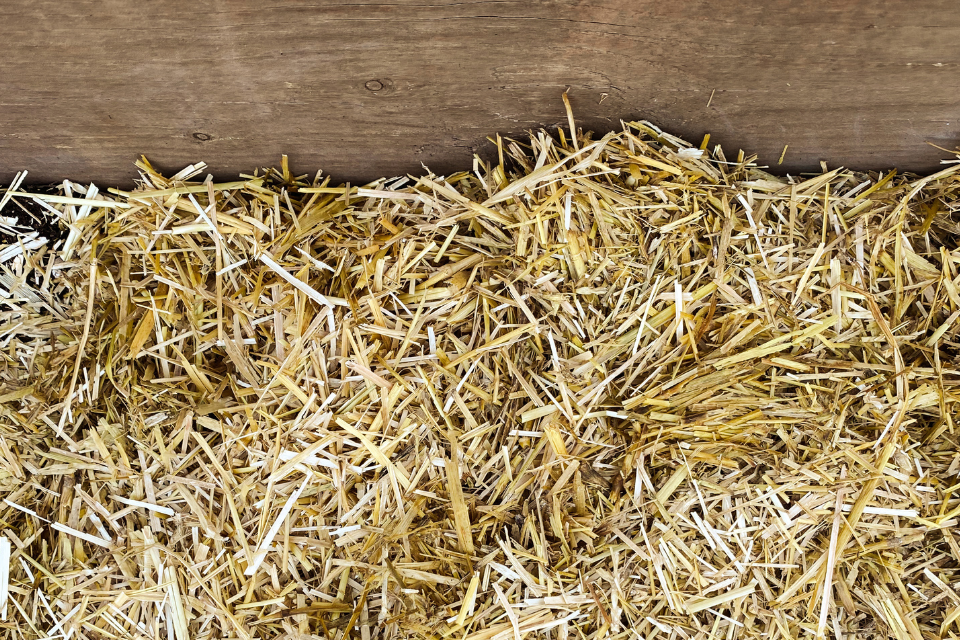
Cover each clove with your amended soil. Your soil should be fluffy and light. Use your hands or a trowel to pack it over the hole so the entire clove is tightly covered.
You should be adding 4-6inches of soil. Smooth the soil so the surface level is even.
Next is mulch!
Apply a heavy layer of straw mulch to ensure your garlic does not send shoots above ground before Spring. You don’t want any warm, Fall sunlight sprouting your garlic.
I find we have the best results with our garlic harvest when we mulch with Garden Straw. It is an excellent insulator over Winter and also retains moisture during the Spring and Summer months.
*Note: If you do not have access to straw, shredded leaves are a great alternative for mulching garlic.
Apply 3-5inches of mulch over your planted garlic.
If you live in an especially windy area, you can gently water your mulch to keep it down. Be sure not to heavily water as you don’t want your garlic cloves to rot.
And that’s it!
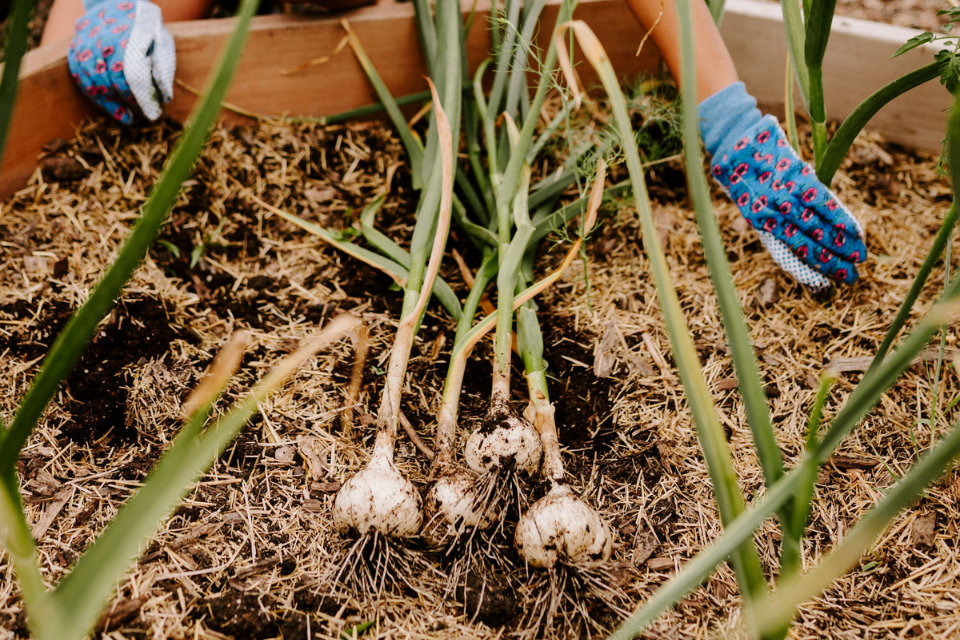
Those are your 7 easy steps to planting hardneck garlic in Canada and other Northern regions.
You can forget about your garlic all winter long, lettting it slowly put down roots as it’s covered in snow.
Then come Spring, be sure to check out my post covering How To Care For Hardneck Garlic In The Spring & Summer Months.
Leave a comment below if you have any questions, I answer all comments and love hearing from you. Truly, it makes my day when a new comment comes in from a fellow passionate gardener.
You can also follow me on Tik Tok and Pinterest for more organic gardening content.
Happy garlic planting, my friends!

