My Master Seed Starting Supplies & Equipment List (10 Must-Have Items!)
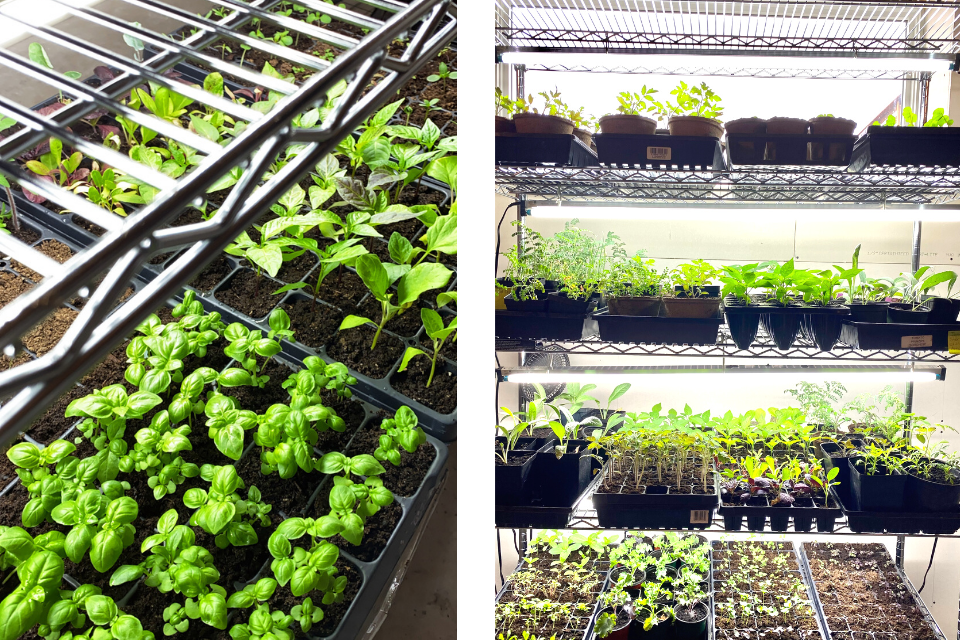
Indoor seed starting is one of my fav ways to kick-off the gardening season. But the truth is — your seed starting success really is dependent on the supplies and equipment you invest in. And while there’s hundreds of DIY solutions out there, I do suggest following this must-have indoor seed starting supplies and equipment list. Why? Because you’re much more likely to have happy, healthy seedlings that develop into strong garden plants. And who doesn’t want that? I definitely do! So let me walk you through everything I use for indoor seed starting. These are my 10 must-have seed starting items.
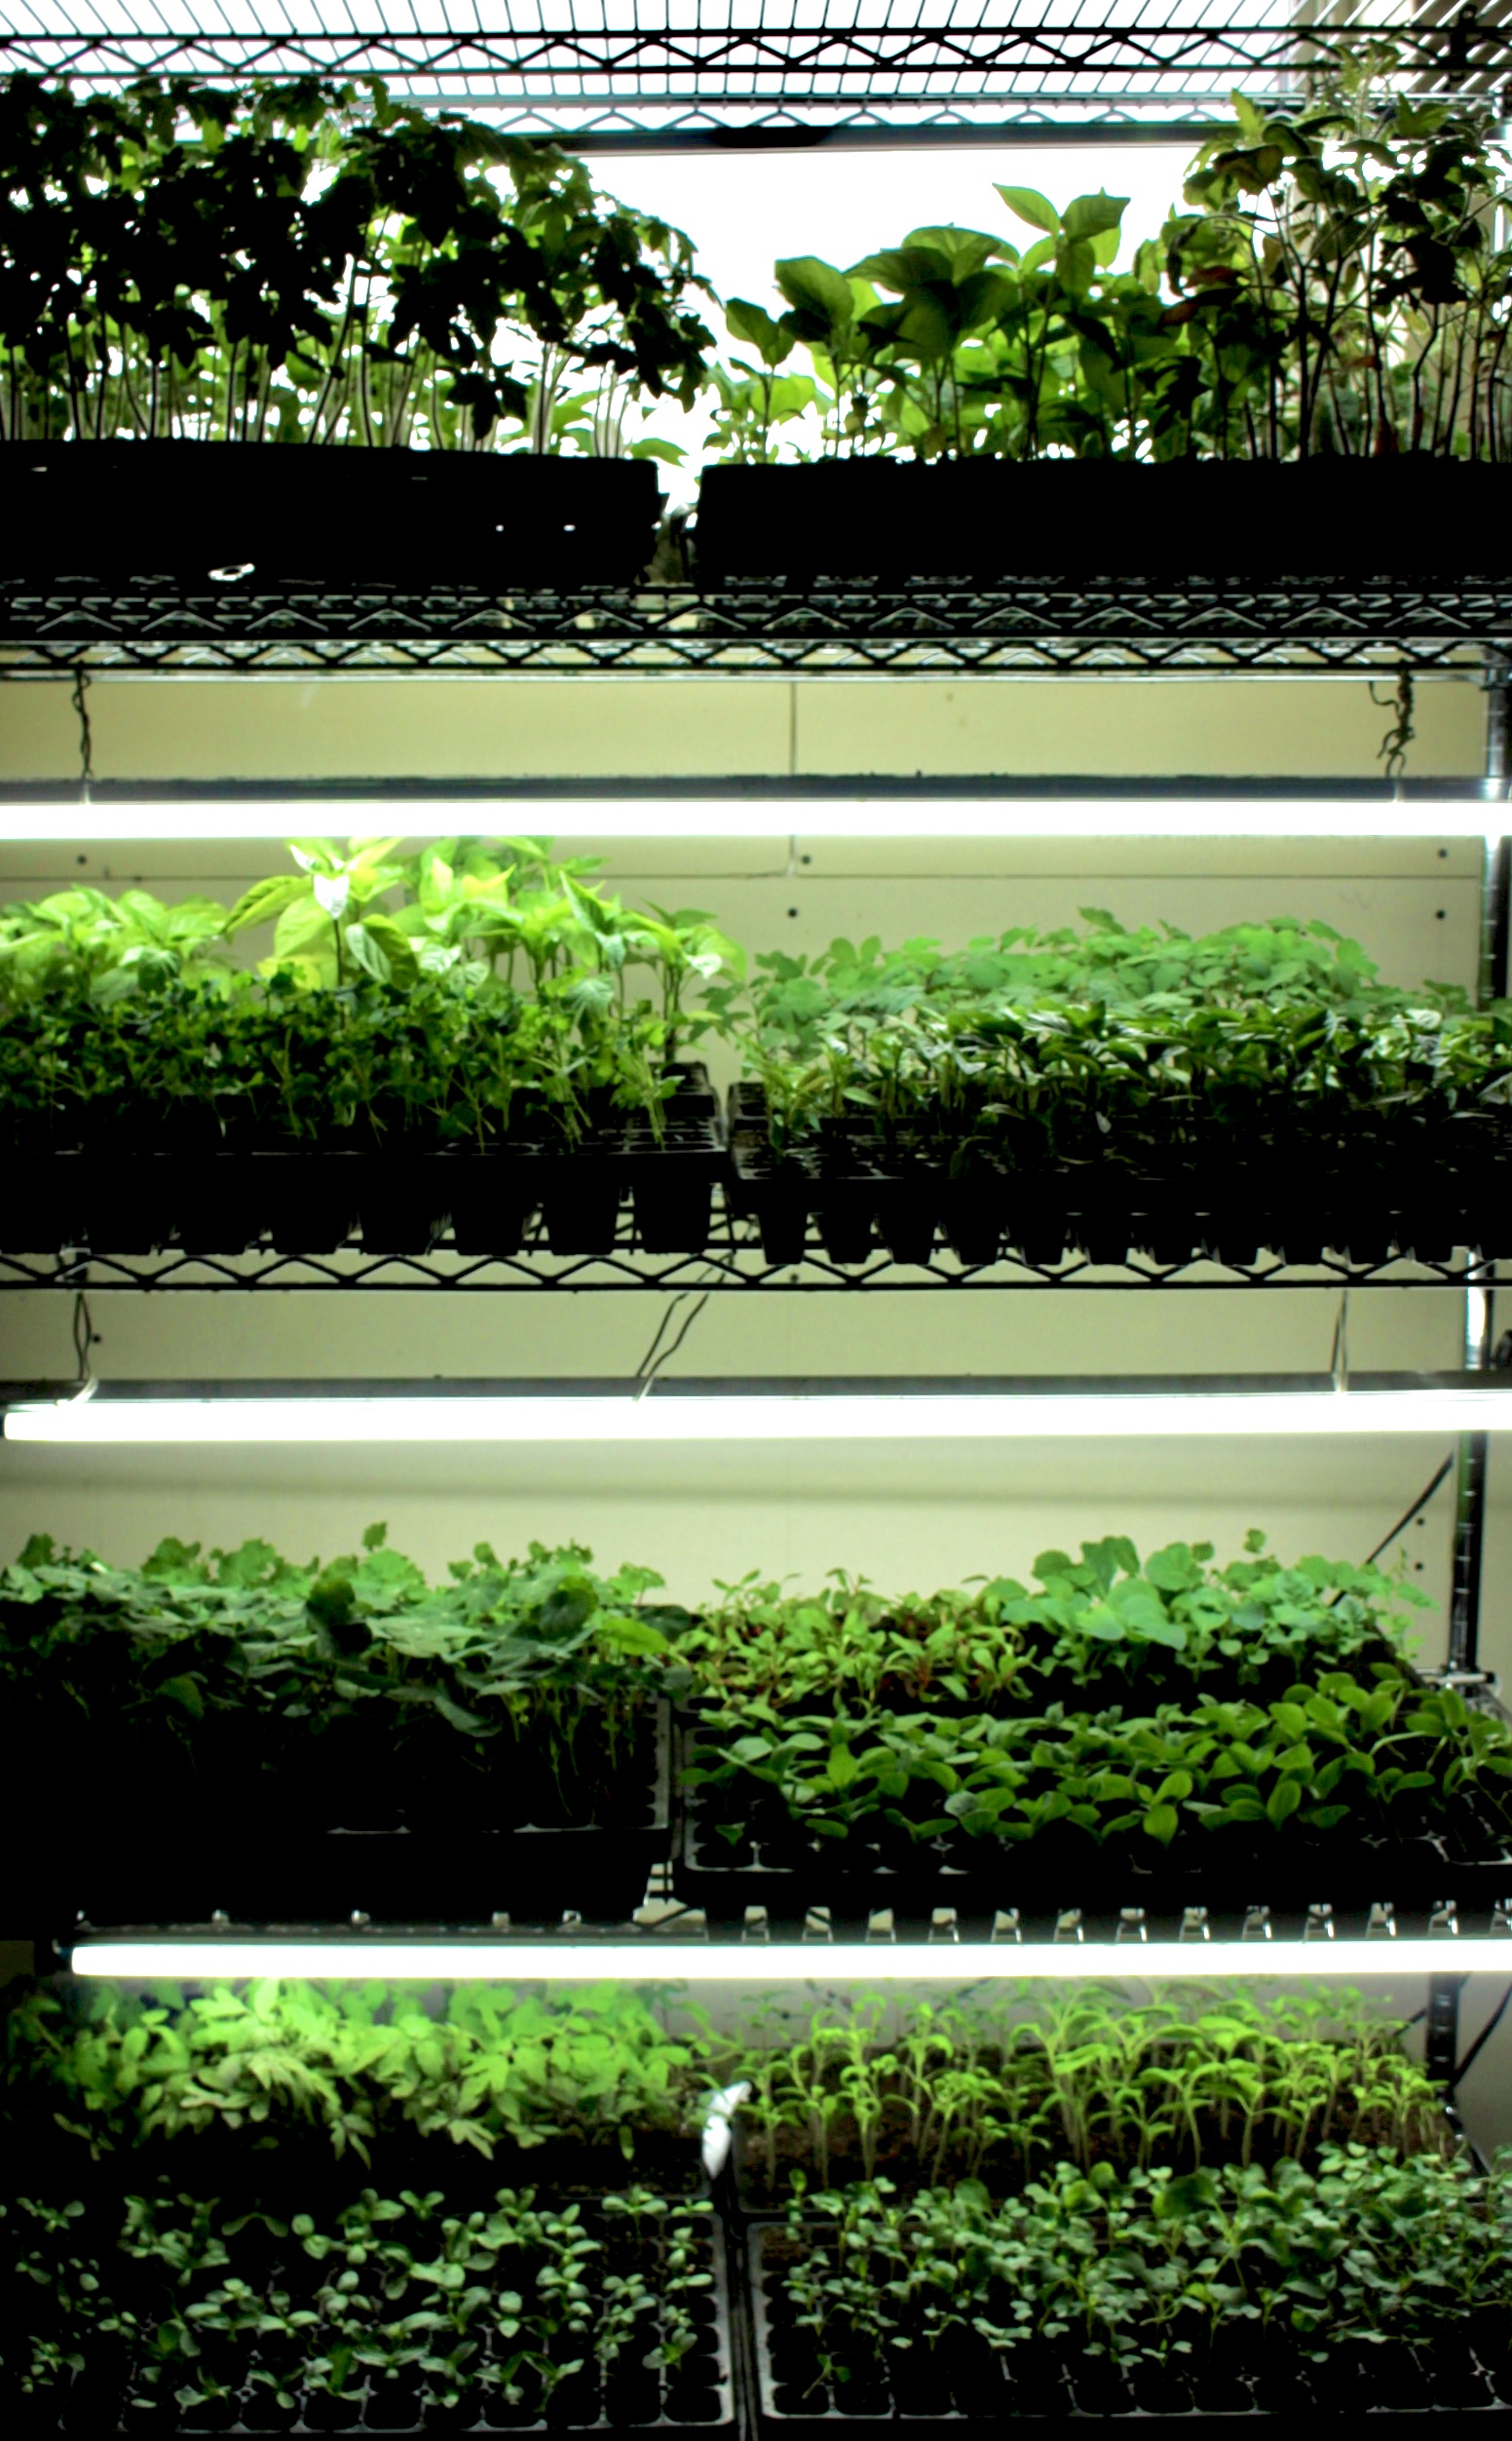
Brand new to seed starting? Check out these other helpful posts next!
- The Ultimate Seed Starting Guide For Canadian Gardeners
- Answers To Your 25 Most Asked Seed Starting Questions
- 5 Common Seed Starting Problems & How To Easily Fix Them
- How To Properly Water & Fertilize Your Indoor Seedlings
Wondering when exactly to start seeds indoors based on your grow zone?
Wonder no more! I have created a suite of master seed starting lists for you to use as a workback schedule.
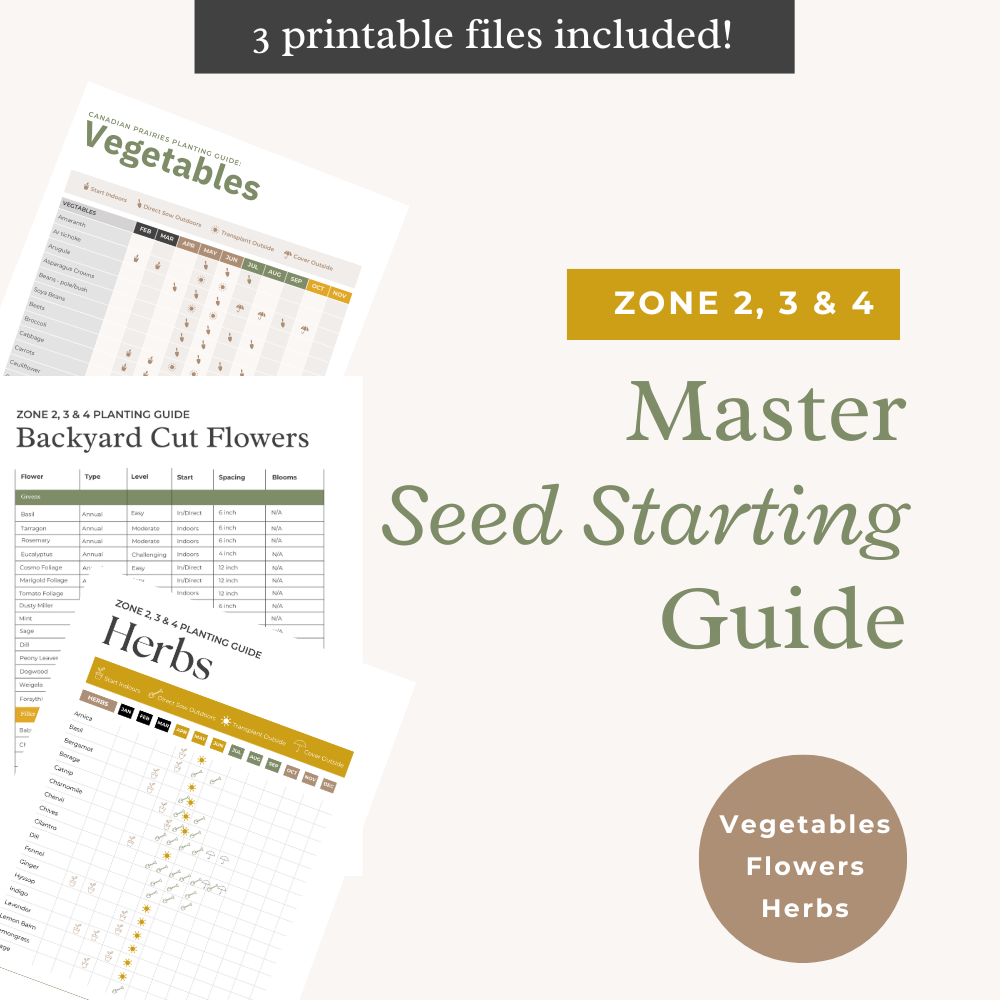
Consider these 3 comprehensive guides your master seed starting lists for vegetables, flowers and herbs specific to gardeners in Zone 2, 3 & 4.
In these PDF guides, you’ll find easy to follow planting advice you can use to build out your gardening planting schedule, including:
- 40 vegetables for a short-growing season
- 70 cut flower varieties
- 30 unique herbs
- Timing for starting each plant
- Suggested growing style — ie: direct sow vs. start indoors
- Additional growing tips — ie: spacing, bloom periods, covering, etc..
What Equipment Do I Need To Start Seeds Indoors?
Let me start by clarifying that you do absolutely need seed starting equipment in order to grow healthy seedlings indoors.
And while you may not need to invest in every single item on my list to have success, there are a few non-negotiables.
So, let me break down the must-have items first followed by the nice-to-haves.
Keep reading for products links and further details for all 10 items on my master seed starting supplies list.
5 Must-Have Seed Starting Equipment Items
1. A Shelving Unit — a designated space for your seed trays and something to hang grow lights above
2. Grow Lights — more on my go-to brand listed below
3. High Quality Seeds — I love and support West Coast Seeds plus have a curated collection you can shop with my fav Zone 3 varieties
4. Seed Starting Soil Blend — find my homemade soil blend below
5. Seedling Trays — 10×20 trays with 72 cells are my preferred for veggies, herbs and flowers
5 Nice-To-Have Seed Starting Equipment Items
1. Bottom Trays — key for effective bottom watering, which I have an entire blog dedicated to here
2. Humidity Domes — key for germination but a DIY solution could work too (ie: plastic wrap)
3. Organic Seedling Fertilizer — I love Sea Magic, more on why, benefits and how to apply below
4. Heat Mat — I went years without using one but when I started to my germination rates improved significantly
5. Small Fan — key for healthy, sturdy seedlings and really helps with hardening off
Additional Seed Starting Equipment & Supplies
- Plant Tags/Labels — lots of DIY solutions, I just stick a piece of paper to the end of each tray with a description of the plants in each row
- Mister — great for watering newly emerged seedlings before true leaves develop
- Timer — use it to set your grow lights on for 12 hours/day, makes the process hands off!
- Multi-Outlet Port — great if you have multiple grow lights, heating mats, etc…all running at once
My Must-Have Master Seed Starting Supplies & Equipment List (10 Key Items!)
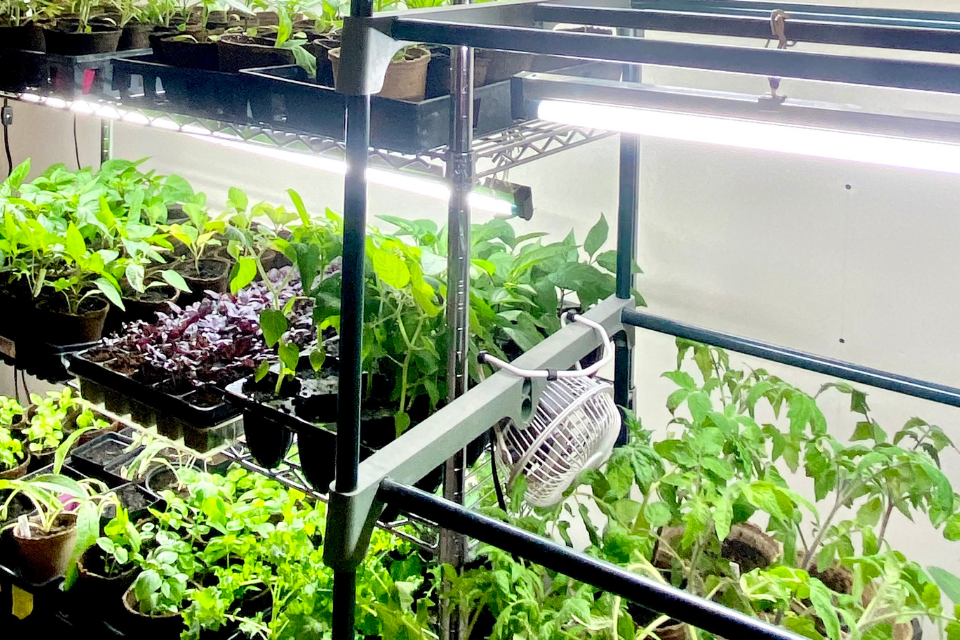
Alright, let’s get into my master seed starting supplies list!
These are the 10 items that I use for all my seed starting and truly can’t live without.
They make seed starting easier. They make my seedlings healthier. And in turn, they make my garden more successful each season.
So let me share with you my 10 must-have seed starting supplies and equipment items.
1. Shelving
Having a designated seed starting area of your home is key to success. Choose a space that’s easily accessible for daily watering, turning on/off grow lights, etc..
With all that said, you’ll need a shelving unit to hold all your supplies.
I really loves these 6-tier wire shelving units on wheels. I have two of them for my indoor seed starting set-up.
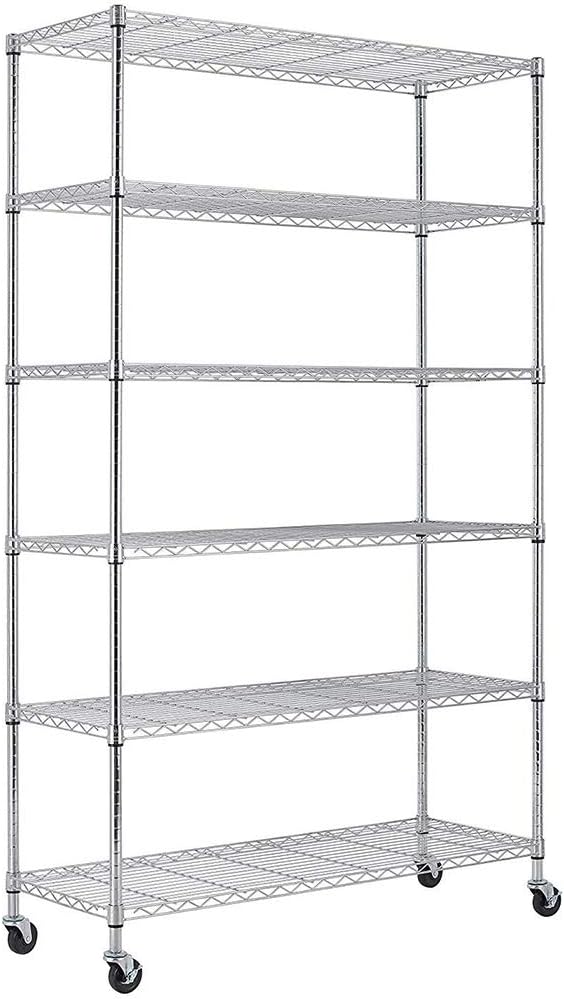
The wheels make it easy to move if I need to sweep up soil from underneath the shelves.
And the wire racks make hanging grow lights super easy!
Alternatively and for a lower-cost option, try one of these mini indoor/outdoor wire greenhouse set-ups.
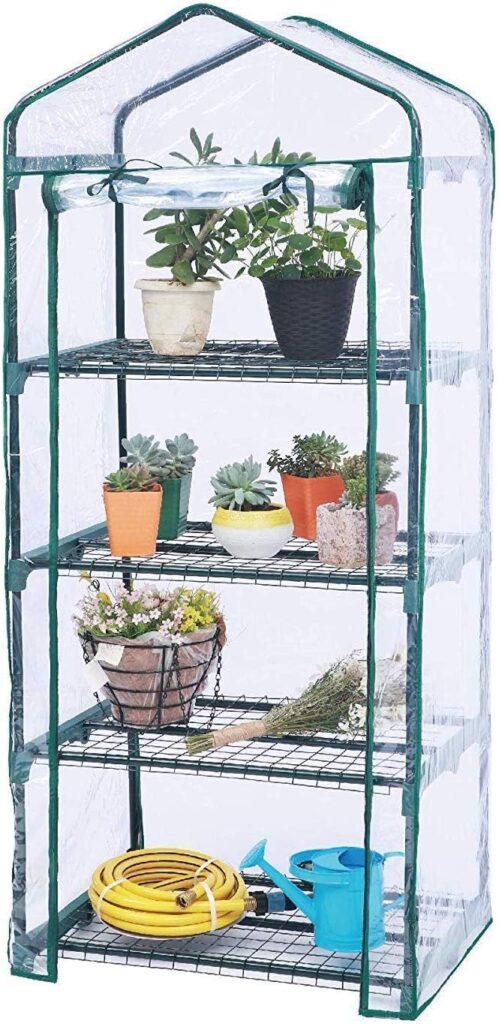
You can kill two birds with one stone (I hate that saying) by using the greenhouse cover as a humidity dome when seedlings are germinating.
Be sure to remove it once your seedlings have germinated though. You’ll wants lots of air flow going to your plants to avoid disease.
2. Grow Lights
Grow lights are 100% essential for indoor seed starting in Northern climates.
You simply can not successfully grow seedlings indoors with natural daylight alone.
There’s two categories of grow lights:
- Fluorescent
- LED
In my experience with seed starting, I’ve always used LED grow lights and I love them!
LED lights are energy efficient, won’t add any additional cost to your monthly electricity bill and have a long life span.
Some of my grow lights are 10 years old and still work great each season.
My fav and preferred grow light brand is Sun Blaster.

I would suggest investing in 1-2 grow lights to get started.
SunBlaster LED grow lights come in a range of lengths, from 24″ to 36″ and up.
Choose a length that works for your shelving set-up.
But more importantly, be sure to select a full-spectrum light that resembles light from the sun.
I personally use the 48” SunBlaster grow lights that are 48W, 5150 lumens.
In other words, you can’t just use a lightbulb from your kitchen and expect to see results.
3. 10 x 20 Seed Cell Trays & Flat Bottom Trays
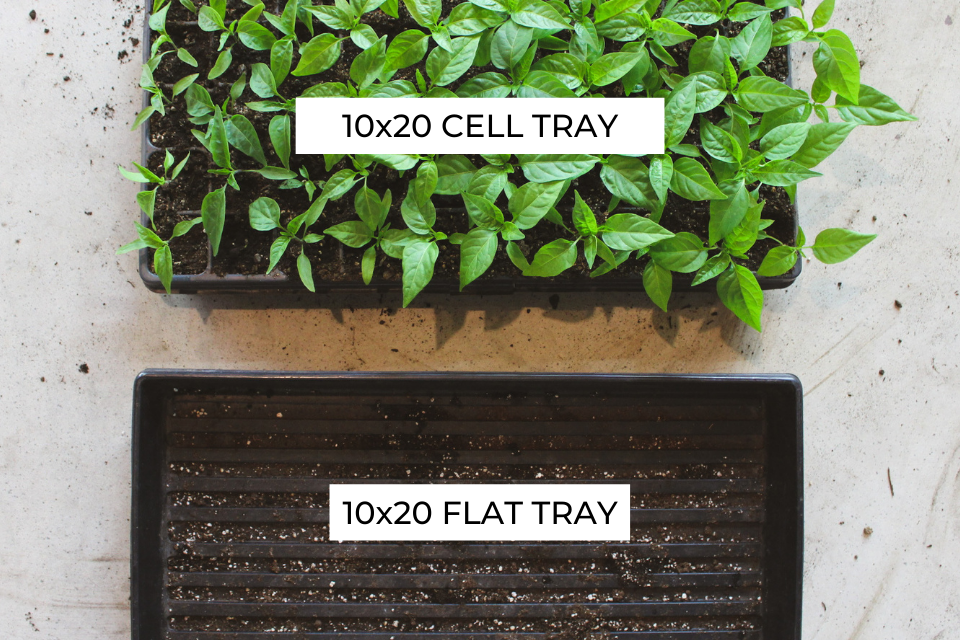
This is what you’ll use to plant each seed into as well as to bottom water your seedlings.
And while there are many DIY options out there, using a professional seed cell tray like this ensures your seedlings are happy.
This is because of two reasons:
- You’ll have proper drainage
- The plastic doesn’t absorb water and dry out soil like many DIY solutions do
I like purchasing these trays that have 48 to 72 individual cells in them so I can maximize how many seeds I’m starting.
For the bottom tray, I like these 10×20 trays without holes. It makes bottom watering really easily.
For more on the bottom-watering method, check out my post How To Properly Water & Fertilize Your Indoor Seedlings.
4. Humidity Domes
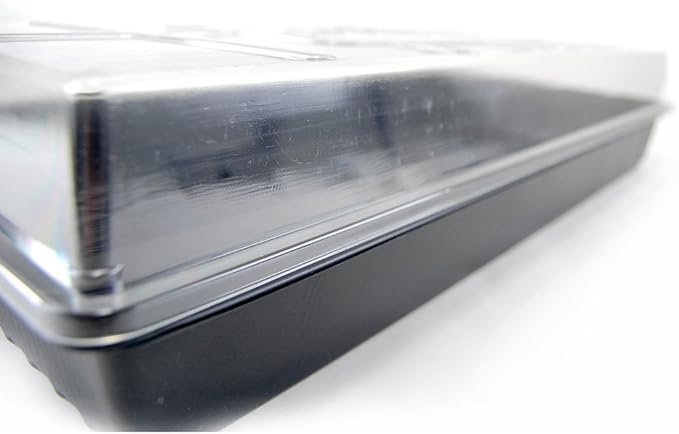
A humidity dome is a clear plastic cover that fits over your seedling trays.
It maintains humidity while your seeds are germinating and keeps the soil moist.
A humidity dome will drastically improve your germination rates as it creates a greenhouse like environment.
Just be sure you’re buying a humidity dome that’s the same size as your seedling cell tray so that it fits nicely overtop.
Alternatively, you could opt for a DIY solution like plastic wrap. But in my experience, it gets frustrating to water underneath and doesn’t trap in the moisture as well.
5. High Quality Seeds

Investing in good quality seeds will make all the difference!
You’ll find you have better germination rates and more resilient plants.
Plus, if you choose a seed supplier from your region, they’ll likely be selling seeds that have been bred for your grow zone.
There’s many amazing providers to choose from. And I’ve gathered all the top Canadian seed suppliers here for you!
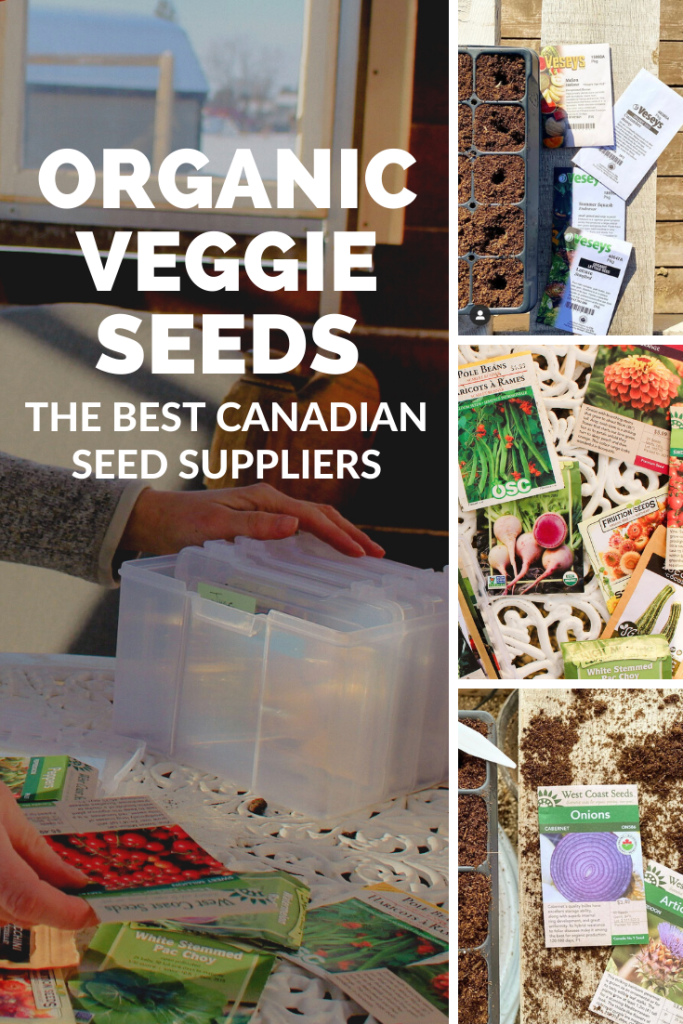
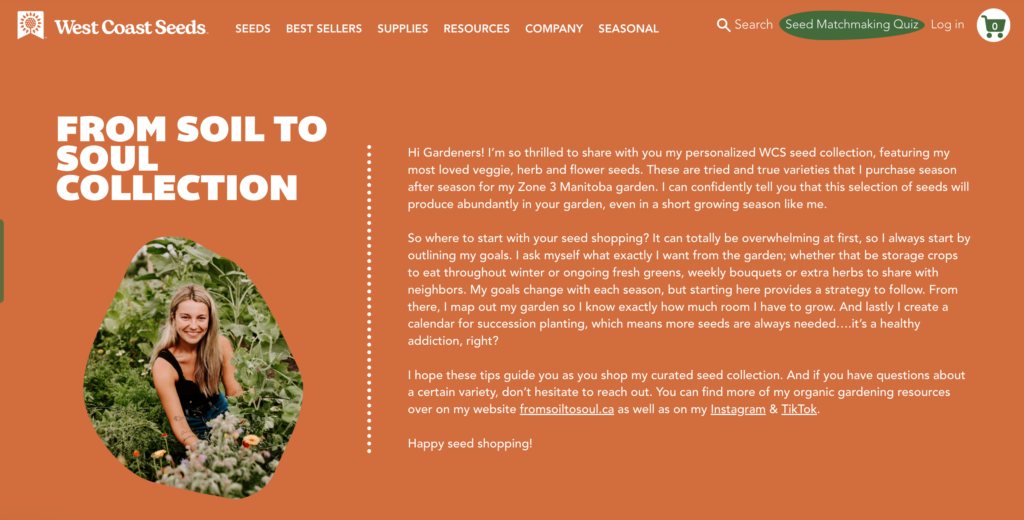
My preferred seed supplier is West Coast Seeds.
Their diverse selection of vegetable, flower and herb seeds make up the majority of my garden every season.
I’ve come to know their team members through email and social engagement. And they’ve continued to graciously support From Soil to Soul through workshop donations, collaborative content and giveaways.
I’ve even been lucky enough to be part of their trial seeds program! Where I get exclusive access to new seeds they haven’t yet released to the public.
Just the coolest!
So it goes without saying that when WCS asked if I’d be interested in putting together a curated collection of my all time fav seeds, it was an absolute YES.
6. Seed Starting Soil Blend
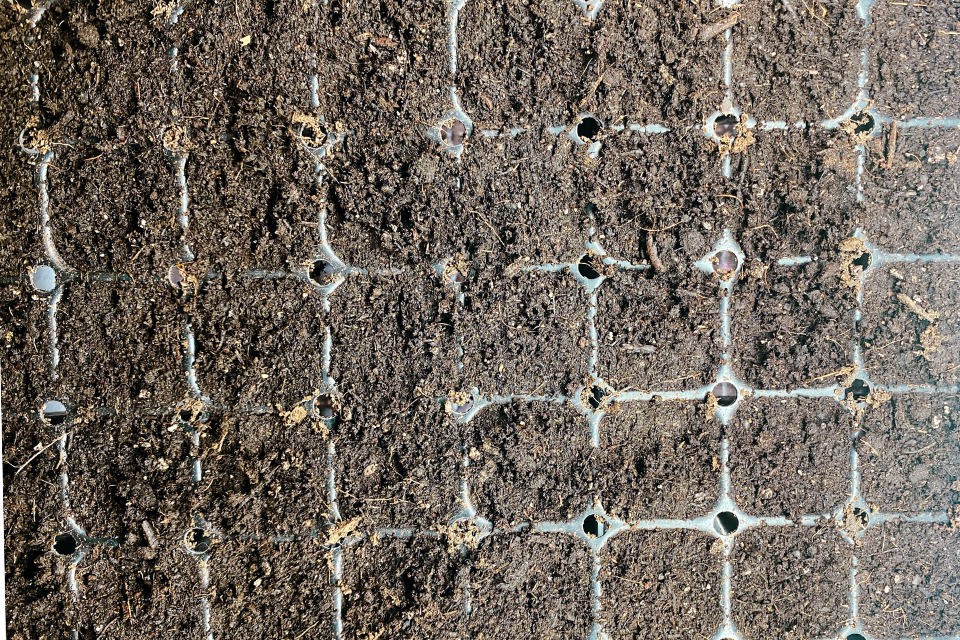
Every gardener has their own unique seed starting soil mix recipe. Trust me, this differs completely from one grower to the next.
I know gardeners who start their seeds in a vermiculite-based growing medium.
Whereas others just use organic potting soil and have great results. Do some trials and find what works best for you!
Nonetheless, this is my recommended seed starting soil blend:
- 40% sifted potting soil
- 20% coco coir
- 20% perlite or vermiculite*
- 20% worm castings (or 10% worm castings, 10% sifted compost)
These measurements don’t need to be exact!
Pro-Tip: Do NOT use soil from your garden. It will be much too heavy for seeds to germinate and may have diseases or pests.
Overall, you want the texture of your seed starting soil to be light and fluffy. It should not clump together.
Alternatively, if you are new to seed starting you can easily purchase a pre-made seed starting soil mix.
I really love the PRO-MIX Organic Blend.
7. Organic Seedling Fertilizer
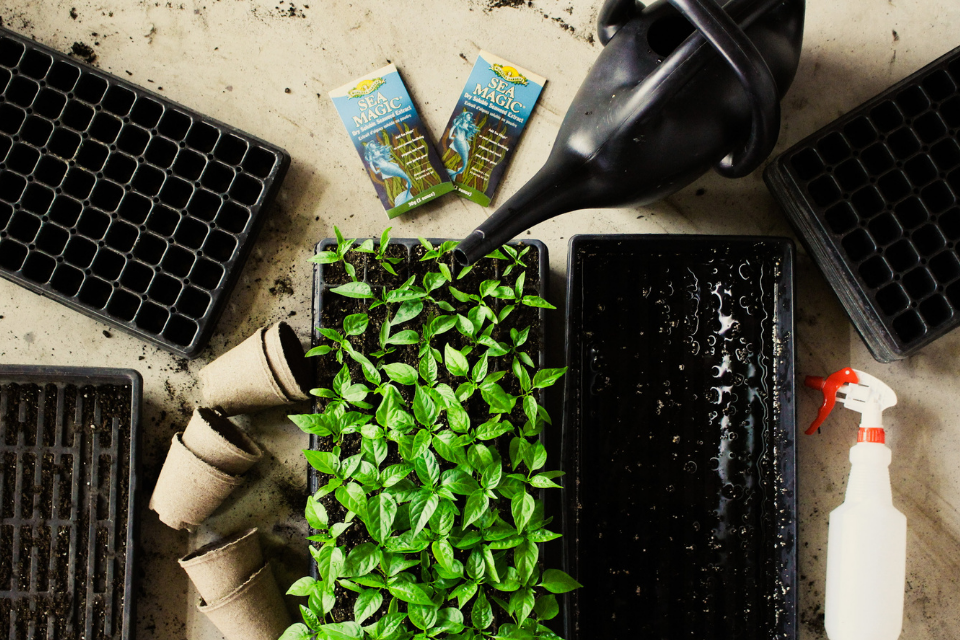
My FAV plant-based liquid fertilizer for seedlings is Sea Magic.
I actually use it in my seed starting soil blend when planting my seeds. And then continue to apply it to my seedlings once every few weeks right through the entire growing season.
Sea Magic helps keep them happy while indoors for long periods of time and reduces the chance of disease.
It’s gentle on delicate baby plants and also 100% organic. I love this product!
And you will absolutely see the difference it makes in your seedlings vs. not using it. Promise!
8. Heat Mat
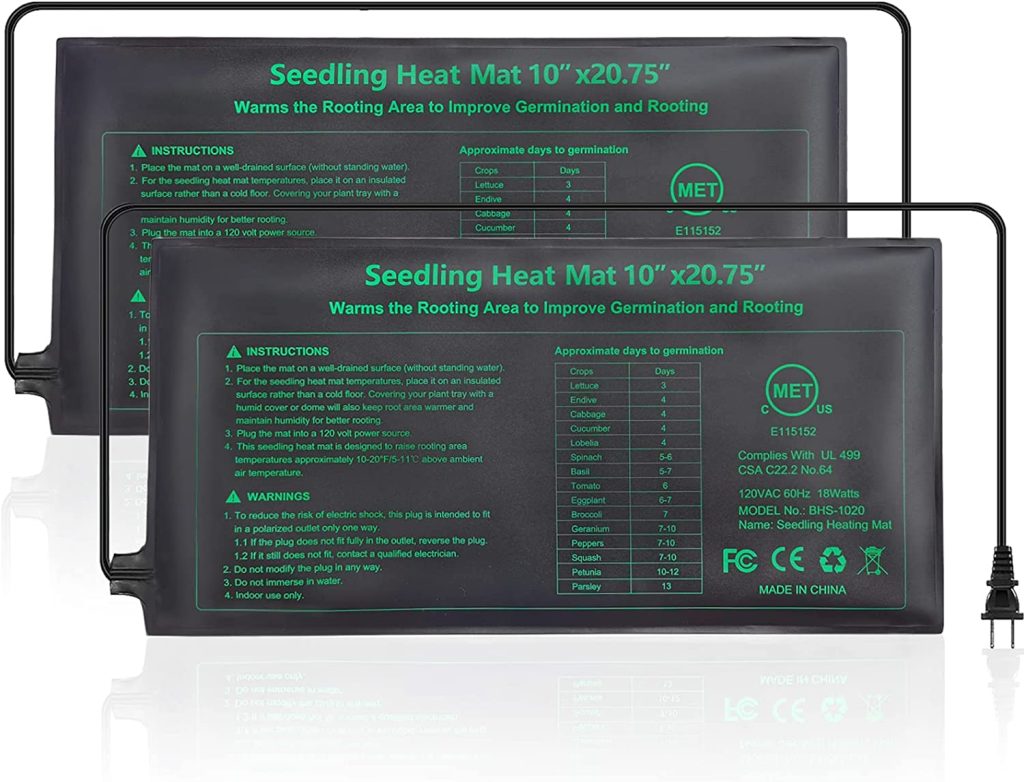
For years I didn’t see the value in buying a heat mat and germinated my seeds just fine without one.
But when I did finally buy one, I was shocked at the difference it made!
My seedlings have stronger roots and germinate exceptionally faster. The heat mat also warms up the air temperature, which is ideal if you’re starting seeds near a drafty window or in a cooler area of your home.
I start all our seedlings in the basement, so the heat mat has made a huge difference.
Here’s the exact heat mat we have.
Now let me also say…
Though I start hundreds of seeds each season, I only have 1 heat mat.
I could probably add a second one to my seed starting supplies at this point. But up until now, it’s worked just fine since you only really need the bottom heat during the germination period anyway.
So while it’s another item to invest in, you can definitely make it work with just one!
But this link to the brand I use actually comes in a 2-pack and is pretty cost-effective!
9. Mini Fan
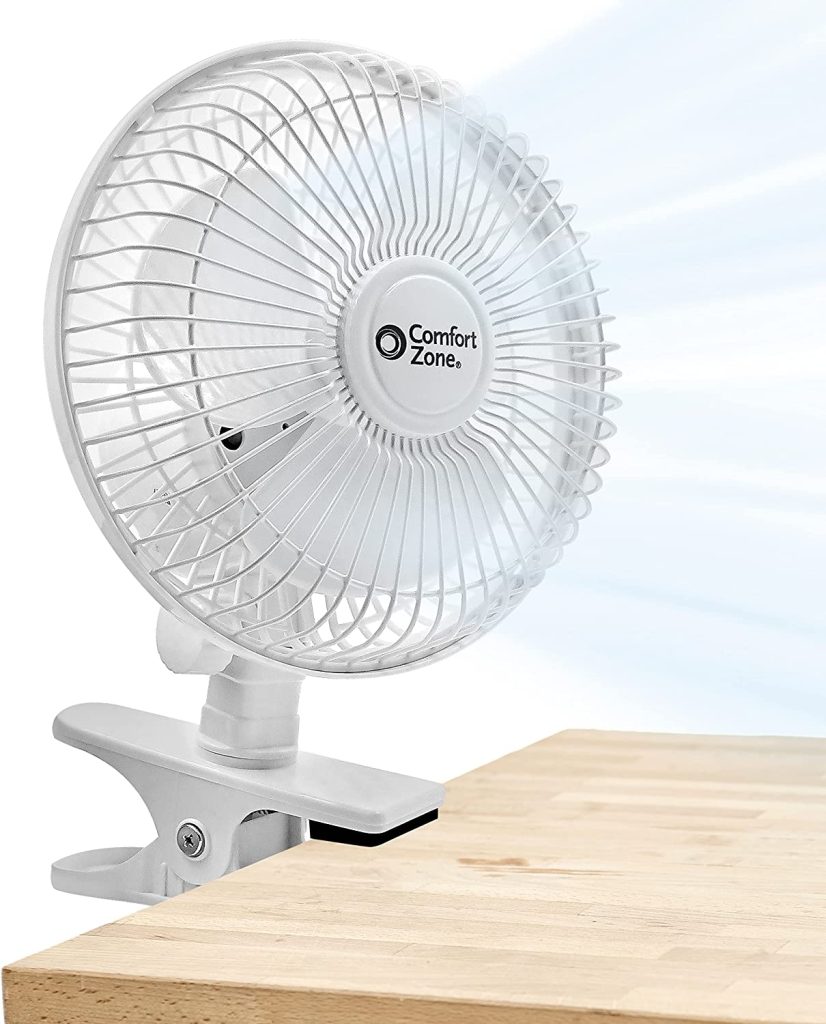
Air circulation is essential for seed starting indoors. And so a mini fan does wonders!
It reduces the chance of mold and strengthens your seedlings’ stems. It also gives your seedlings a better chance at succeeding outside when it comes time to transplant.
I really like this 6inch clip-on fan. It makes it easy to attach to my shelving unit.
If you want to get really serious, you could invest in a few fans and have one for each level of your shelf.
10. Plant Tags/Labels

Last but not least, plant labels and tags.
You’ll want to keep track what you’ve planted in each seedling tray because, trust me, you’ll forget!
You can either purchase small labels to insert into each tray or use my cheap yet effective trick….
Rather than using individual labels, I simply take a small piece of paper and write out what is planted in each row, then tape that paper to the end of the seedling tray.
This strategy works really well because you can still easily cover your seeds with a humidity dome and the paper doesn’t get wet or damaged.
Example:
Row 1-2: Sweet Million Cherry Tomatoes
Row 3: Red Oxheart Tomato
Row 4-6: Candy Cane Bell Peppers
Row 7-10: Carolina Ghost Peppers
And there you have it!
That covers my master seed starting supplies and equipment list. Those are my 10 must have indoor seed starting items.
Remember, if it’s your first year seed starting just start slow. You can and will succeed with patience and time.
You can follow @fromsoiltosoul on Instagram and Pinterest for more gardening content too.
Happy seed starting!
More Seed Starting Blog Posts:
- The Ultimate Seed Starting Guide For Canadian Gardeners
- Answers To Your 25 Most Asked Seed Starting Questions
- 5 Common Seed Starting Problems & How To Easily Fix Them
- 15 Seeds To Start Indoors In January In Zone 3
- The Art Of Potting Up Seedlings – A Complete Guide
- How To Properly Water & Fertilize Your Indoor Seedlings
