How To Properly Water & Fertilize Your Indoor Seedlings
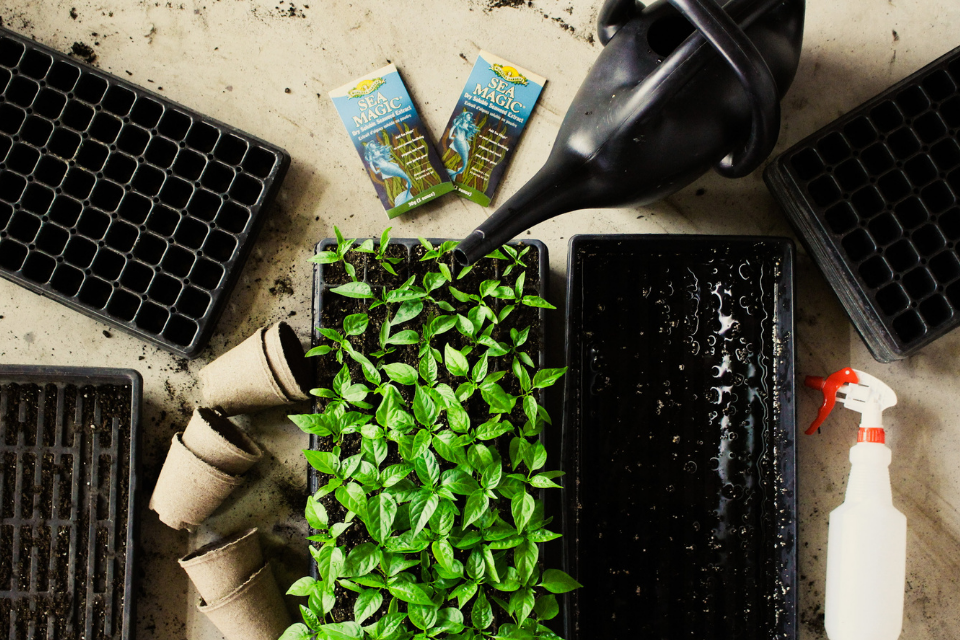
Seedling season is upon us and your main focus for the next few weeks should be keeping your plant babies happy until they’re ready to head outside. Water & organic fertilizer are the two key ways you can do that! But there is a correct and incorrect way to do both.
This post will walk you through how to properly water and fertilize your indoor seedlings. I’ll break down the basics for you while also sharing my exact organic fertilizing schedule for seedlings.
My goal is to eliminate the guess work for any of you beginner gardeners who may have just begun your gardening journey. I’m here for you!
But if you’re a seasoned grower, I think you’ll find a few golden nuggets of knowledge in this post as well.
This post covers:
- How To Properly Water Seedlings
- How To Bottom Water Seedlings Step-By-Step
- How Often To Water Seedlings Indoors
- How Much Water Do Seedlings Need
- Should I Fertilize My Seedlings
- When To Start Fertilizing Seedlings
- What Are The Best Organic Fertilizers For Seedlings
- How To Organically Fertilize Seedlings
- How Often To Fertilize Seedlings
First things first, if you are brand new to seed starting I encourage you to go check out my Ultimate Guide To Seed Starting For Canadian Gardeners.
There you’ll learn when to start seeds for your grow zone, tools and supplies you’ll need and the easiest seeds to start indoors. Basically, everything a beginner gardener needs to know about seed starting!
How To Properly Water Seedlings
The two most important things to consider when watering your seedlings are;
- Being consistent with your watering
- Ensuring seedlings are not sitting in water
Consistent watering means you should check your seedlings’ soil moisture daily (or every other day) to ensure they’re not drying out. You’ll stress your seedlings out if their tender roots are drying out regularly. So be consistent, and stick to a watering schedule.
When it comes to sitting water, this will also stress out your seedlings and potentially lead to disease, root rot and mould development.
To avoid your seedlings sitting in water, add small amounts of water using a small watering can or even a turkey baster (sounds silly but it works!). Let the water absorb into the soil then add more as needed.
Keep these two things in mind from when your seeds first germinate until they are ready to be planted out in the garden.
So, how do you properly water indoor seedlings? Let me explain my three step method.
3 Easy Steps To Properly Water Seedlings
Step 1: Plant seeds into wet soil.
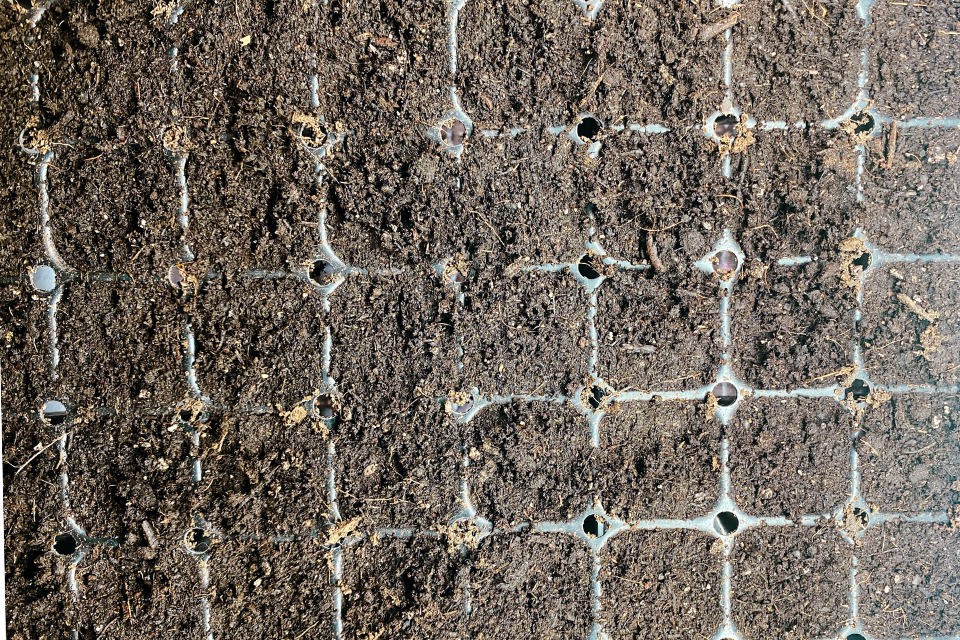
Along with light, heat and humidity, seeds require moisture in order to germinate. My top tip when it comes to seed starting is to get your seed starting soil mix nice and wet before putting it into your trays or containers. This is so, so important!
Soil also expands when it’s wet. So if you wait until your seeds are planted to wet the soil, it will expand and displace your seed.
Simply add your seed starting soil to a large mixing bowl and mix in 1/2 cup of water at a time. Use your hands to combine the water and soil. The soil should easily clump together when you squeeze it in your hand but not be dripping wet.
Continue to add small amounts of soil and water until you have a mixture that isn’t soupy but rather sticky and wet to the touch.
Step 2: Gently mist soil with a spray bottle during germination & before true leaves emerge
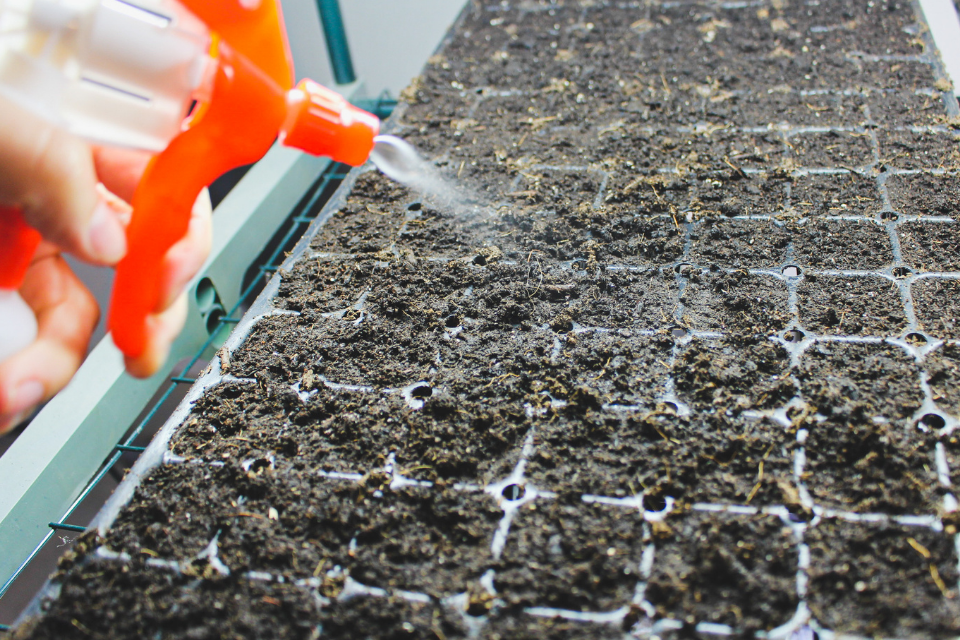
As you wait for your seedlings to germinate, be sure to keep the soil moist by misting with water in a spray bottle.
A plastic or glass spray bottle works very well for watering at this stage of the seed starting process because it is gentle enough that it won’t displace your seeds while still providing enough moisture to help with germination.
A humidity dome will also help to keep the soil moist, but every few days during germination I like to lift up the domes and mist the top of the soil.
Once your seeds germinate, remove the humidity dome completely to allow for air flow. You can continue to mist with a spray bottle until the true leaves emerge. But be sure to also water the soil with a turkey baster or small watering can if it begins to dry out. The misting alone won’t provide enough water.
Step 3: Bottom water once true leaves emerge

A “true leaf” is the leaf that can actually perform photosynthesis and generate energy for the plant. True leaves emerge anywhere from a few days to weeks after germination. The first leaves that emerge after your seed germinates are actually considered “cotyledons” and are the seed embryo.
To simplify things, the true leaves of your seedling will be the second set of leaves that emerge on your plant.
Once true leaves emerge, you’ll want to start bottom watering your seedlings. I’ll walk you through my step-by-step process next!
But the main benefit to bottom watering is that it encourages stronger root development as your seedlings needs to reach down to gather water.
How To Bottom Water Seedlings Step-By-Step Instructions

As I mentioned above, bottom watering your seedlings is a great way to improve root development and strength. But it’s also beneficial for reducing the chance of disease that can occur if you have water sitting on your seedlings’ leaves and stems.
I bottom water all my seedlings and have found that my plants do much better when transplanted out in the garden! It truly makes a huge difference in how resilient my seedlings are.
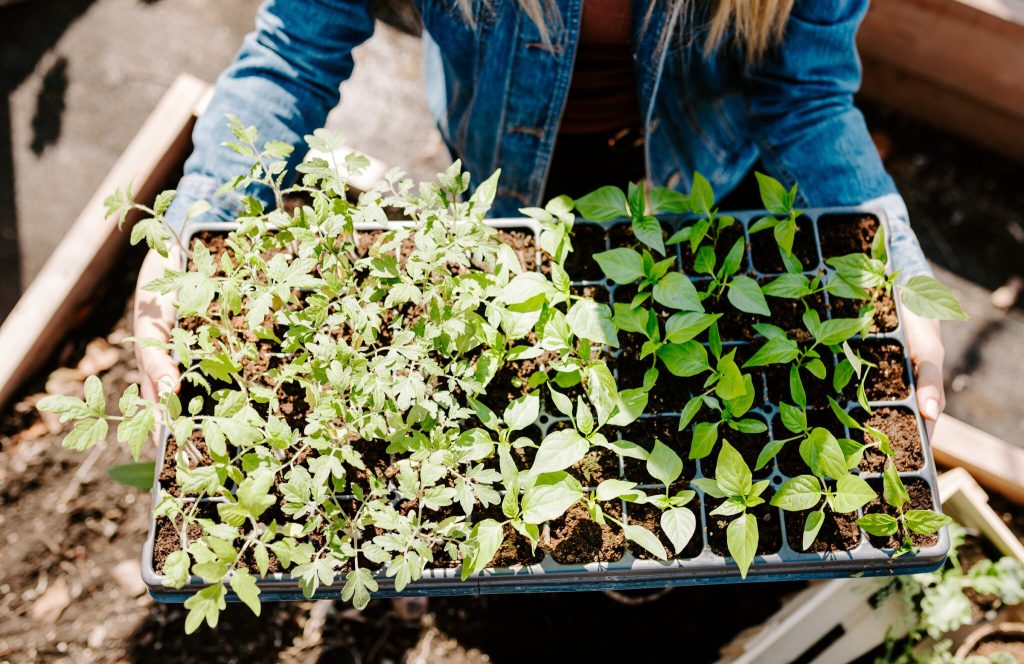
Okay, back to bottom watering seedlings!
It really is a simple watering method that will level up the quality of your seedlings.
How To Bottom Water Seedlings Step-By-Step
First, you’ll need some sort of base or bottom container to pour the water into.
I like to use 10×20 flat trays that do not have any holes in the bottom (to avoid leakage). They are the perfect size to place a 10×20 seed cell tray into.
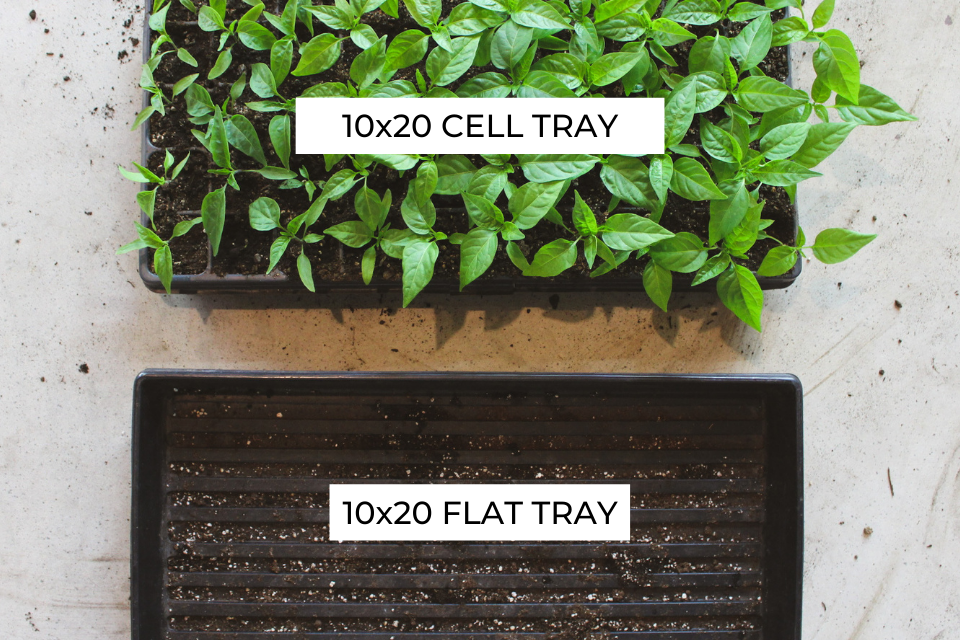
Though these trays are unfortunately made of plastic, you can invest in heavy-duty ones that will last years. My personal favs are from Bootstrap Farmer and made from recycled plastic.
Alternatively, you could opt for a more DIY solution and use any shallow dish that can easily be filled with water.
Next, fill your tray with 2-3″ of water. Then, gently place your tray of seedlings or containers inside.
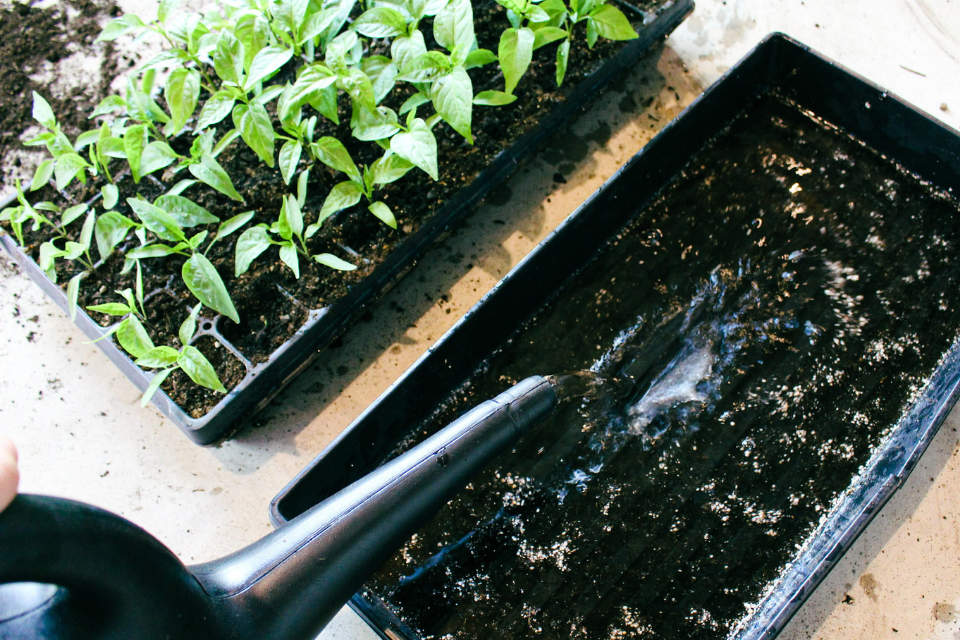
I like to take a less is more approach when it comes to adding water. I add a small amount, wait for my plants to absorb it and then add more if my seedlings still seem to be dry.
Of course, this only works if the containers your seedlings are in have drainage holes at the bottom. If they don’t you will run into other issues down the line, such as root rot.
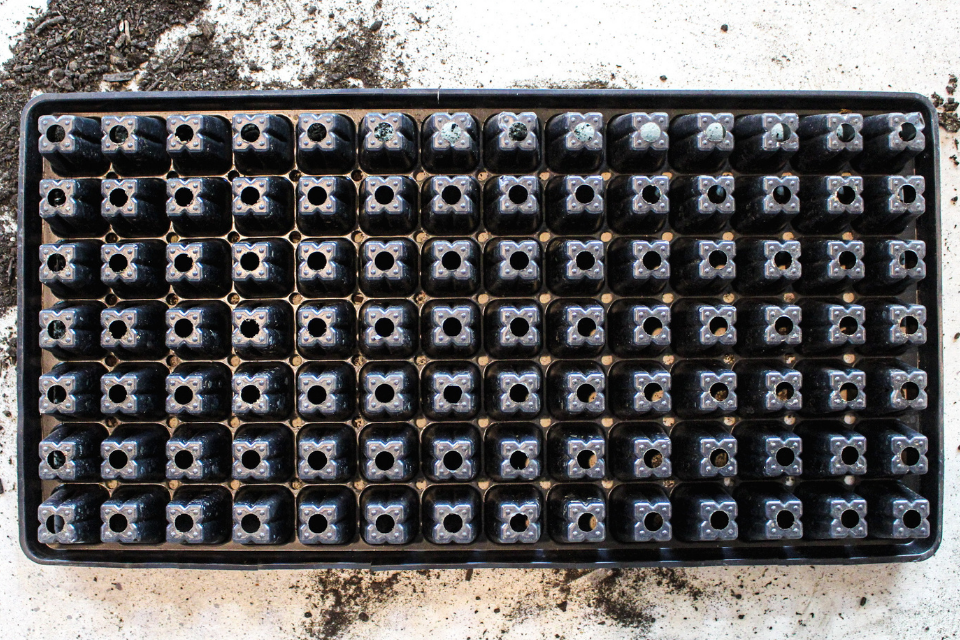
Leave your seedlings in the bottom tray of water for anywhere from 2-10 minutes. On especially warm Spring days when my seedlings are quite dry, I will let them bottom water for upwards of 15 minutes to ensure the roots can absorb lots of water.
A tell tale sign that you’ve watered your seedlings enough is when the top of the soil is wet.

At this point, you can remove them from the bottom waterer. Then, repeat the bottom watering process again in a few days time.
And with the bottom watering approach, you’re guaranteed to have happier, healthier seedlings!
How Often To Water Seedlings Indoors
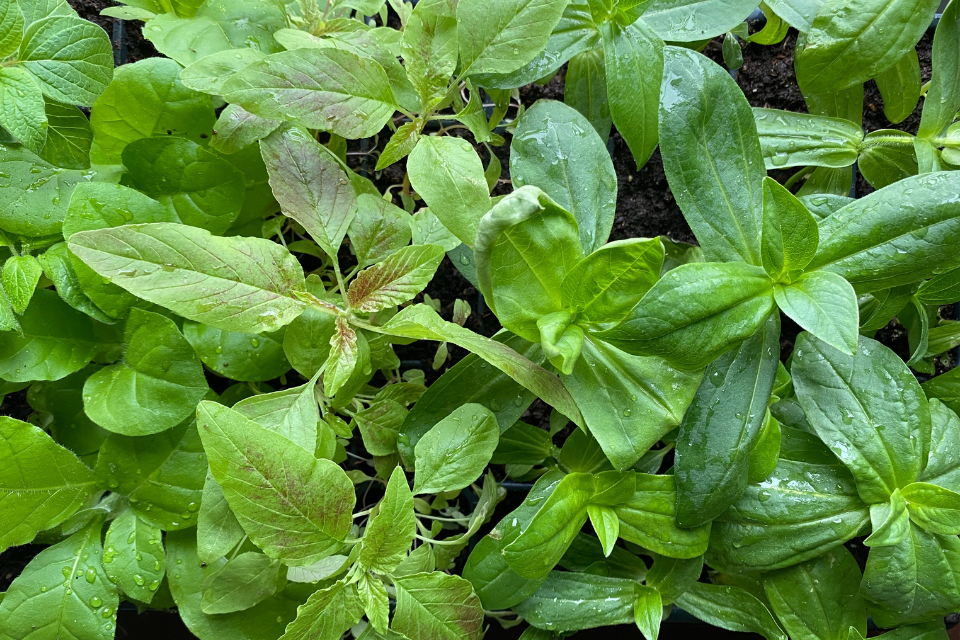
Seedlings need to be watered consistently every few days.
The easiest way to determine how often you should be watering your seedlings is by simply sticking your finger in the soil and seeing if it’s dry.
Put your finger 1/2” to 1” deep into the soil. If it’s dry, it’s time to water!
This is a good trick because sometimes the top layer of soil will be dry but that doesn’t necessarily mean the roots of the plant need water.
How Much Water Do Seedlings Need
Now when it comes to the exact amount you should water your seedlings, it will depend on two main things:
1. The size of container they are in — if your seedlings are in a small cell with a little amount of soil, they will dry out faster. On the other hand, if your seedlings are planted in a 4-6″ container, they will likely require heavier waterings but more infrequently.
2. The soil mix you’re using — a peat moss-based soil mix will dry out quite quickly as peat doesn’t retain water well. A seed starting soil mix of compost and potting soil will hold more water. Vermiculite is also a great addition for seed starting to support drainage.
Additionally, if your seedlings are under grow lights, which I highly encourage any Northern gardeners to use, your seedlings will dry out quicker from the heat of the light as well.
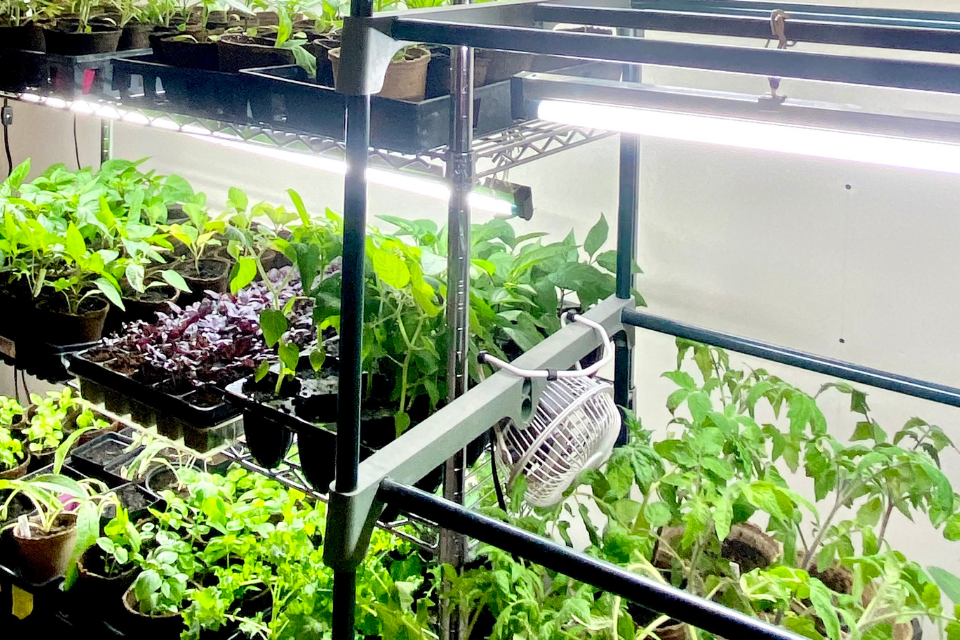
Seedlings need enough water that the roots are completely hydrated while also ensuring you’re not drowning them. It’s a balance!
Another benefit of bottom watering is you can easily control how much water your seedlings are getting. Just remove the tray or containers from the base of water once the top of the soil appears wet. That will indicate the roots have absorbed the water all the way up.
Should I Fertilize My Seedlings
The answer is YES!
You should absolutely fertilize your seedlings. Organically, of course.
The reason being that your seed starting soil simply doesn’t contain enough nutrients to help your seedlings grow and develop. This is especially true for any slow maturing seedlings that need to be started 12+ weeks before your last frost date. That’s a long time to live indoors without any additional fertilizer.
If you’re using a seed starting mix that includes compost and/or worm castings, it will offer your seedlings some food but not enough.
Though water and sunshine are key elements to growing strong seedlings, fertilizer is also a necessary tool.
Seedlings need the following nutrients:
- Nitrogen for foliage growth
- Phosphorus for strong root development
- Potassium for disease prevention
All this to say, fertilizing your seedlings is a must and will make all the difference in keeping your plants happy long-term while also helping them get strong.
When To Start Fertilizing Seedlings
With organic fertilizing, there’s far less chance of damaging or burning your plants from fertilizer. This means, you can start feeding your seedlings right away!
If you are using a seed starting soil mix that includes compost and/or worm castings, you technically start fertilizing your seedlings as soon as the seeds are planted. The compost and worm castings slowly release nutrients to the seed as it grows.
This is a great approach and one I definitely suggest!
But, if you use straight peat-moss or potting soil as the base of your seed starting soil mix, then your seedlings aren’t getting any additional nutrients. If this is the case, you’ll want to start feeding them with an organic supplement right away.
What Are The Best Organic Fertilizers For Seedlings
I believe in using two types of organic fertilizers to feed my seedlings.
The first being kelp. Yes, kelp as in seaweed!
Kelp is an incredible plant-based, organic fertilizer that has many benefits, including;
- Faster germination
- Reduced fungal diseases
- Stronger root development
- Better water retention
My go-to kelp-based fertilizer is Sea Magic. It’s locally manufactured in Manitoba too!

I like to add 1-2 tbsp of Sea Magic into my watering can (approx 8L/2gal) every other time (give or take) I water my seedlings after the true leaves have emerged.
The other best organic fertilizer for seedlings that I love to use is the Evolve Organic Seedling Starter. Also from a local Manitoba company!

The Evolve Organic Seedlings Starter Fertilizer is a liquid formula that contains necessary amounts of NPK (nitrogen, phosphorus, potassium).
It helps tremendously with dampening off (a disease that results in seeds dying slowly after germination) as well as root development.
I’ll admit, I use this fertilizer when I remember. Usually only once a month or so. I don’t have a strict schedule here, but even just adding it to my fertilizing routine a few times before my seedlings are transplanted makes a big difference.
How To Organically Fertilize Seedlings
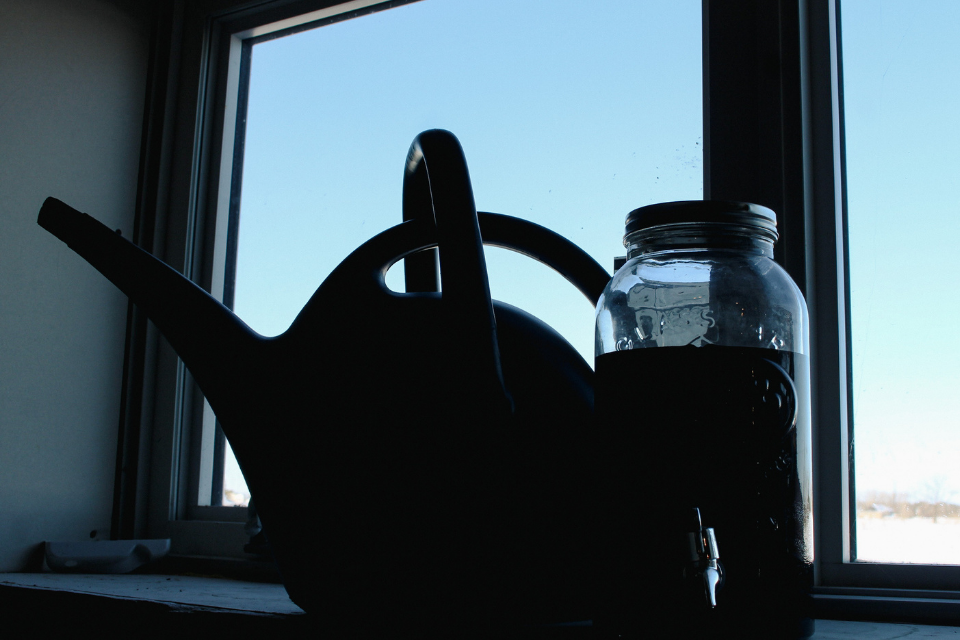
I like to keep my liquid fertilizer concentrate in a large mason jar with a bottom spout, which makes it easy to add to my watering can as needed.
If using a liquid-based organic fertilizer (like I do), you can easily fertilize your seedlings the same way you water them, from the bottom!
This is the approach I use and suggest. The roots of your plants can absorb the nutrients from the fertilizer the fastest and easiest this way.
Start by adding the recommended amount of fertilizer into your watering can.
Mix it to combine thoroughly and then pour 1/4 cup to 1/2 cup of fertilized water into your basin.
Then, place your seed tray or containers in it and let them soak for a few minutes as they absorb the nutrients.
Easy as that!
*Note: Avoid using granular fertilizers on seedlings. The concentration of nutrients in each pellet is too strong for small plants. Granular fertilizers are better suited for mature plants in raised beds, containers or in-ground gardens.
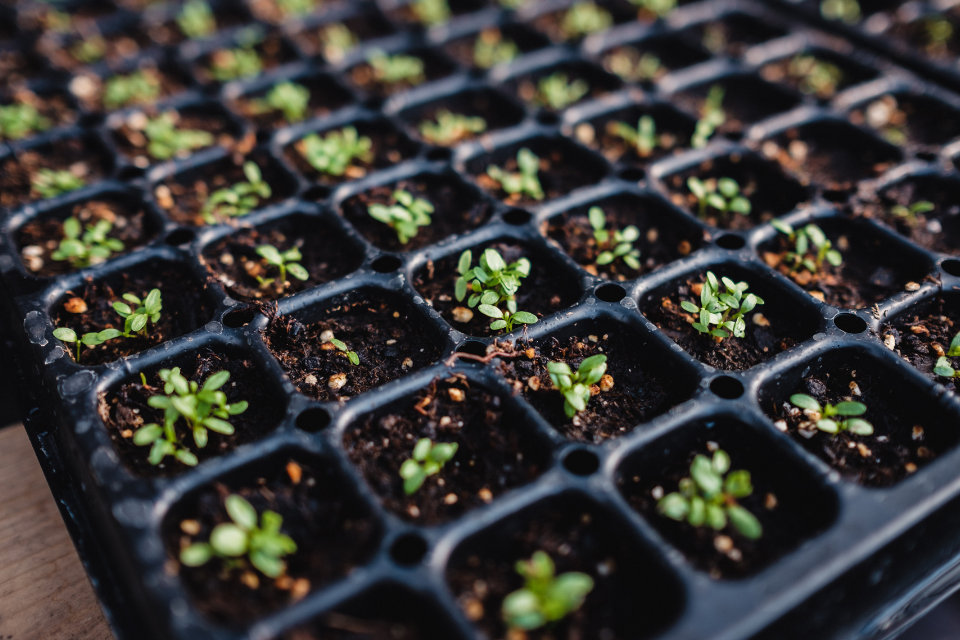
How Often To Fertilize Seedlings
Even if you only fertilize your seedlings once before they are transplanted into the garden, it will make a difference!
However, you’ll see an even greater benefit if you fertilize your seedlings regularly.
I aim to fertilize my seedlings at least once a month. Because let’s be honest, life gets busy! Especially during seed starting season. But if you’re choosing organic fertilizers, you could fertilize your seedlings as often as once per week.
My friends at Manitoba’s trusted certified organic greenhouse, Sage Garden start fertilizing their seedlings before germination has even occurred. They water with a kelp-based fertilizer as soon as they’ve seeded their trays and then continue to fertilize weekly afterwards.
So, how often should you fertilize your seedlings?
The most straightforward answer is minimum once per month, maximum once per week.
The big takeaway here is to please choose organic fertilizers. Our planet, your health and your seedlings will thank you!
And there you have it!
I wish you all the best in your seed starting and hope you use the bottom watering approach. I promise you, it will make a difference in your seedlings growth.
If you have any unanswered questions, be sure to comment below. I love hearing from you and answer all comments.
You can follow @fromsoiltosoul on Instagram and Pinterest for more gardening content too.

I appreciate your posts! They are so thorough without anything unnecessary!
Mason jar with a bottom spout for Sea Magic concentrate is such a simple but brilliant idea!
I use the deep cell starting trays and I am still learning how to bottom water those properly. I feel like by the time I see the moisture in the top layer, it is way too late. Plus, I struggle with being an overwaterer to begin with!
Hey Marilena, thank you for the kind words! I put lots of time and effort into each post and so appreciate when it’s noticed. A tip to help with overwatering is to stick your finger in the bottom of the drainage hole. If dry = time to water! I also aim to do really deep waterings every few days to week rather than smaller waterings more frequently. Good luck with your seed starting!
Hello, thanks for the article!
I over watered my pepper plants after I transplanted them to a larger container. They have stayed wet for 5 days and I’m worried about root rot. What do you recommend I do?
Hey Ashley! Are they under grow lights? Grow lights should help dry out the soil. I’d also recommend putting a small fan nearby to encourage air flow. The other thing that comes to mind is that your soil might not have adequate drainage. If you have time, you could mix some vermiculite into your soil mix and repot your peppers. All the best, I hope they turn around!
Hi, I was reading about fertilizing my seedlings from your blog and I have a question. You said bottom water by adding 1/4 to 1/2 cup in the bottom pan. I am using a 1020 tray and putting in 16 oz dixie cups for tomatoes planting them in a less than half full cup at first. Saw on tube. Do you think just 1/4 to 1/2 cup is enough to fertilize them? Thank you so much. Elena
Hey Elena! The wonderful thing about organic fertilizers is that you can’t really over do it. So if you’re bottom fertilizing with a liquid based fertilizer, I’d start with a 1/2 cup and see how quickly it gets absorbed. If your seedlings absorb it quickly but the soil is still dry when you stick your finger in, repeat the process again. Good luck and thanks for your comment 🙂
Love your articles so much thank you for taking the time to write these you inspired me to try eucalyptus this year!
These are such great tips!!
Thank you Maggie! 😊
Love this website with all the information!!! I live in Zone 3b so very helpful.
I remember hearing the bottom watering tip on your podcast! Such a great tip for beginners like me! When does the pod make it’s spring return? Can’t wait!
The pod is officially back!
This was super helpful 😊 can’t wait to try this out, starting my April seeds soon! Thanks for the tips!
Thanks for the post! Still hesitant to really touch fertilizer because I’m nervous I might spoil something. What should I keep an eye out for if I’ve been too heavy handed or that it’s actually paying off?
Congratulations on the new site! I like the field notes section.
Kal
Wonderful & very helpful tips, Maggie! Thank you! I, oddly, never thought to use the sea magic in the germination stage