How To Grow Onions — Harvesting, Curing and Storing Over Winter
Arguably one of the most underrated garden veggies, onions are one of those crops you’ll never regret planting. I’m sure of it! They are rookie-friendly and actually very easy to grow. Plus, you can enjoy onions long after the gardening season is over. What’s not to love?
This post covers:
- The Basics on Growing Onions
- 3 Ways to Grow Onions
- Onion Planting Guide
- When & How-To Harvest
- How to Cure Onions
- Storing and Preserving

The Basics on Growing Onions
Onions are what I like to call a “plant and forget” style of crop. They are easy and forgiving. After you get them in the ground, they don’t require much maintenance aside from water and mulch. When rookie gardeners ask, “What’s an easy veggie I can grow?” my answer almost always includes onions. Especially if you start them from sets, which I’ll talk about more!
They’re a perfect option for newbie growers for several other reasons too:
- They can be harvested at different stages of growth throughout the season.
- They’re one of the first things you can get in the ground in early Spring.
- They attract very few pests and in fact do a great job at repelling things like aphids, flea beetles and ants.
- They won’t go to waste as you’ll use onions in dozens of different dishes…stews, soups, casseroles, etc..
You can choose from dozens of different varieties of onions that grow well in a short, hot season like we have here in Canada. Not only are there different varieties of red, white and yellow onions, but they can also be classified differently based on when they’re harvested.
- Green onions or scallions are the stems of young onions. In our Zone 3b garden, I trim my green onions back and use in our kitchen throughout the month of May when the onions are are still maturing.
- Spring onions are considered the immature, small bulbs. I harvest spring onions when/if I need to thin down my onion beds. If growing from sets, this is usually after they’ve been in the ground for 4-5 weeks.
- Bulbing onions are onions you’ve grown to full maturity. I’ve found that growing onions from sets is the best way to grow bulbing onions that are large and uniform. These are the onions I’ll be talking about in this post as they are the right size for storing over the winter.
Onion varieties are also classified as either short day, long day or day neutral.
From my growing experience and based on what other friends/fellow gardeners have said, long day onions grow best in a Zone 3 climate and across most of Canada and the northern U.S.. Two varieties I’ve tried and had success with are:
- Rossa di Milano
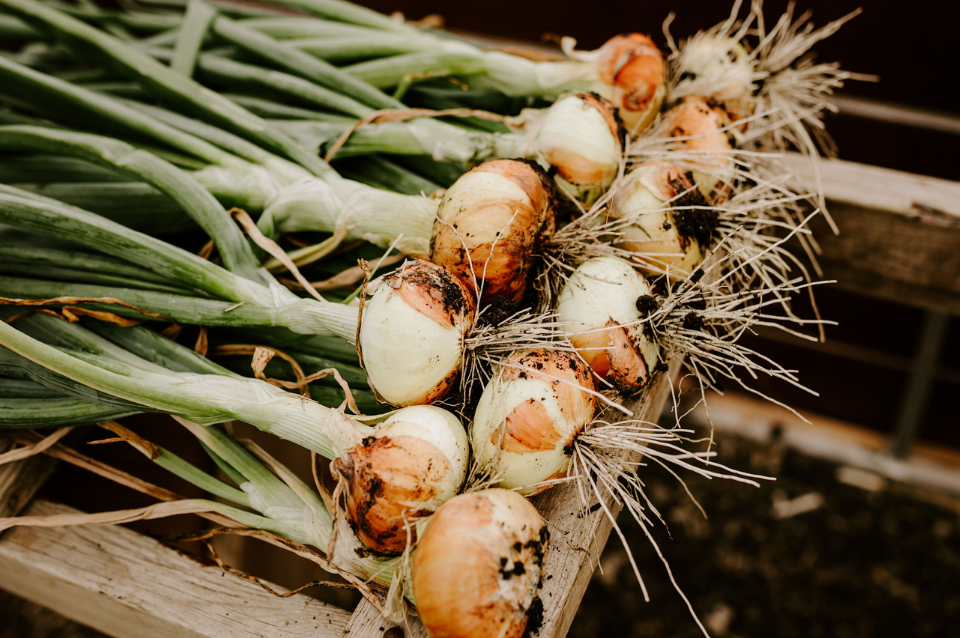
- Calibra Storage Onions – pictured here and throughout this post!
3 Ways to Grow Onions: Seeds vs. Sets vs. Seedlings
Seeds:
Start onion seeds indoors at least 10-12 weeks before your last frost date. You’ll need grow lights to provide onions at least 12 hours of light per day. Your onions will start to sprout long, thin greens, which you can trim once they reach 5-6 inches tall. Continue to trim them back to encourage stronger root development. We use our trimmings as garnish on salads and soups. It’s a nice homegrown treat when it’s still too cold outside to harvest from the garden.
Sets:
This is certainly the easiest way to grow onions in my opinion. You can purchase organic onion sets from your local garden centre (in Manitoba, we buy from Sage Garden Greenhouses or we’ll order online from B.C. brand, West Coast Seeds). Producers grow onion sets by planting onion seeds densely then drying them when they’re still small and immature. This is the size they’re sold to us at. Direct sow your sets in early Spring before your last frost date. For our Zone 3b garden, we plant our sets in mid-May. Plant them deep enough that the bulb is completely covered by soil but the pointy tip is peaking out of the surface.
Seedlings:
You can purchase onion seedlings from your local garden centre. They will be planted densely with several plants in one cell. At this stage of growth, they look like green onions and you can trim them back to enjoy as a garnish on dishes! Though onions are quite hardy and can tolerate the cold, it’s best practice to harden them off before transplanting. Check out our How-To Guide on Transplanting Seedlings Outside for step-by-step instructions. For onion seedlings specifically, you’ll want to carefully separate the clusters by pulling each onion apart at the root.

Onion Planting Guide
Everything you need to know about growing onions:
Sun:
Plant onions in an area of your garden that receives full-sun. This should be 10-12 hours of daylight during the peak of the gardening season. Some varieties can tolerate part-shade, however most onions will thrive in a full sun location.
Soil:
Most onions will grow just fine in well-drained soil. Clay-like soil conditions will not allow onions to form large bulbs. Before planting, amend your soil with a high quality, well-aged compost and some worm castings. Lightly work them into the top couple inches of soil.
Mulching:
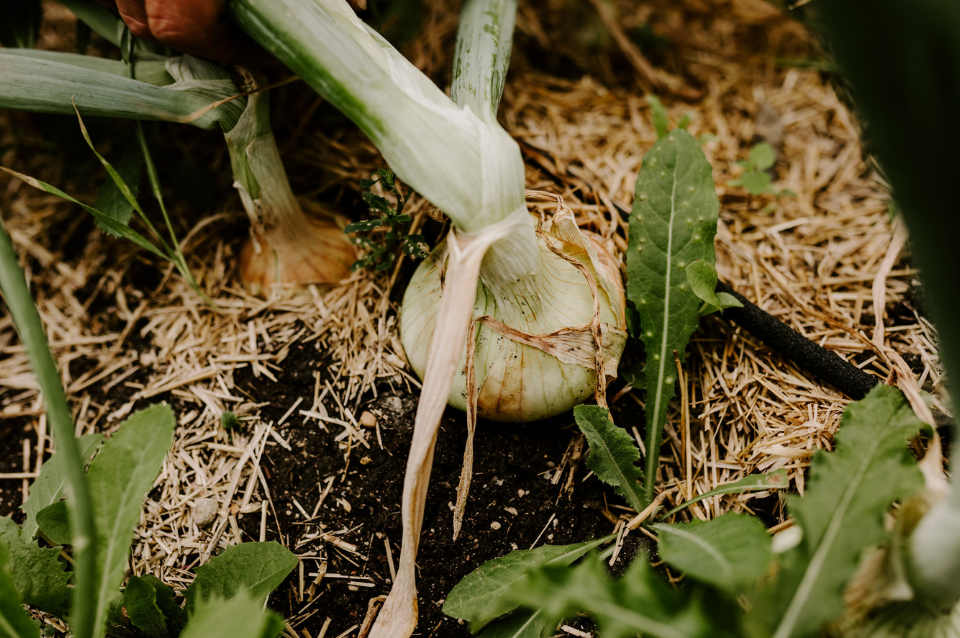
Once onions have sprouted, or once you’ve transplanted your seedlings, mulch between plants with organic matter of choice. We love mulching with straw. Find more details on its benefits here!
Fertilizing:
It’s not necessary to feed your onions, however giving them a slow release fertilizer will improve bulb size and productivity. We find it easiest to feed our onions with a liquid fertilizer, like Sea Magic. I apply Sea Magic to our onions about once a month.
Watering:
Keep your onions consistently watered to help their shallow roots stay moist. We find laying a 1/4inch thick tube of irrigation hose down the middle of our onion rows works great. We adjust our irrigation depending on the weather. During hot summer days, we run our irrigation for 2 hours in the evening every other day.
Pests:
One of the best things about growing onions is that they are more-or-less pest resistant! You will have very little, if any issues with pests around your onions. This is because their strong odour actually repels most insects.
Diseases:
Downy mildew is quite common on onion leaves. An initial sign of downy mildew is white streaks and/or spots forming on the onion tops. This is typically caused from overtop watering. Drip irrigation or watering at the base of the plant are good solutions.

When to Harvest Onions
As discussed above, you can harvest your onions at different stages of growth to be enjoyed as either scallions, spring onions or bulb onions.
But when it comes to harvesting bulbing onions, there’s a few tell-tale signs that indicate your onions are ready to be pulled:
- The tops of your onions (the green stalks) have started to flop over.
- The stalks are getting thin and weak looking.
- The green is starting to yellow and brown.
- The better half of your bulb is sitting a few inches above the soil’s surface.
Now, there’s been some controversy online regarding “stomping on onions.” And when I brought this up on my Instagram, people had LOTS of opinions on the matter.
The concept of stomping on onions suggests manually making the stalks of your onions bend over by stomping on them. I chose not to stomp my onions, based on the outrage from many people who messaged me saying it was crazy. An you know what, our onions turned out just great. But I invite you to research more or try it out for yourself!
How To Harvest
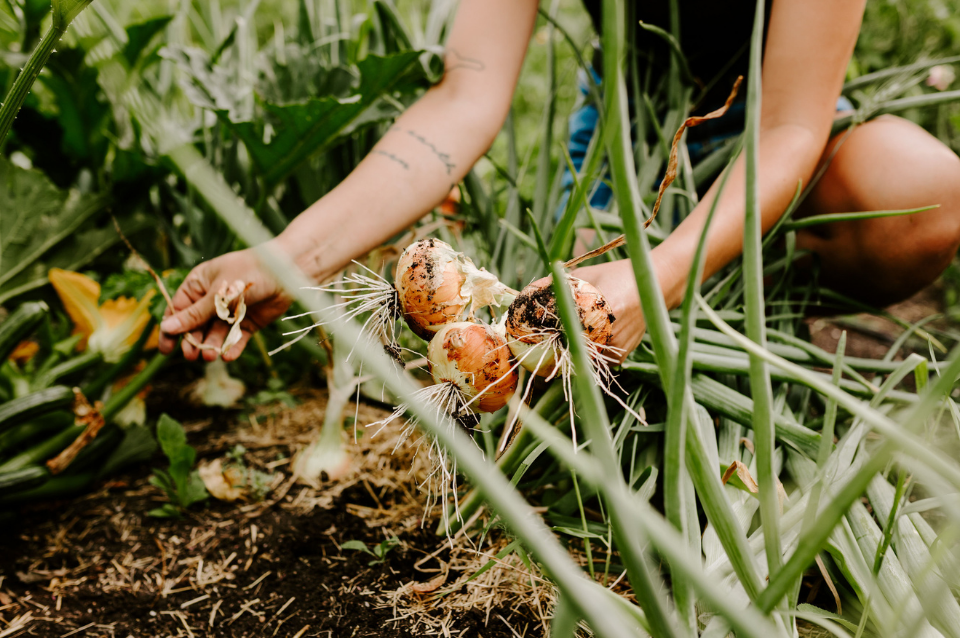
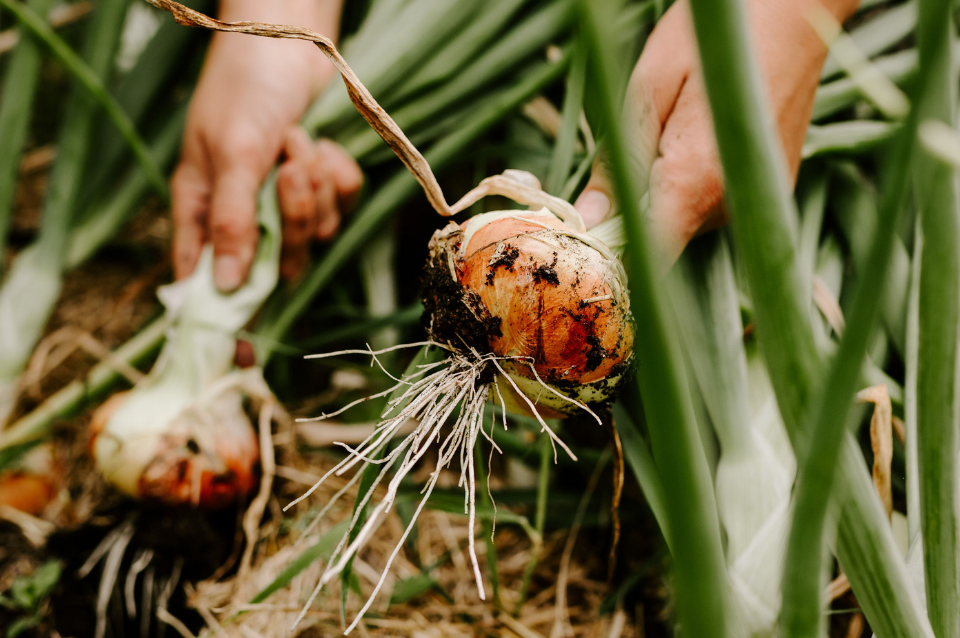
To harvest your onion bulbs, gently pull at the bottom of the stalk closest to the bulb. You may need to wiggle the bulb back and forth to loosen the soil around it.
Be careful not to rip the stalk from the bulb as this will cause your onions to store poorly. In fact, any punctures through the onion’s skin or flesh will likely result in them not holding up for long in storage.
After you have pulled them up, keep them on the soil to dry for a day or two. Spread them out so the bulbs are not touching and lay them flat on the soil.
If the weather is going to be wet and rainy, skip this step and bring your onions into a cool, dry space to begin curing instead. Follow the same practice as you would outside by laying them side by side but not touching.

How to Cure Onions
Being able to cure onions for storage is what makes them such a fantastic crop. It’s a special feeling to still be eating from your garden’s harvest mid-Winter.
So what exactly does it mean to cure your onions? Curing means to preserve your onions through drying them in order to create a tougher exterior skin that will protect the onion’s flesh.
The length of time you should cure your onions is completely dependant on where you live. For gardeners in hot climates, you may be able to cure your onions after just a few days of laying in the sun. For those in a cooler or rainy climate, you’ll likely need to cure your onions inside in a cool, dry place for at least a week.
Here’s how and how long I cure our onions in a Zone 3 climate:
Timeline based on harvesting in mid-August.
- 2-4 days outside in the field (if dry and hot outside).
- Or 2-4 days in the greenhouse (if rainy or cool outside).
- 1 week in the basement on a wire shelving rack that lets the onions breath.
- After 1 week, trim off the stalks, which will have browned and shrivelled up.
- Once trimmed, move onions to where they’ll be stored long-term.
- Spread onions out so they are not tightly stacked and have breathing room. If storing in a basket or box, keep it open to ensure there’s enough air flow.
Storing and Preserving
The best location to store your onions is in a cool, dark place out of direct sunlight. This can be in your pantry, basement or in a closet. If you live in a warmer climate where your winter isn’t as extreme as our -30°C temperatures, you could also store onions in your garage or shed.
Properly cured onions will store for upwards of 10 months! Any bruised or damaged onions will not store well. After a few weeks, you might notice them getting soft or brown.
We keep our onions in the basement where it is nice and cool. I dream of one day building a climate controlled root cellar down there! This would allow us to store many other root veggies too, like carrots, beets, cabbages, squashes, brussel sprouts, etc…
Minneapolis-based garden blogger, Meg Cowden (Seed to Fork) is a great resource for long-term storing ideas and inspiration. Her DIY root cellar allows her family to eat their own food nearly year round.
Listen to Meg’s interview with us on The Grow Guide podcast – Episode 97: Zone Pushing Your Edible Garden where she shares more on her cold climate garden and vegetable storing techniques.
Preserving Ideas
There’s dozens of great ways to use up and preserve your onions for even longer. Here’s a few we’ve tried:
- Dehydrate and blend into onion powder.
- Dehydrate and store in a tightly sealed container. Use as a crispy onion topper for salads and baked dishes. Freeze if needed.
- Caramelize onions with oil and spices. Once cooled, pour into a freezer-safe container or plastic bag. Use throughout the winter in soups, stews and other savoury dishes.
- Pickle onions. Use your fav pickling recipe but with onions instead.
Best of luck with your onion growing!


Thank you so much for the information on growing onions. I am a new to gardening. I tried last year and it didn’t go very well. So I decided to read and learn as much as I could about the vegetables that I had planned to grow. Now I have confidence to grow hopefully an abundance of onions and other veggies and store them for over the winter use. Next I’m going to read up on growing ginger and turmeric.
Thank you again,
Ondii
Thanks for the comment, Ondii! Good luck with the onions and other veggies. Every year gets better and easier as a gardener.
Looking for information on cooking onion bulbs to plant.