Garden Planning 101: How To Draw A Garden Map You’ll Actually Stick To

It’s always on the coldest days of Winter that I dream most of next season’s garden. But what is a dream without a plan? Unfortunately, not much! And the years I have first developed a plan are the years my garden has really thrived. This post will walk you through my specific strategy for designing an effective garden map that you’ll actually stick to when it comes time to get planting. Here we go!
Be sure to continue reading so you can download my FREE Printable Garden Map Template.

What Is A Garden Map
This is a great place to start!
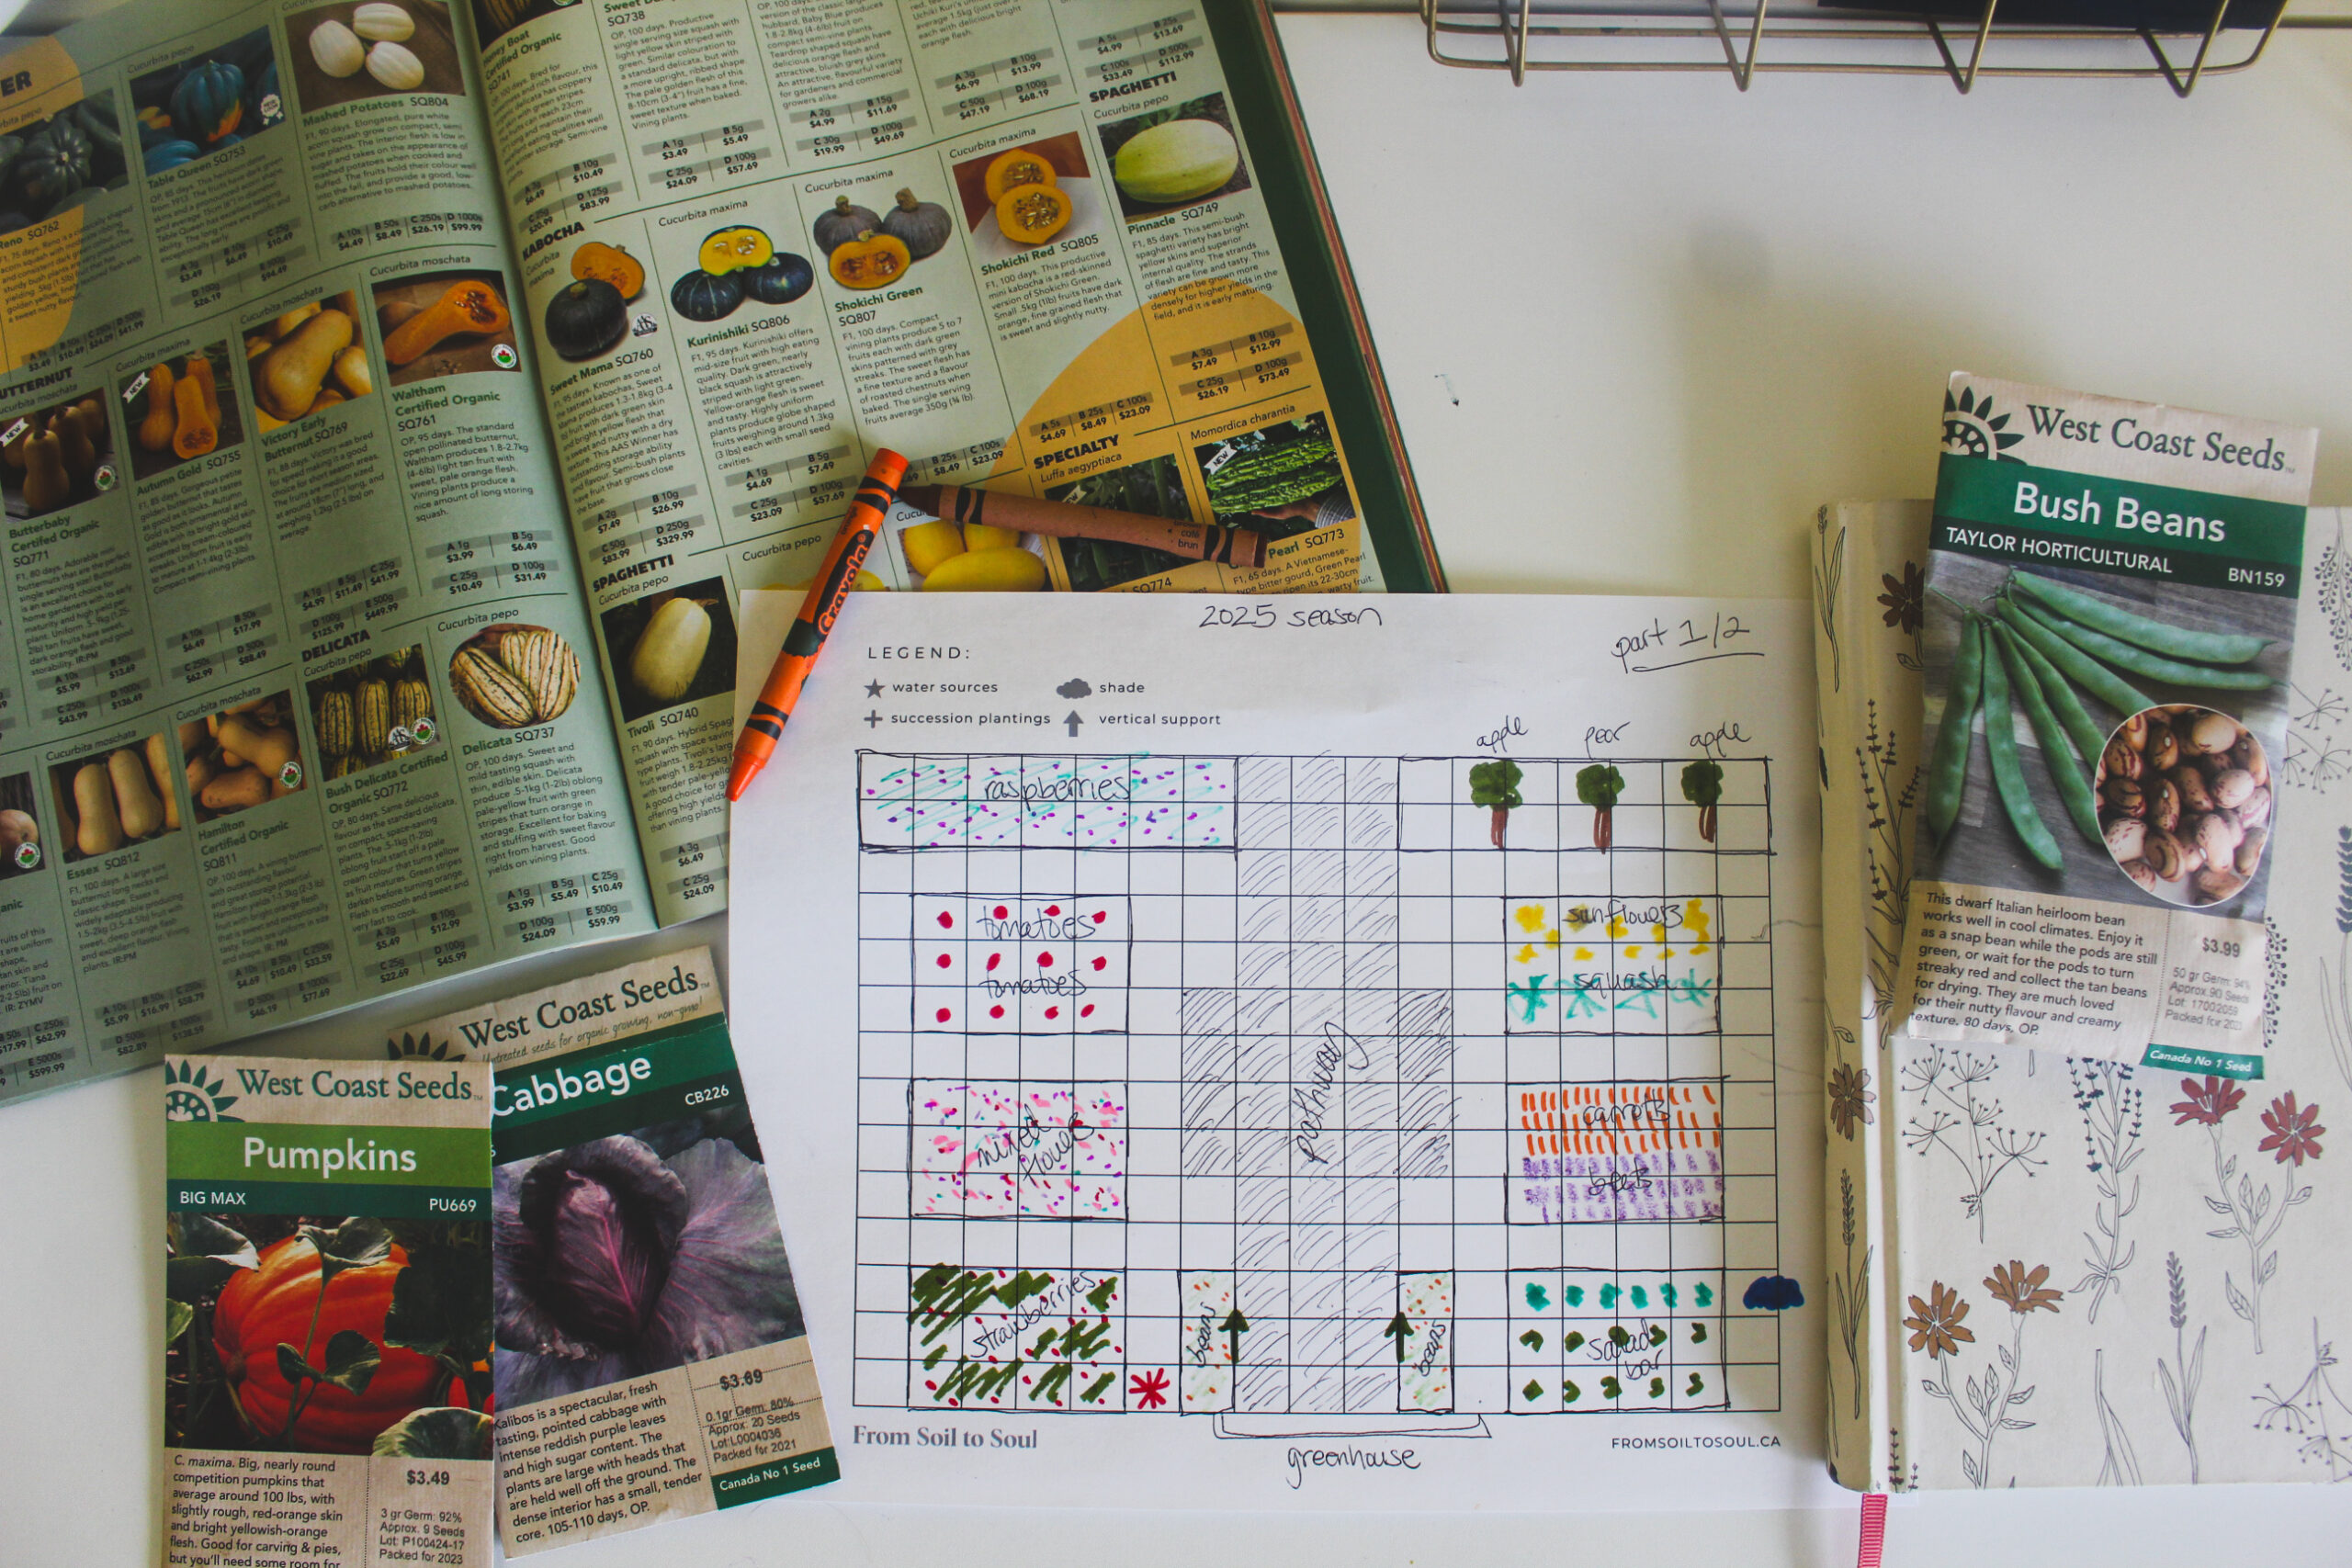
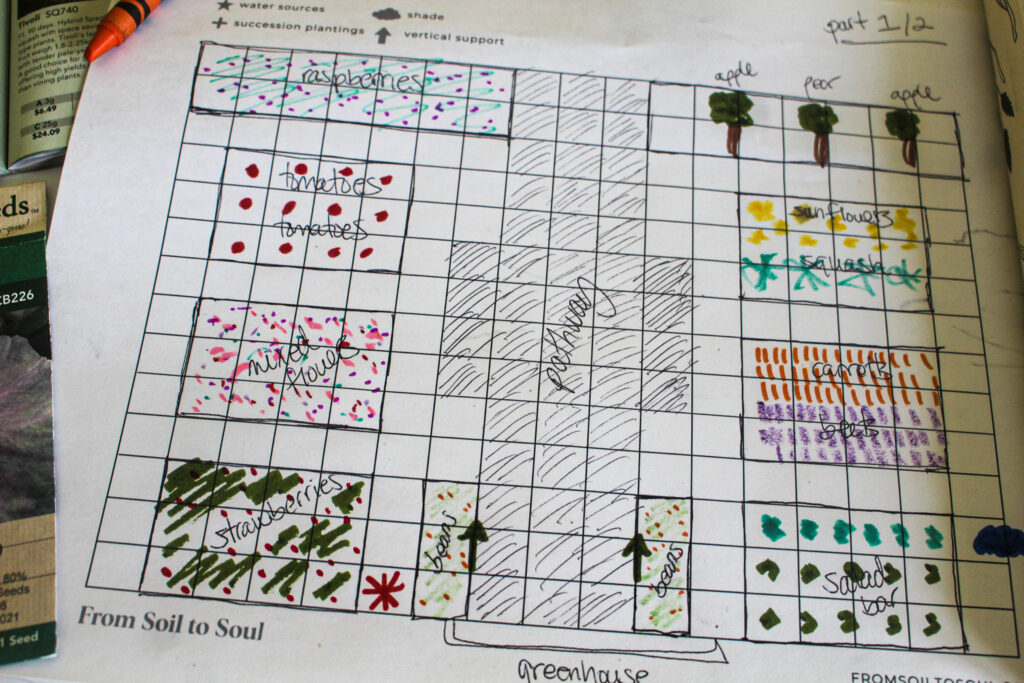
A garden map is essentially a drawing of your garden space that details where you will plant specific veggies, herbs and flowers.
Garden maps can really look however you want, reflecting your unique gardening style and personality.
I’m always surprised when long-time gardeners tell me they have never created a garden map. What? It’s such a fantastic tool!
Especially for us cold climate gardeners with short growing seasons. Drawing a garden map is so beneficial when the growing season is only 100-150ish days long.
How Do You Use A Garden Map
I believe your garden map should act as your roadmap for the gardening season.
Use it as a guide, coming back to it during;
- Seed starting
- Direct sowing
- Transplanting
- Succession planting
- And more!
You can and should use your garden map throughout the entire season, coming back to it again and again!
Now let me say — you don’t need to follow your garden map exactly.
In fact, I almost never do! Almost every year, I change where certain plants will go, straying from my garden map.
But a garden map should guide the overall direction of your garden.
It should allow you to garden with more ease and enjoyment since you’ve already made key decisions about laying out your garden far ahead of planting time.
So, to really answer the question “how do you use a garden map?”
You use a garden map like you would use an IKEA furniture assembly guide.
You follow it when needed but….. it won’t necessarily hurt your garden if you forget to use a bolt or two.
What Are The Benefits Of Drawing A Garden Map
There are many benefits to drawing a garden map! A few of which I’ve already mentioned.
But the first (and maybe greatest benefit of a garden map) is that it takes the stress off when it comes time to plant the garden.
You’ve already mapped out where each plant will go. And so come planting time, all you have to do is plant!
Another benefit of garden mapping is that it helps you set realistic expectations.
Of course, we all want to grow everything (or is that just me?).
But even the most experienced gardeners have to set some limits.
A garden map allows you to clearly see how much space you have in the garden and then determine what you can grow.
Here’s a few more key benefits of drawing a garden map:
- Helps you stick to your gardening budget
- Allows you to think more strategically about what you want to grow and why
- Saves you time during the gardening season so you can focus on other tasks such as soil building, weeding and fertilizing
- Provides you with “gardening data” you can reflect back on in future seasons
What Makes A Good Garden Map

Okay, this is where my perspective may differ from other gardening blogs.
But I truly believe that what takes a garden map from good to great is detail.
It’s all about getting specific.
Sure, you could just quickly write where various veggies, herbs and flowers will be planted. But that still leaves many unanswered questions when it comes to planting time.
So here’s how to make your garden map great:
- Identify where water sources are in your garden. Then place plants strategically near it if they are sensitive to drying out and vice versa if they’re drought-tolerant.
- Put a star or symbol beside beds that you can “flip” and get multiple successions out of. For example, I have two beds that I can flip 2-3x throughout the season going from growing greens to flowers to brassicas. This means I can grow more without needing additional space.
- Pinpoint areas of your garden that get shade throughout the day. Be sure to place plants that thrive in a partly or fully shady environment there.
- Identify plants that will require a support system, such as a trellis or archway. When it comes time to plant, you’ll already know what plants require extra supplies.
There you have it!
Those are just a few ways you can get detailed and specific with your garden map.
If you have other ideas, please do comment below! I love hearing from you and try to answer all comments.
My Top Secret For Mapping Out The Garden
Now let’s get to the juicy stuff.
What’s my secret for mapping out my Zone 3 garden and then actually sticking to it?
The answer is…
Putting pen to paper.
This is my secret to creating a garden map that I’ll actually use during the growing season.
Hear me out….
Sure there’s an abundance of apps and online tools out there that you could use.
But there’s something to be said about doing the work yourself. Just as we have to do in the garden.
I have found that the years when I use an online tool to map out my garden, I end up completely forgetting about it.
It usually stays on my laptop, never getting printed out.
But when I take the time to draw out my map on paper, I am that much more committed to it.
Like I said, this doesn’t mean I necessarily follow it exactly. But I do absolutely use it as a roadmap for seed starting, direct sowing, transplanting and designing my garden.
What Should You Include In A Garden Map
Now what should or could you include in your garden map?
Well again, your garden map will reflect your unique gardening goals and personality.
No two garden maps will look alike. I love that!
But there are a few key things you definitely want to include in your garden map.
We’ve already covered some of the more detailed things to consider, such as water sources, areas for succession plantings, shade, etc..
But here’s a list of the “must-haves” your garden map should include.
- A clear “rendering” of your garden layout, beds, pathways, structures, trees, etc..
- A scaled drawing using the same proportions throughout (Ex: 1inch = 1foot)
- An accurate representation (or as close to as possible) of how many plants will actually be able to fit in each bed
- A small legend on the side if you’re including more detailed info, such as a star to indicate beds where successions can be planted
The last thing I will note here is to ensure you have a safe space you can keep your garden map (my free printable map includes this legend for you!)
I like putting my garden map on my fridge.
In this spot, I see it everyday and have ample time to reflect as to whether I should make changes to it. I can even quickly jot down a note on it when I’m cooking dinner.
5 Steps To Drawing A Great Garden Map For Beginners

Alright, let’s get into it!
Here’s how to draw a garden map for beginners in just 5 steps. If you are at all uneasy about this process, this should help big time!
Step 1: Determine your gardening goals
First, take a few moments to jot down your gardening goals for the season.
Personally, mine change each year. Sometimes it’s to try new and unusual varieties. Whereas other years my focus is on growing storage crops for Winter.
Taking the time to identify your goals will guide the plants you add to your map.
If you need some inspiration on goal setting, be sure to check out my post How I Plan Out My Zone 3 Veggie Garden.
Step 2: Take a walk into your garden and analyze the space
Next, dedicate some time to get outside and visit your garden.
Ideally, your garden map will be a clear depiction of reality.
You might think you know your garden by memory, but I’m sure there’s elements of it that are missed until you’re standing outside.
So maybe you’ll bring a pen and paper with you, jotting down the particulars.
I like using my voice note tool on my iPhone when I do this!
I basically just speak my thoughts into my phone. Then I listen back to it when I get inside with my map in front of me.
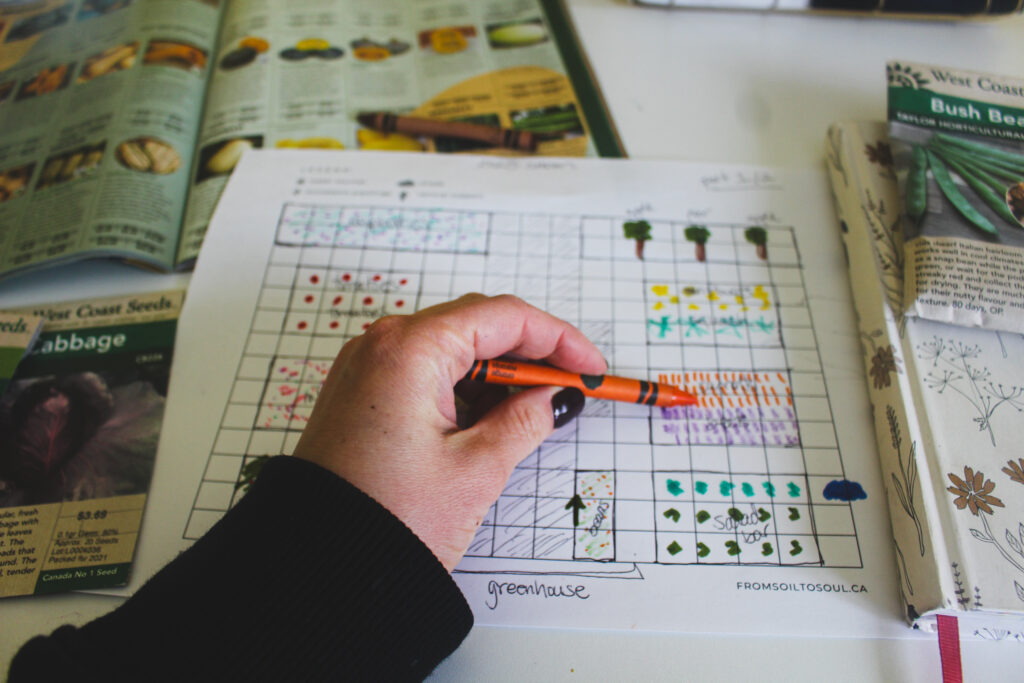
Step 3: Grab your paper, pencil, colouring tools and start drawing
These are the three things you’ll need to actually draw your garden map.
When it comes to paper, I’ve designed a free garden map template you can download here!
This is printable and makes it easy to map things out. It even includes a legend for you, simplifying the process even further!
Again, here’s the link!
You could also simply use graph paper for your map too.
Next is a pencil.
I highly suggest choosing a pencil over a pen so you can erase as needed.
And finally, some colouring tools. This is where it gets fun!
I like to use different colours to identify the difference between flowers, veggies and herbs.
You could even develop your own colour-specific legend.
For example: Use green to identify all the plants that need to be transplanted out. Use yellow to identify all the plants you’ll direct sow.
Step 4: Consider spacing, crop rotation & companion planting
To make your garden map not only great but accurate, you’ll want to consider these three things.
First, spacing.
A quick Google search for each plant can help you identify how much spacing is required between rows.
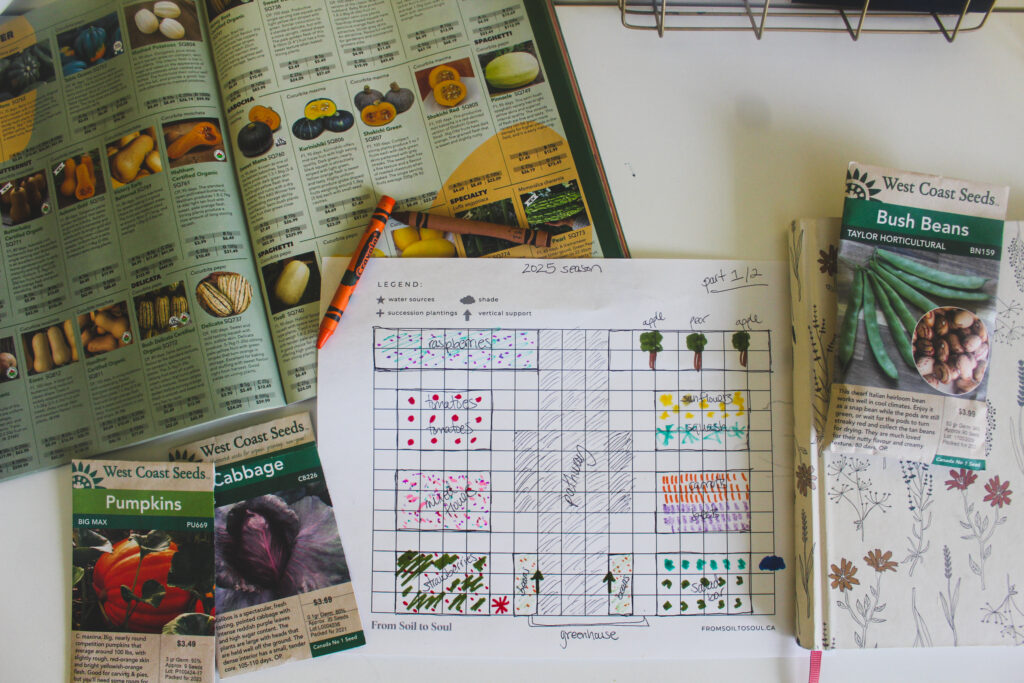
Often times too, seed providers will clearly identify this info on their seed packets.
I know West Coast Seeds does this and I find it really helpful!
So be sure to reference your seed packs for spacing info too.
Next is crop rotation. This is a fancy term that simply means changing where certain plants live in the garden from one season to the next.
For example, if you planted your sunflowers in the back left bed last season, try swapping them to the right bed this year.
Why?
Crop rotation helps build your soil’s health by providing that area of your garden with new nutrients from a different plant.
And lastly companion planting.
Now I personally don’t fully believe that certain plants can hurt others if planted too close together.
But there’s certainly benefit in thinking about their relationship to one another.
For example, try placing low-growing plants with taller ones. The 3 Sisters Planting Method is a great example of this!
Step 5: Get specific
The last step to drawing a great garden map is to get specific.
We’ve already covered this in great detail. So you know what I’m talking about!
And I really don’t think you can go too far when it comes to how much info you include in your garden map.
The more info the better! It will only help you when it comes time to get planting.
And there you have it!
That covers how to draw a garden map you’ll actually stick to.
I hope you found some inspiration in this. And I seriously wish I could see your garden maps in real life.
Please do leave a comment below if you do this activity this season. I’m confident it will help you have a stronger garden in the long run.
You can follow @fromsoiltosoul on Instagram and Pinterest for more gardening content too.
Happy garden mapping, friends!
