8 Ways to Easily Preserve Your Garden Harvest For Beginners

Facebook
Share on pinterest
Pinterest
Share on twitter
Twitter
Let me guess — your kitchen counters are currently covered in ripening tomatoes, your fridge is full of zucchini and you’re wondering what to do with all these herbs. Right? I feel you!
While harvest is the most wonderful time of the season, it can get a little overwhelming. But with these beginner preserving techniques, you’ll make the most of your garden vegetables and enjoy them all winter long. There’s no boiling, canning or pickling involved. Just easy preserving techniques for a rookie grower to succeed at!
This post covers:
- Freezing Whole Vegetables
- Quick Roasted & Blended
- Spiralized
- Shaved, Frozen Corn
- Oil & Vinegar Infusions
- Dehydrated Herbs
- Edible Flower Ice Cubes
- Cured Winter Squash
Freezing Whole Vegetables
Difficulty Level: Easy
Prep Time: 5 minutes
Freezing Time: 12 hours
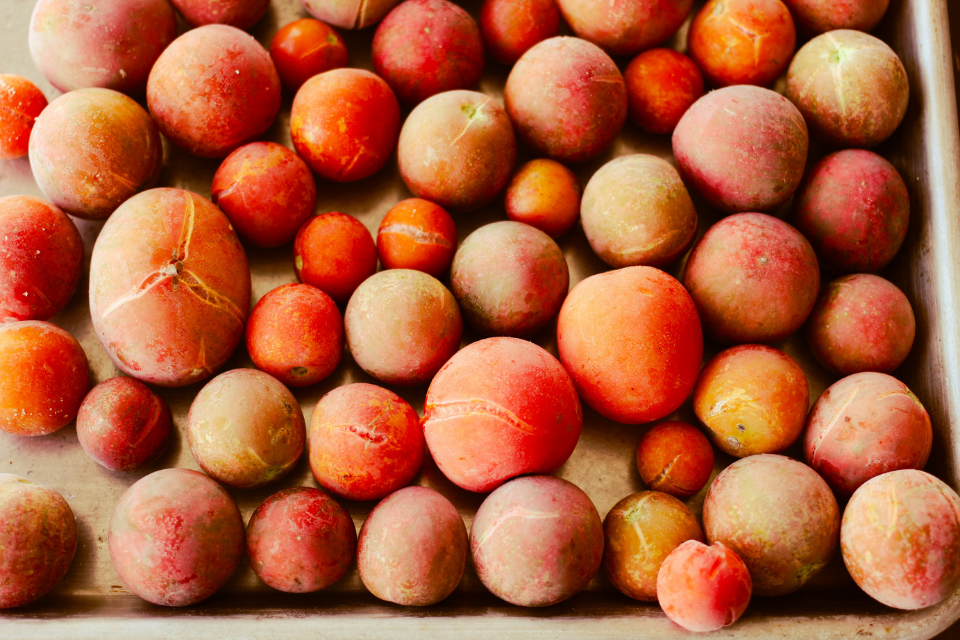
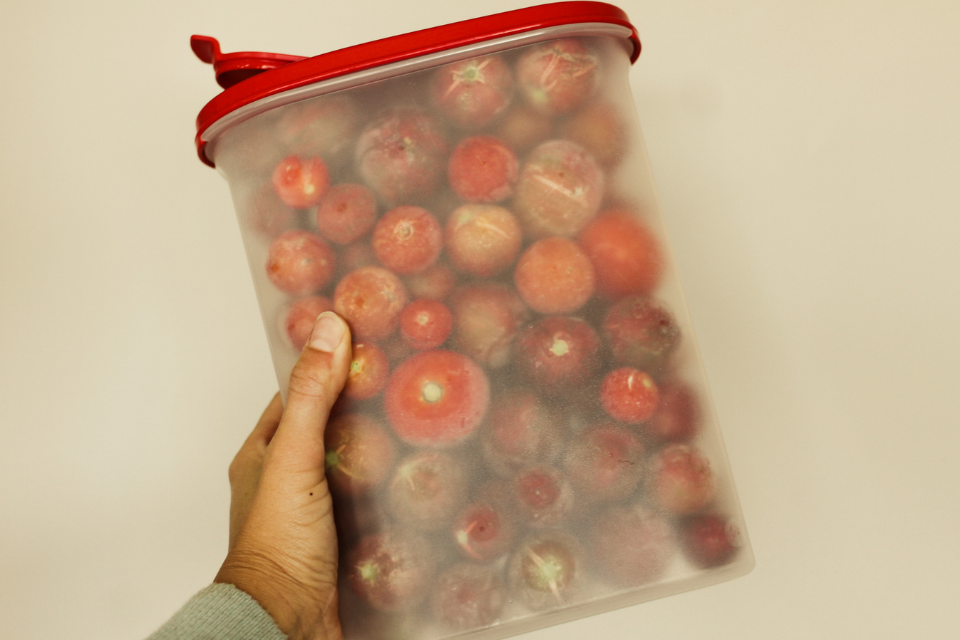
Directions: This is as easy as it gets when it comes to quick preserving vegetables! First, wash veggies and then chop, if needed (broccoli, kale, etc..). For tomatoes, I just wash them and freeze whole with the skin on. The skin is full of nutrients and flavour and will cook down in most dishes. Next, spread them out evenly on a large baking sheet or pan. Freeze them like this to keep from sticking together. Once frozen, transfer to a freezer-safe, air-tight container.
Shelf Life: Keeps well in the freezer for up to 6 months.
Uses: Great for throwing into stews, soups and curries.
Vegetables That Freeze Well:
- Tomatoes (cherry & full sized)
- Peas (shelled)
- Broccoli (chopped)
- Cauliflower (chopped)
- Carrots (chopped)
- Spinach
- Kale
Quick Roasted & Blended
Difficulty Level: Moderate
Prep Time: 15 minutes
Cook Time: 45-60 minutes
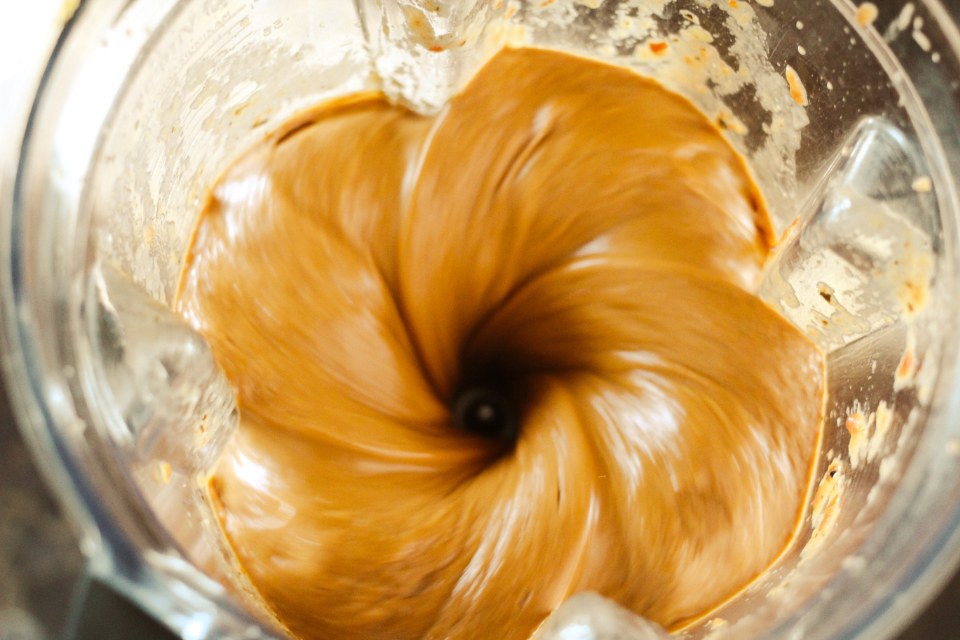
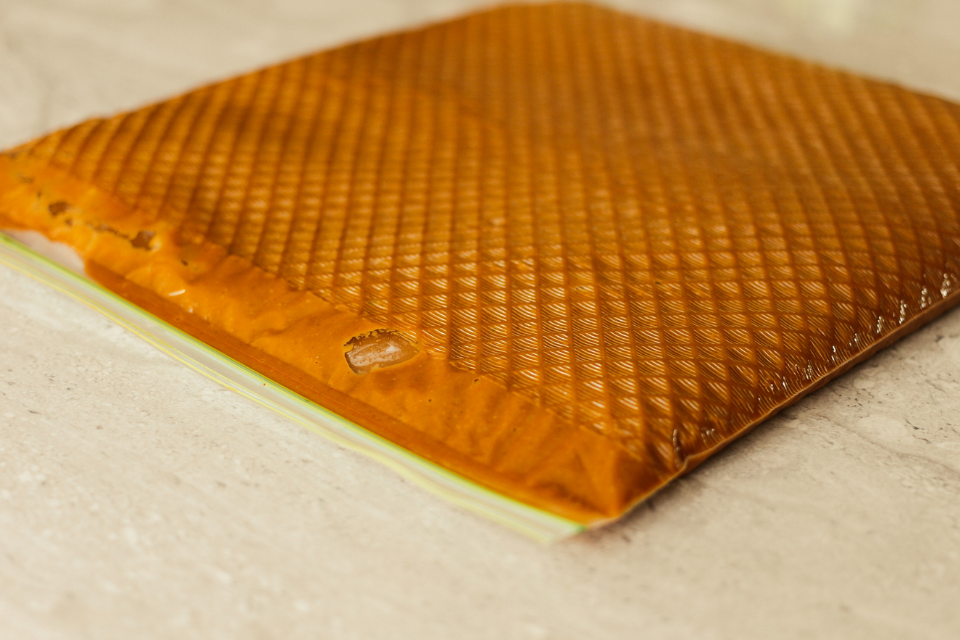
Directions: Pre-heat oven to 400ºF. Wash tomatoes (or preferred vegetables) and roughly chop with onions and garlic. Place everything on a baking sheet and generously drizzle with olive oil. Sprinkle on coarse salt, pepper, oregano, basil, red pepper chilli flakes and other preferred spices. Roast for 45-60 minutes or until tomatoes are soft and reduced in size by half. Transfer to a high-powered blender and add 1 cup of vegetable broth. Blend on high until sauce is smooth, adding additional broth as needed. When sauce is at your desired consistency, carefully transfer to a large Ziplock freezer bag. Seal bag and lay on counter so sauce distributes evenly and bag can be laid flat in the freezer. Let cool before freezing.
Shelf Life: Keeps well in the freezer for up to 6 months.
Uses: Pasta sauce, pizza sauce or thin out with additional liquid and enjoy as a soup.
Other Roasted Sheet Pan Variations:
- Roasted red peppers, onions, garlic and oregano.
- Roasted broccoli, cauliflower and onions (blend with dairy-free milk, vegetable broth and nutritional yeast).
- Carrots, onions and dill.
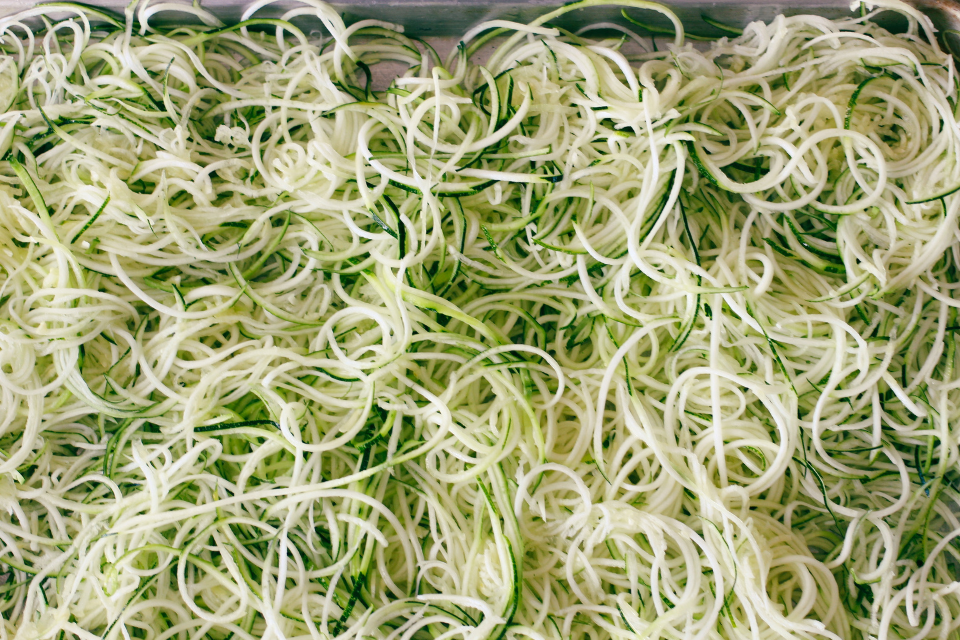
Spiralized Zucchini
Difficulty Level: Easy
Prep Time: 5 minutes
Cook Time: N/A
Directions: Wash your zucchini and cut into 4-6 inch long halfs so it fits in your spiralizer (for counter-top models). Spiralize and then cut zoodles so they are proper length for eating. I usually cut ours to be in bite sized pieces. Lay out evenly on a baking sheet and place into freezer. Once frozen, transfer into a air-tight container and freeze again until you’re ready to use. Easy as that! If you don’t have a spirazlier, you can also grate your zucchini, removing excess water before freezing.
Uses: Zoodles for spaghetti or stir frys. If grating, use in fritters, muffins and soups.
Shelf Life: Keeps well in freezer for 3 months. Zucchini tends to get freezer burnt if kept for longer.
Other Vegetables to Spiralize:
- Carrots
- Beets
- Rutabaga
- Butternut Squash
- Onion
- Sweet potato/white potato
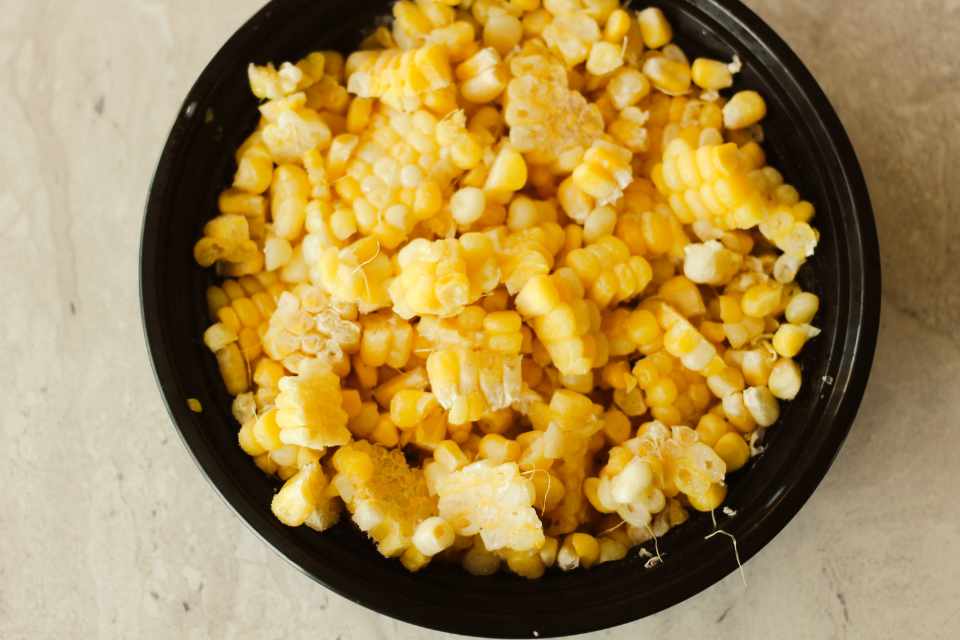
Shaved, Frozen Corn
Difficulty Level: Easy
Prep Time: 5 minutes
Cook Time: N/A
Directions: Remove the husk from your corn and rinse cob. Using a sharp knife, shave off kernels. Lay flat on a baking sheet to first freeze, then transfer to a freezer-safe container. This ensures kernels don’t stick together in clumps when freezing.
Uses: Add to Mexican style dishes, burritos, tacos, chowders, soups and stews.
Shelf Life: 4-6 months
Oil & Vinegar Infusions
Prep Time: 15 minutes
Cook Time: 5 minutes
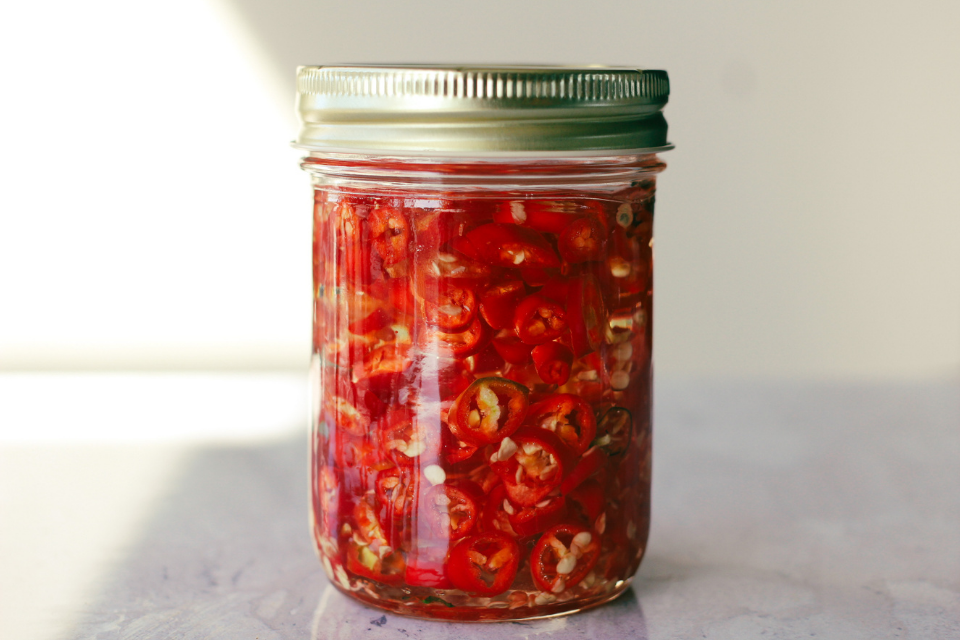
Directions: Finely slice your hot peppers of choice. I’ve used Habanero, Cayenne and Ghost Chillies. All are great options! Add sliced peppers to a medium-sized sauce pan with 1 cup of neutral oil and a dash of salt. I find canola oil works best, but vegetable or olive oil work too. Heat to medium-low, stirring occasionally until small bubbles start to appear in the oil. This typically takes about 5 minutes. Be sure the oil doesn’t smoke or burn. Remove from heat and let cool to room temperature before pouring into a clean glass jar. Seal and keep in the fridge. You can do the same infusion but with vinegar. Simply add your peppers and vinegar to a clean jar (no need to simmer over heat) and store in the pantry.
Uses: Drizzle over pizza and pasta dishes. Add to a salad dressing. Use as a dip for bread.
Shelf Life: 1-2 months if kept in the fridge. A few weeks if stored in the pantry.
Alternatives: Infuse chive blossoms into vinegar. Infuse rosemary, basil or thyme in oil.
Dehydrated Herbs
Prep Time: 20 minutes
Cook Time: Varies depending on the amount of moisture in your herbs. Typically 2-4 hours in a dehydrator. If air drying, 7-14 days in a dry, air temperature area out of direct sunlight.
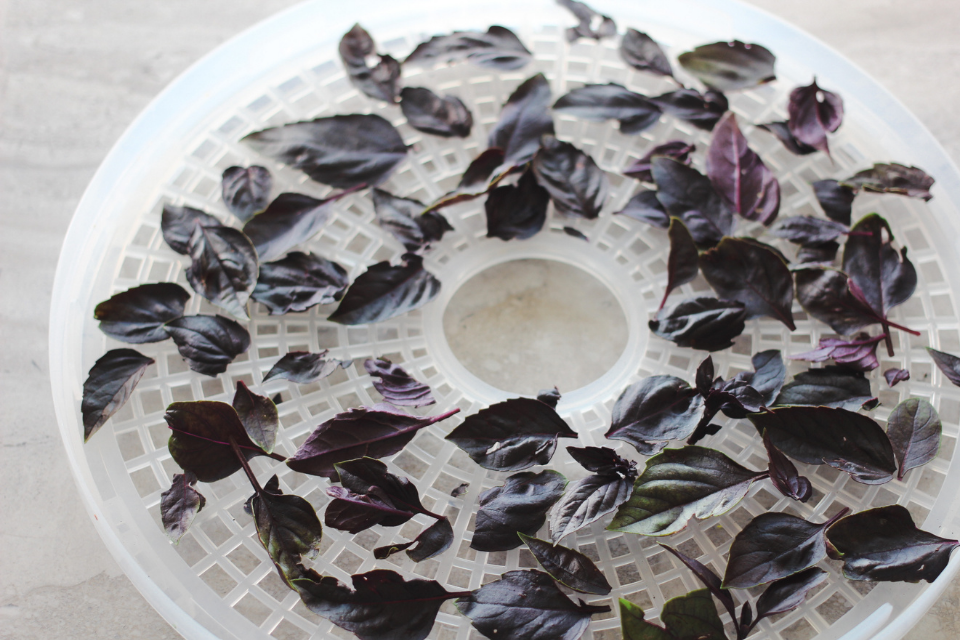
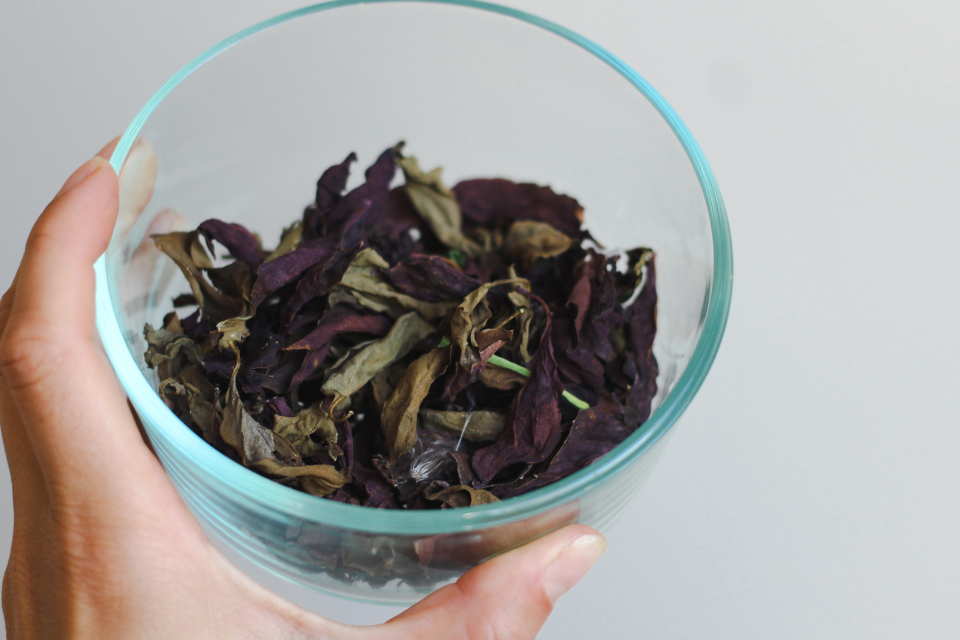
Directions: Harvest herbs of choice and gently wash with water. Pat dry with a paper towel or dish cloth. If using a dehydrator (I use the Salton VitaPro Dehydrator with vertically stacked racks), arrange herbs on drying rack so they are not touching or overlapping. Cut herbs into smaller pieces if needed. Set heat to medium setting ( 95-150°F) and check occasionally every 30-45 minutes. Once herbs are crispy and no moisture is left, transfer to either your blender to make into a powder or into an air tight jar or container for storing in the pantry. If air drying herbs, note that flavour might not be as strong. For air drying, harvest herbs at the base of stem to provide enough stem to tie herbs together. After washing, bundle herbs and wrap twine around the stem. Hang on a wire hanger or from a rack in a cool, dry place out of direct sunlight. To keep out dust, tie a large paper bag around them, and poke holes in it. Herbs should be completely dried between 7-14 days.
Uses: The uses are endless! Add to any dish that asks for dried or fresh herbs.
Shelf Life: Best used within a few months of drying, but can store for up to 3 years.
Alternatives: I love dehydrating basil, chamomile, chives, dill, lemon balm and rosemary. Drying kale is another great option to make kale chips! You could also dry onions, ginger and garlic and blend into a powder. The options are somewhat endless.
Freezing Edible Flowers
Prep Time: 5 minutes
Cook Time: N/A
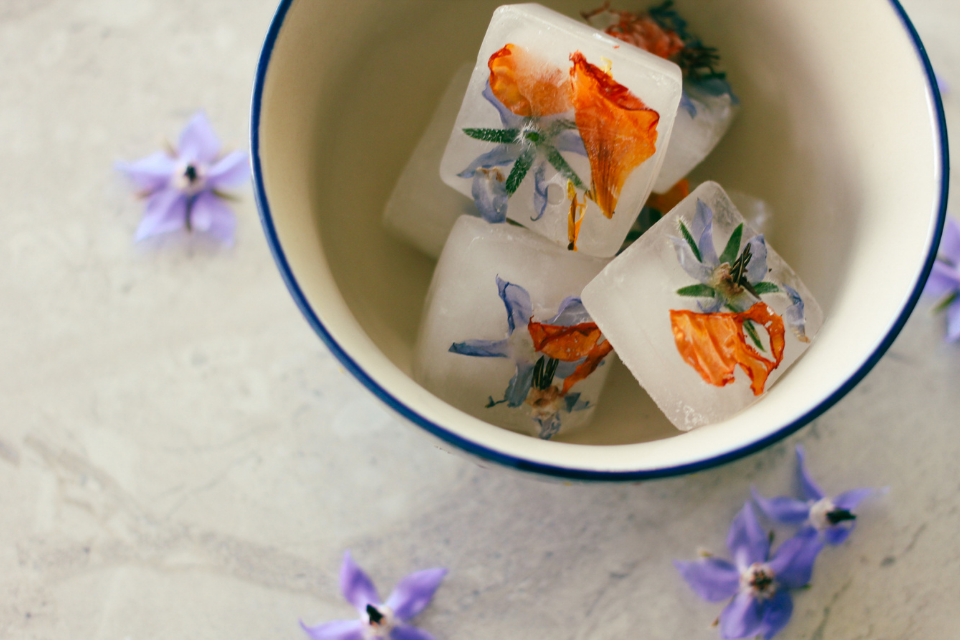
Directions: Harvest any edible flowers you have growing in your garden. We love to grow borage, calendula, nasturtiums, to name a few! Fill ice cube trays half way and add in a few petals of flowers. Freeze for 20 minutes. Remove from freezer and fill the rest of the way with water. Top with more flowers and petals before freezing again. This two step freezing process ensures you can see blooms throughout the entire ice cube.
Uses: Add to a summer cocktail and watch your guests delight in the surprise! Truly the best.
Shelf Life: If kept in ice cube tray, flowers will begin to fade in colour after 2-3 months. Transfer ice cubes to a large freezer bag to keep colour for upwards of 6 months. This is a great option so you can enjoy a pop of coulour in your cocktails even in the Winter months!
Curing Winter Squash
Prep Time: N/A
Cook Time: N/A
Squash That Needs to be Cured:
- Butternut
- Hubbard
- Spaghetti
- Delicata
- Pumpkins
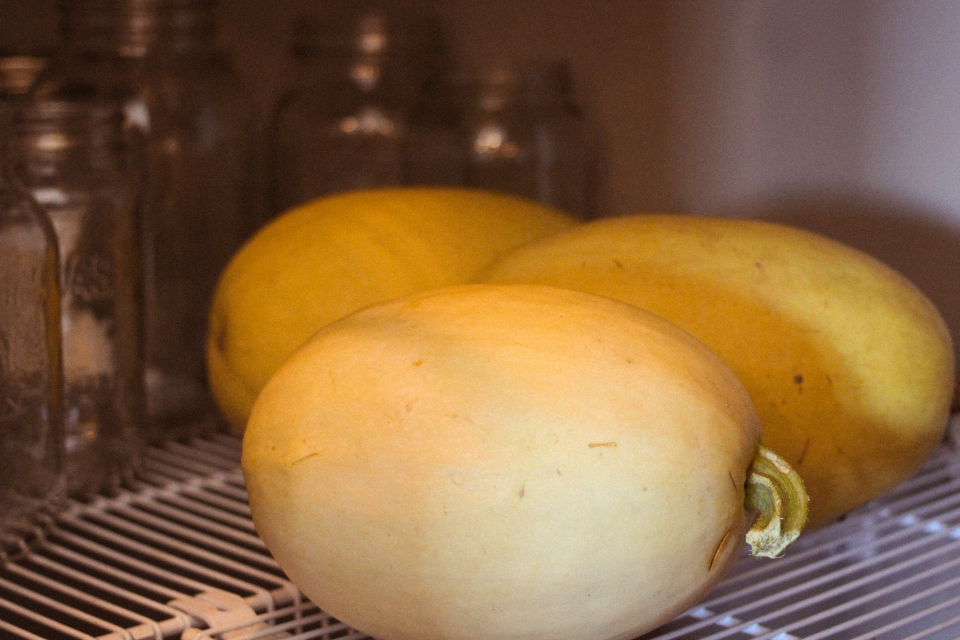
Directions: Harvest winter squash when the skin/rind is hard (you shouldn’t be able to put your nail in it). Another indication is that the stem will begin to turn brown, meaning the vine is no longer giving your squash nutrients. After harvesting, wipe the exterior with a dry cloth (do not use water) to remove any dirt. Next, place in a warm space with good air circulation. I find curing squash in our home works best – air temp is between 69-75ºF. Putting on a wire rack or chicken wire type of mesh is best to avoid any rotting. Keep here to cure for 10 to 14 days. To store for long term, move to a cool place where temperature is between 50°-55°F. A root cellar is ideal, but a basement or insulated garage also works.
Shelf Life: If properly cured, winter squash can store for up to 5 months.
Happy harvest!

