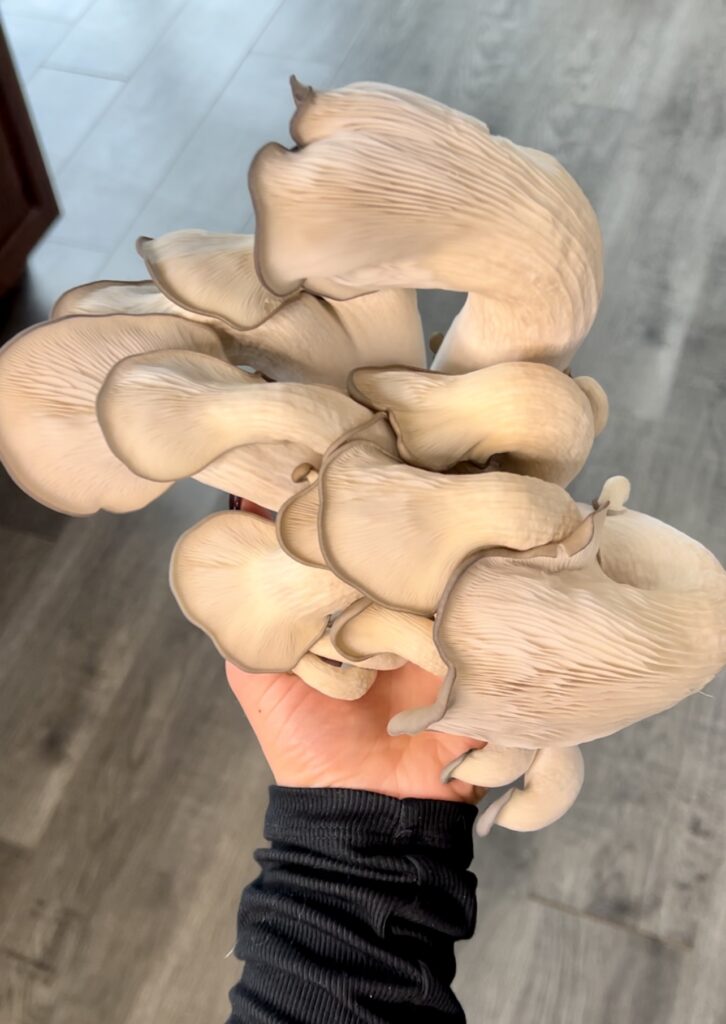
How To Grow Oyster Mushrooms At Home In 5 Easy Steps
Mushrooms are having a moment! And have really been trending over the last few years. For good reason too. Not only do they look otherworldly. But they are so delicious, packed with nutrients, have endless health benefits and are an essential part in keeping our planet healthy. And the best part of all? Oyster mushrooms are really easy to grow. And are ready to harvest in as little as 1 week. That is as long as you have the right set-up. So let me take you along as I share my 5 easy steps for growing oyster mushrooms at home.
Now let me kick-off this post by clarifying that I am no mushroom growing expert.
While I am a seasoned gardener, I didn’t know much about growing mushrooms at home before I embarked on this challenge.
But luckily I didn’t need to know much!
I used a kit from Mini Mushroom Farms that included everything I needed.
This post is by no means sponsored by Mini Mushroom Farms. I am just really impressed by their product quality, customer service and the results! And so I’m happy to give them a shout out and share my own experiencing growing oyster mushrooms at home.
If you too are brand new to growing mushrooms, here’s a few resources to check out:
- Listen to our recent Grow Guide Podcast episode, Grow Edible Mushrooms Indoors At Home With Tom Nagy From River City Mushrooms. Tom is a Manitoba-local mushroom growing expert and so passionate on the topic! Stream the pod for free on Apple, Spotify or wherever else you get your podcasts.
- Check out the Mini Mushroom Farms website and get your hands on one of their grow kits! They are a Canadian company and have great service. Plus my code FROMSOILTOSOUL will get you free shipping.
- Watch the documentary, Fantastic Fungi. It might blow your mind (it did mine) and will hands-down give you a deeper appreciation for mushrooms.
Alright, let’s get into growing oyster mushrooms at home!
How To Grow Oyster Mushrooms At Home – 5 Easy Steps!
**Note: these steps can also be applied to other varieties of mushrooms as well, including lions mane, reishi and shiitake.
Step 1. Source high quality mushroom spawn and/or a complete growing kit
To grow oyster mushrooms at home, you need to start with the mushroom spawn.
What is mushroom spawn?
Mushroom spawn is ultimately the mycelium (mushroom fungus) mixed with the growing medium. The growing medium is often either grain or sawdust.
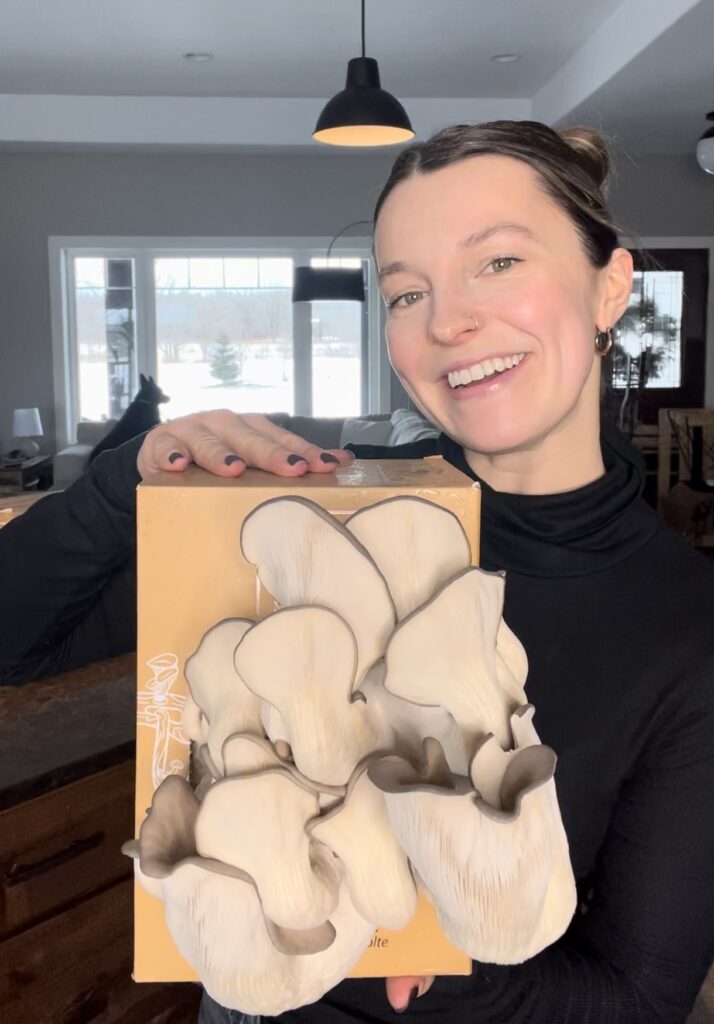
As mentioned above, I used a complete growing kit from Mini Mushroom Farms.
The kit included:
- The Nevada Blue Oyster mushroom spawn
- A plastic growing tent
- A humidity meter
- A spray bottle mister
Whether you choose Mini Mushroom Farms or another brand local to you, starting with a growing kit and properly developed mushroom spawn will set you up for success.
Alternatively if you decide to create the “growing environment” yourself, consider using a large, clear plastic bag. This is a cheap DIY solution! Just poke a few holes in it for air flow.
Otherwise, I could see a mini greenhouse set-up like this one working well. If you’re a gardener, you might already have one of these on hand. It would likely yield the same results.
Step 2. Sterilize your growing environment
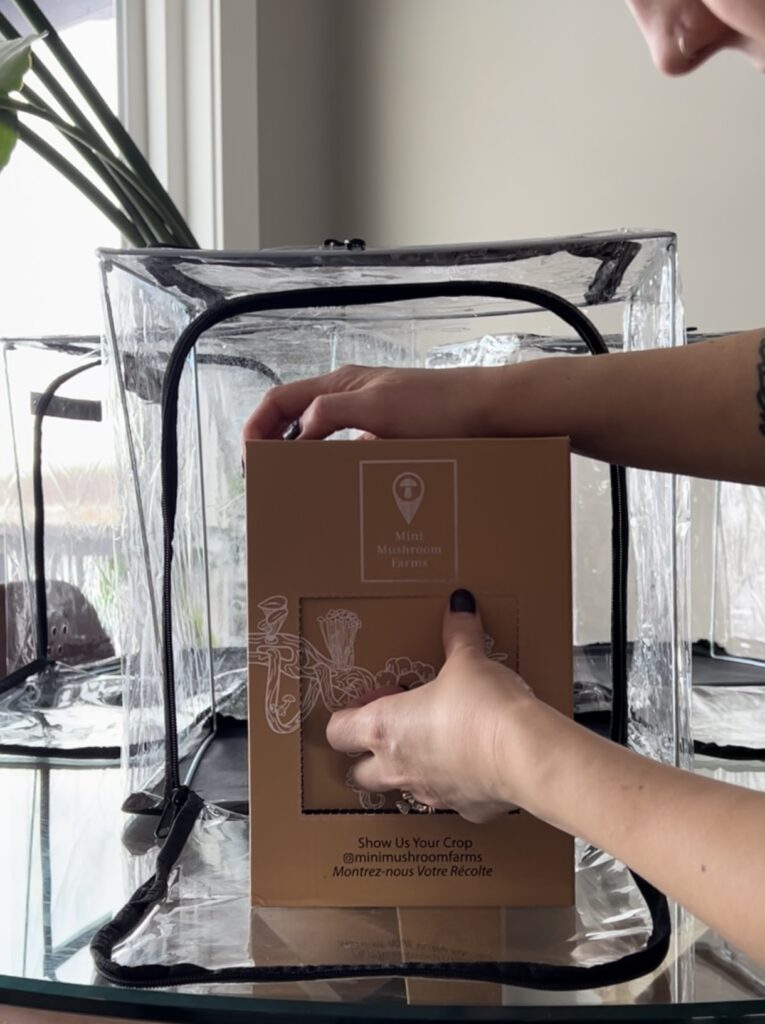
Because mushrooms are fungus, it’s really important their growing environment is sterilized and clean.
Otherwise they can quickly become contaminated.
I quickly learned this in my first attempt. I didn’t properly sterilize the knife for a Pink Oyster kit I was trying out. It yielded no mushrooms and instead started to quickly mold.
Even something as simple as not washing your hands before touching the spores could result in negative results.
So use rubbing alcohol or an alcohol wipe to sterilize your mushroom growing environment.
I sterilized the following items before growing my blue oyster mushrooms:
- Entire growing tent
- Front plastic of bag that covered the spawn
- Knife I used to cut open the mushroom spawn bag
All this sterilization may have been overkill…but it did result in a gorgeous oyster mushroom harvest in just 1 week!
So I definitely recommend before over cautious when setting up your mushroom growing environment.
Step 3. Keep mushroom growing conditions between 80-95% humidity

Mushrooms require a ton of humidity in order to fruit.
Just think of when you find wild mushrooms growing outside. It’s usually after a big rain fall in the Spring or Fall, right? So it makes sense that mushrooms grown indoors would require the same environment.
The growing tent from Mini Mushroom Farms helped keep humidity high. However I was still struggling to get it higher than 60%. I assume this is because we heat our home with a wood stove and it was the middle of Winter when I started growing.
But I followed these hacks to increase humidity:
- I added a damp tea towel to my tent and sat my mushrooms on top of it. This seemed to help! Though the tea towel would quickly dry out and required swapping out daily.
- I also tried adding a small bowl with water beside the mushrooms. This solution worked really well. It was easy to refill the water at the end of each day and I quickly saw the humidity rise to 85-90%.
I also found it really helpful to have the humidity meter! I’m not sure how else I would have been able to determine if my growing environment was humid enough.
My kit from Mini Mushroom Farms came with it. But if you go a more DIY route, I’d definitely suggest buying one.
This mini humidity meter is very similar to what I used and a really good price too!
Growing Tip: Keep mushrooms in a room that gets some light but is not directly in the sun.
Contrary to popular belief, mushrooms do need some light to properly grow. So be sure they are getting diffused sunlight.
I grew my oyster mushrooms in my office, which has an east-facing window. So my mushrooms would get morning light but it was diffused.
According to Tom Nagy during our interview on The Grow Guide podcast, even light from a basement window is adequate!
Step 4. Mist mushrooms with water 2-3x daily
Misting is so key to keeping your mushroom growing environment humid.
Even with using my other hacks (wet tea towel & dish of water), I still continued to mist 2-3x per days.
I understand this can be tricky if you’re away from home at work all day (I luckily work from home so had no issue). However, I think a heavy mist morning and night paired with my other tips works be just fine too.
Should you mist oyster mushrooms directly with water?
I carefully followed the directions provided by Mini Mushroom Farms and only misted the mushroom spawn before it fruited. I sprayed water directly on the cut plastic to wet the mushroom spawn.
But after my mushrooms started to fruit, I began only misting the growing tent and surrounding environment. This is to avoid mold developing on the mushrooms.
I don’t think you need any fancy tools for misting. A simple spray bottle will do.
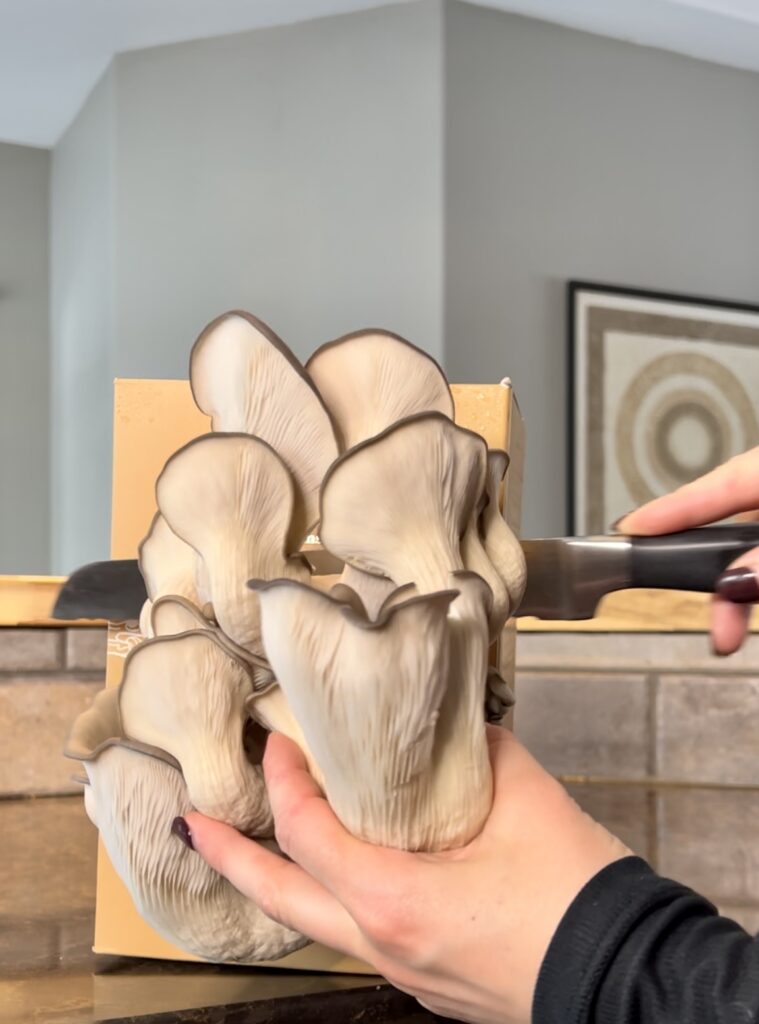
Step 5. Harvest mushrooms sooner than later!
The best tip I received about growing oyster mushrooms was not to wait too long to harvest.
Mushrooms can go from big, juicy and firm to deflated and stinky in no time.
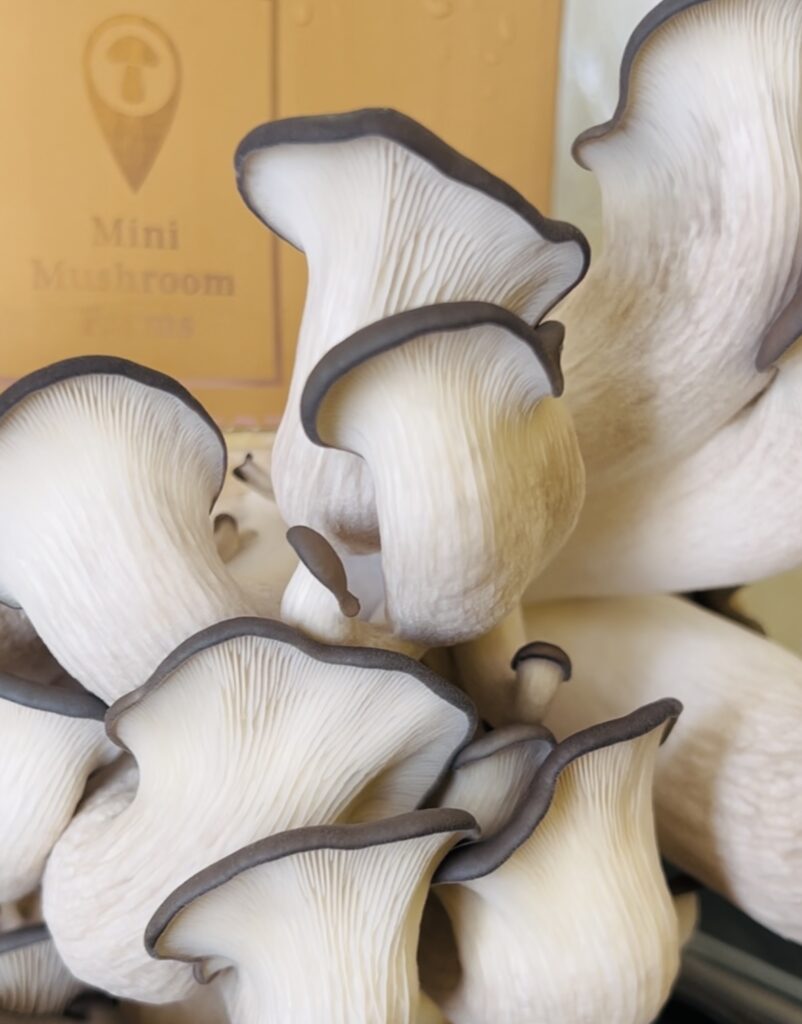
But how do you know when it’s time to harvest oyster mushrooms?
The signs to look for that indicate it’s time to harvest are:
- Caps are open, round and firm
- The mushroom is moist to touch
- Spores may be dripping from the gills
If this seems complicated, my best advice is to harvest once they are a desirable size! Simple as that.
How do you harvest oyster mushrooms?
You can use your hands to gently twist of your mushrooms from its growing medium.
However, because my oyster mushroom fruit was so large I used a serrated knife instead. And it worked great!
And there you have it!
Those are my 5 easy steps for growing oyster mushrooms at home!
If I can do it with no prior experience, you absolutely can too.
I should add that these Nevada Blue Oyster Mushrooms were so delicious! I cooked them in a mushroom stroganoff (which I shared about on my Instagram stories). They were so meaty and flavourful.
I hope you enjoyed this read! And I would love to hear from you in the comments. I answer all comments. It truly makes my day to learn about what you’re growing.
Let me know about your own mushroom growing! And share any other tips you’ve discovered along the way.
You can follow @fromsoiltosoul on Instagram and Pinterest for more gardening content too.
Happy mushroom growing!