20 Seeds To Start Indoors In January In Zone 3 & 4
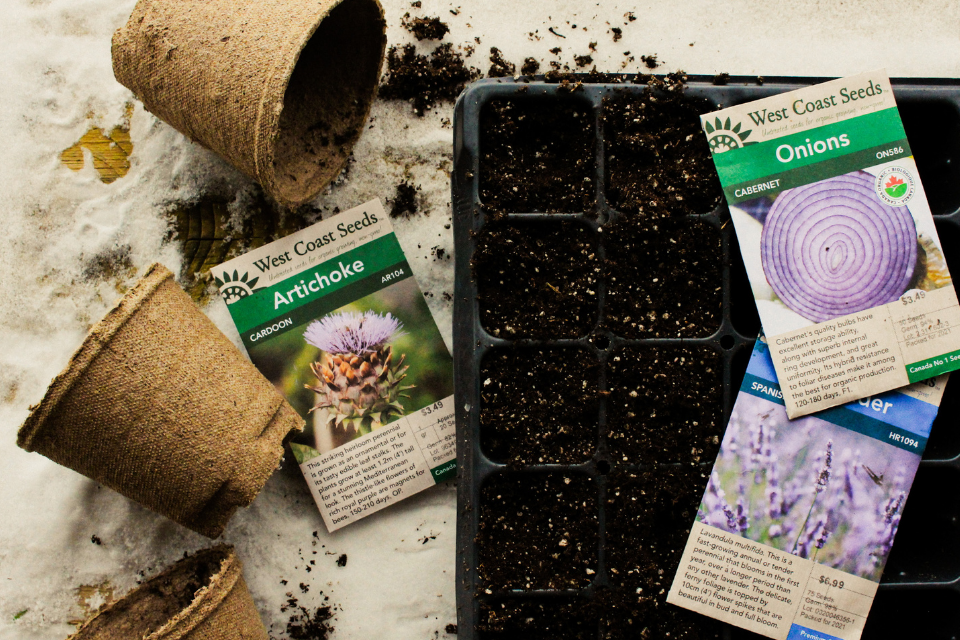
Though the weather outside in January is usually absolutely terrible in Zone 3 and Zone 4 (hello -40°C) it doesn’t mean you can’t start gardening indoors. It sounds early, but January is actually a great time to start some of those plants that require an extra long growing period! Especially for us gardeners in a Zone 3, Zone 4 or colder. Because indoor seed starting allows you to grow foods that aren’t typically found in cold climates.
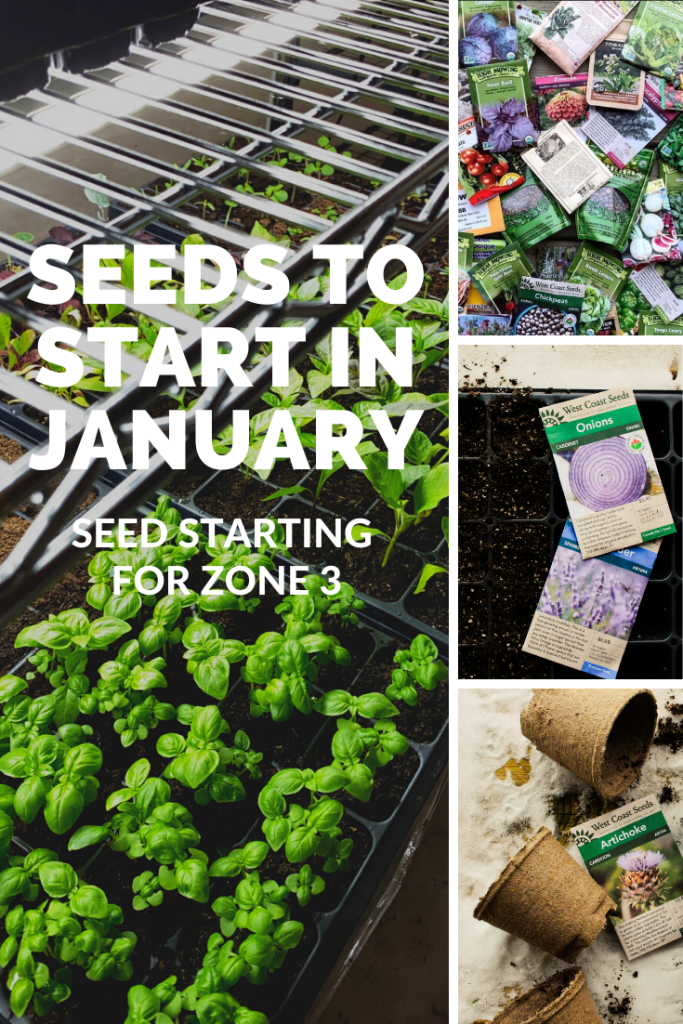
So, what seedlings should you start in January?
This post will cover 20 seeds you can start in January in Zone 3 and Zone 4. I’ve included flowers, herbs and veggies to grow in January.
Believe it or not — there’s actually a whole lot of seeds you can start indoors in the Winter.
Note: This is not an extensive list of everything you could start indoors in January in Zone 3 and 4.
In fact, you could start many other plants indoors in January too!
What you start all depends on your microclimate, growing goals and care plan.
If you have other seeds you’ve had success starting indoors in January, please comment below!
Brand new to seed starting? Check out these other helpful posts next!
- The Ultimate Seed Starting Guide For Canadian Gardeners
- My Master Seed Starting Supplies & Equipment List (10 Must-Have Items!)
- Answers To Your 25 Most Asked Seed Starting Questions
- 5 Common Seed Starting Problems & How To Easily Fix Them
- How To Properly Water & Fertilize Your Indoor Seedlings
20 Seeds To Start Indoors In January In Canada
1. Onions
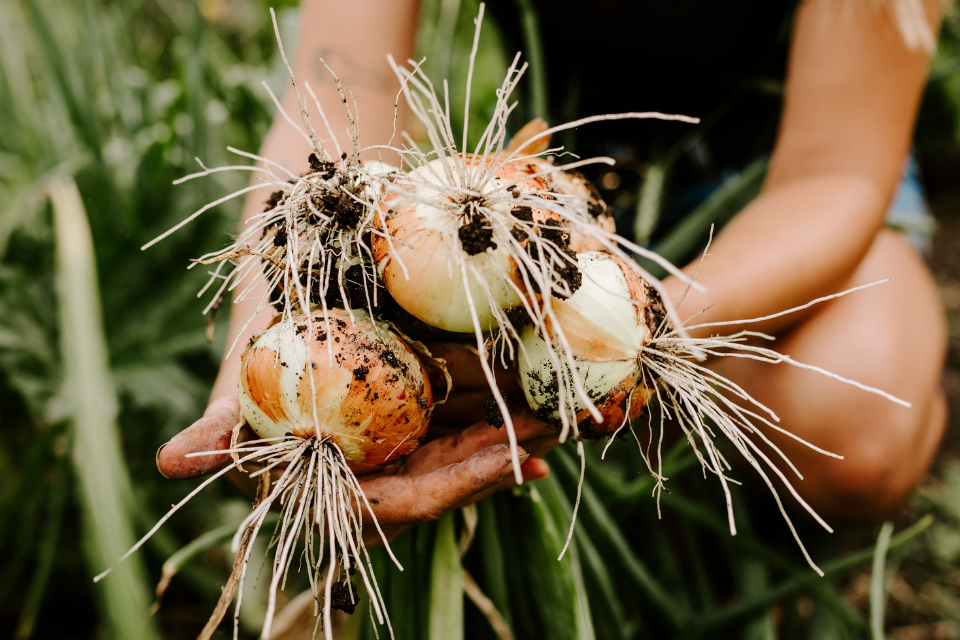
If starting onions from seed, they are extremely slow growers, which is why starting onions in January is recommended for Zone 3 and 4.
Most varieties of onions — including sweet onions, storage onions, yellow, red and white onions — need to be started early in order to harvest by mid Summer.
A few of my fav onion varieties for Zone 3:
2. Leeks
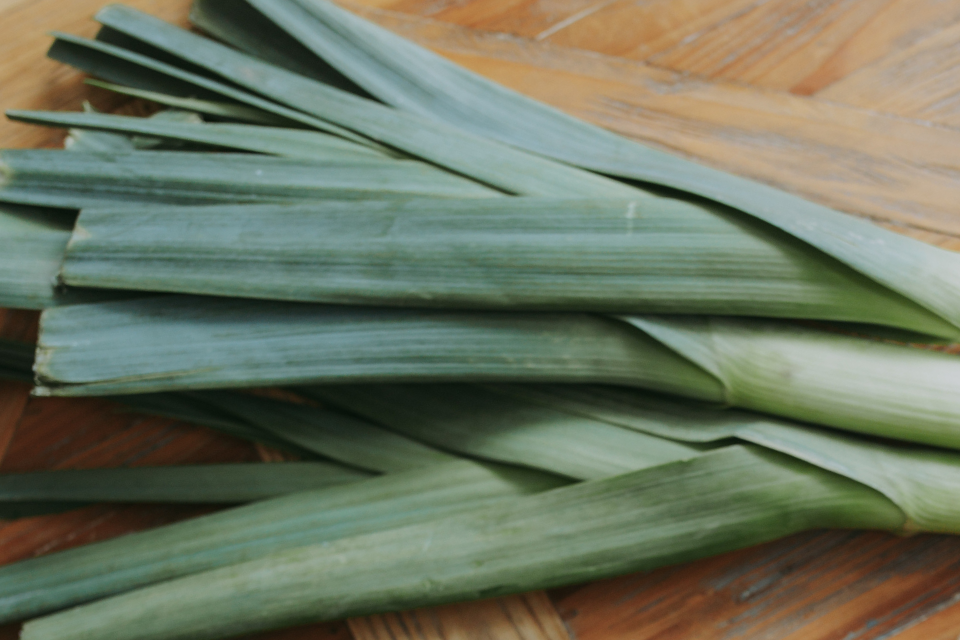
Similar to onions, leeks take a very long time to grow!
Don’t be alarmed if you do not see much growth indoors under grow lights.
Leeks can take up to two weeks to germinate and put on growth at a snail’s rate. Seriously, so slow.
But, they are such a delicious allium to add to your garden, so definitely worth it in my opinion!
My fav variety of leek to grow in zone 3 is Chinook Organic. I find it grows much faster than other varieties!
3. Oregano
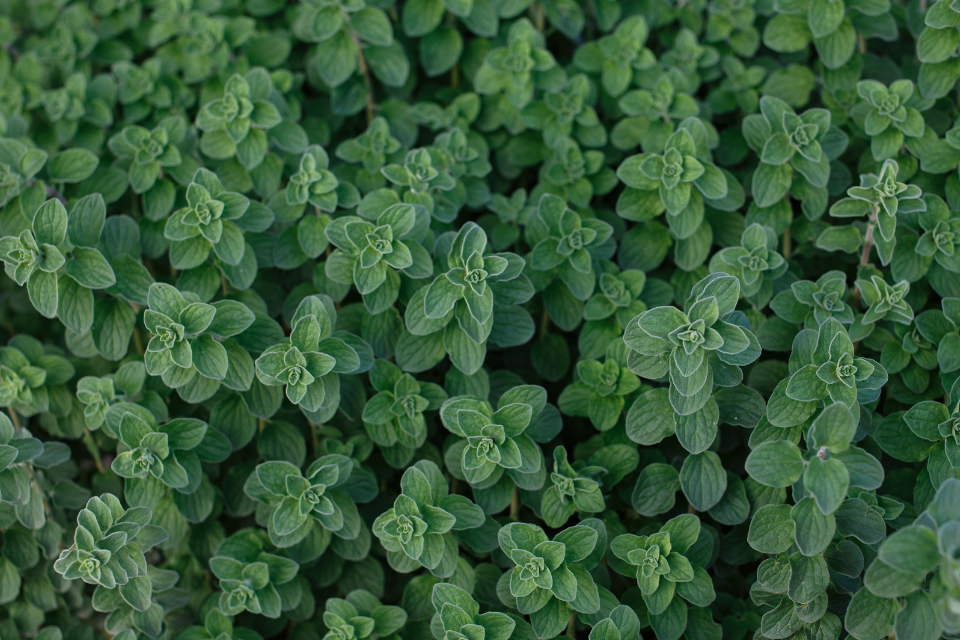
Oregano qualifies as a slow growing perennial herb. So best to start it indoors early in January!
Though once it gets established in your garden, it will spread out and develop into a beautiful oregano patch that you can enjoy year after year!
You will notice that oregano seeds are extremely fine and tiny.
So small that they are almost dust-like! It’s easiest to sprinkle several seeds into one cell and then thin them later on.
For best germination rates, I’ve found that providing bottom heat from a seedling heat mat works best. It speeds up germination and helps with root development.
4. Ginger
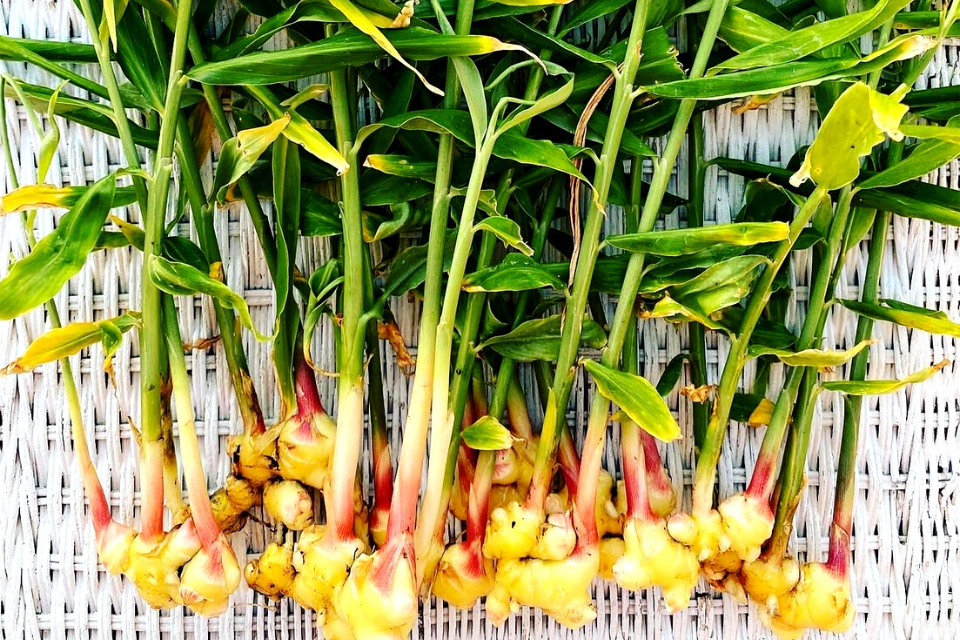
Oh ginger — my most fav tropical plant to grow in Zone 3!
It’s pretty amazing to harvest your own homegrown ginger roots. And even better to add them to curries, smoothies and desserts. I love ginger.
You can find my full grow guide for growing ginger here!
Ginger rhizomes need to be started indoors in January because ginger needs upwards of 9-10 months of growing time before it is ready to harvest.
This means, if you start ginger in January, it won’t be until the Fall that you can harvest the roots. Luckily, ginger leaves are also edible, so you can snack on them while waiting.
5. Turmeric
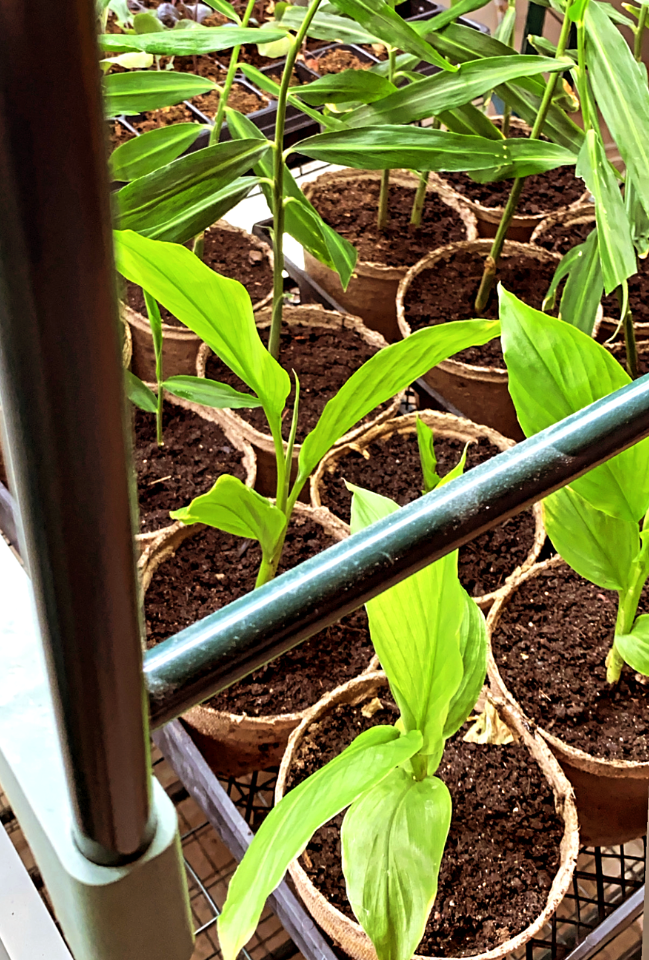
Turmeric is a cousin to ginger and requires the exact same growing process.
You’ll also find the step-by-step approach I take for growing my own turmeric here in my grow guide.
I also start turmeric rhizomes indoors in January.
I’ve had the best success with sourcing organic ginger and turmeric from my local health food store. I select the rhizomes that are largest and have no damaged skin.
6. Lavender
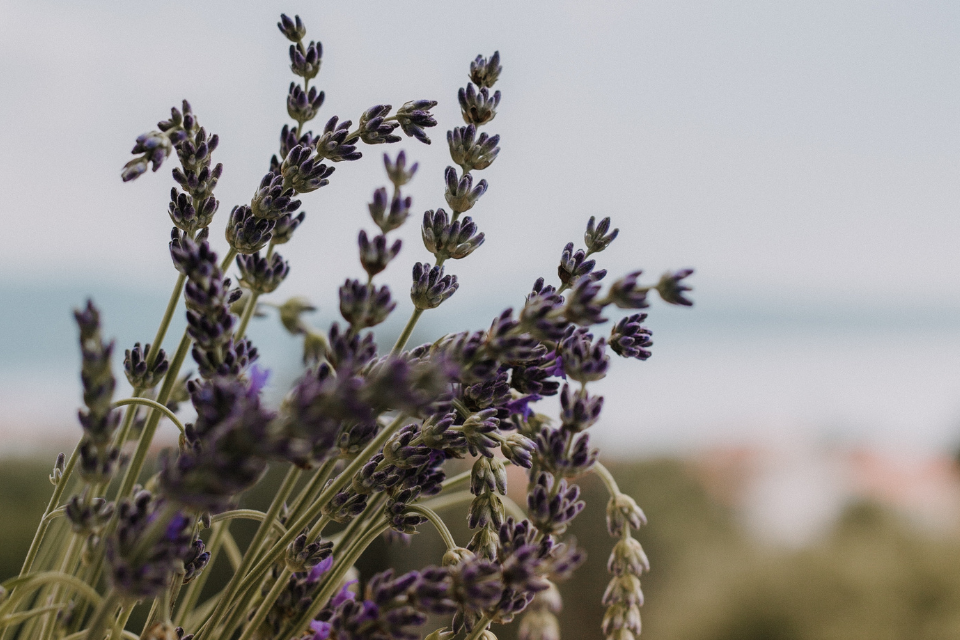
Lavender is another slow growing herb that can be a perennial in Zone 3 if you select the right variety.
Pro Tip: Avoid seeding a French variety as they usually aren’t hardy to Zone 3 or 4.
I’ve found that the best variety of lavender for Zone 3 is Munstead. It’s considered an English lavender and can withstand the long, cold winters we have here in Manitoba, Canada.
When starting lavender from seed, sprinkle a few seeds in each cell on top of the soil surface. Lavender seeds are very fine and can be difficult to plant individually.
Gently press the seeds into the top of the soil and mist with a spray bottle.
Now here’s the trick! Place the seeded lavender in your freezer for 7-10 days.
Sounds bizarre, but the cold actually breaks the seed dormancy. Think of it as “waking up” your lavender.
After a week or so in the freezer, remove and place under grow lights.
7. Strawberries
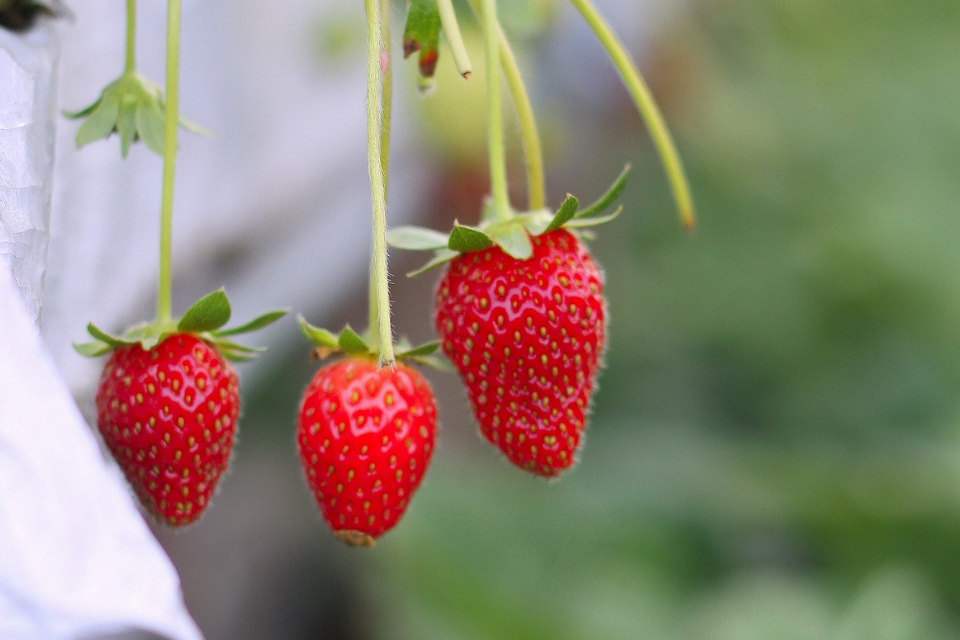
You should start strawberry seeds in January in order to have your plants produce fruit in their first year.
Strawberries need an extra long growing season in order to produce a yield in year one.
Similar to lavender, strawberry seeds also benefit from being kept cold. This process is called vernalization. It’s the period where a plant is in prolonged cold before flowering.
Strawberry seeds can be quite tricky to germinate. They are extremely tiny and delicate, making them somewhat difficult to work with.
I’ve never germinated strawberries myself and have always bought started plants from a greenhouse instead. But if you’re brave or experienced grower, definitely give it a shot!
Strawberry seeds can take several weeks to germinate, so be patient!
8. Thyme
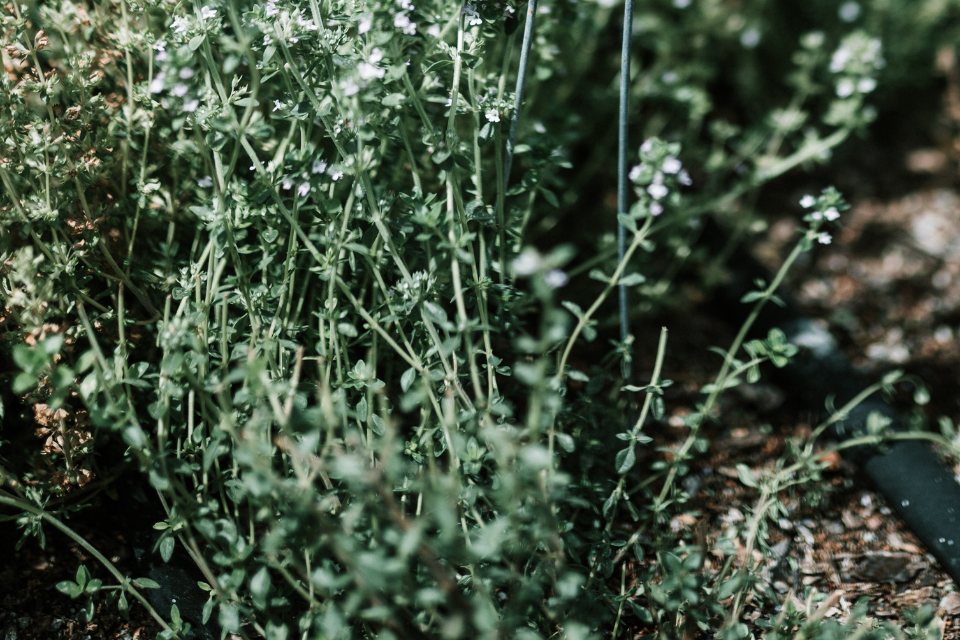
Thyme is a woody herb that should be started as early as January in Zone 3. It’s a slow growing seedling that takes months to establish.
Thyme seeds are so small they are almost dust-like. So sprinkle heavily on top of seed starting soil mix and then gently mist with water.
Be cautious not to overwater as thyme seedlings are prone to dampening off.
Pro Tip: After your thyme plant is established and strong, take cuttings from it to propagate.
Thyme cuttings root easily in a little bit of potting soil! It will allow you to grow more of the herb without needing to go through the long germination process again.
9. Columbine
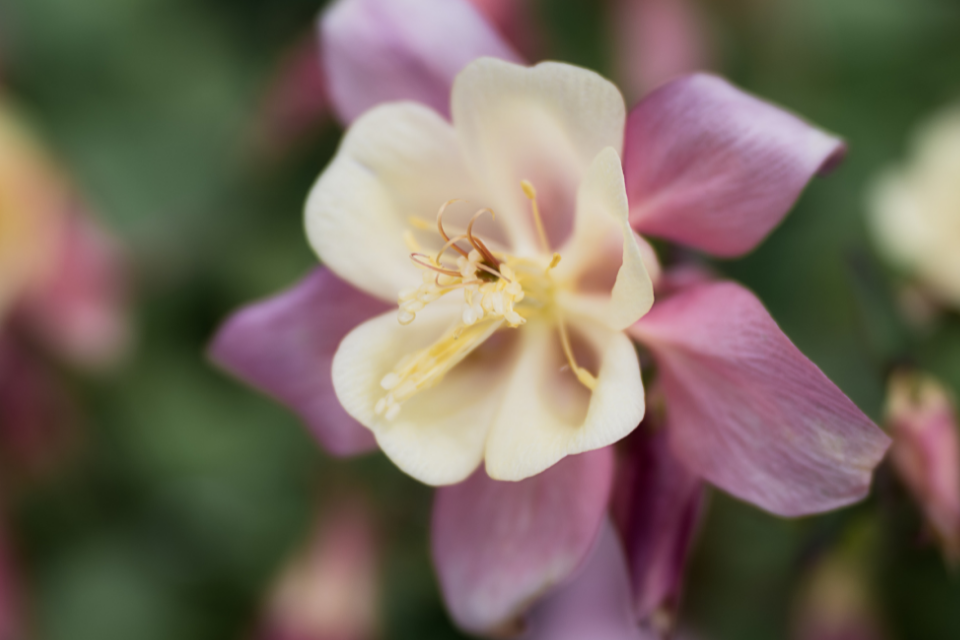
Columbine is a new to me flower, but I have heard from other Zone 3 gardeners that it is actually a hardy perennial flower in our cold climate.
I have never grown columbine seeds as they have a complicated germination process. However, the plants are so stunning that I’m intrigued to give it a shot!
Horticulturalists suggest starting columbine seeds indoors in January as they likely won’t produce flowers in their first year of growth if started any later.
The flowers will eventually appear later on in year two or three. But if you want to enjoy blooms right away, sow indoors in January.
10. Asparagus
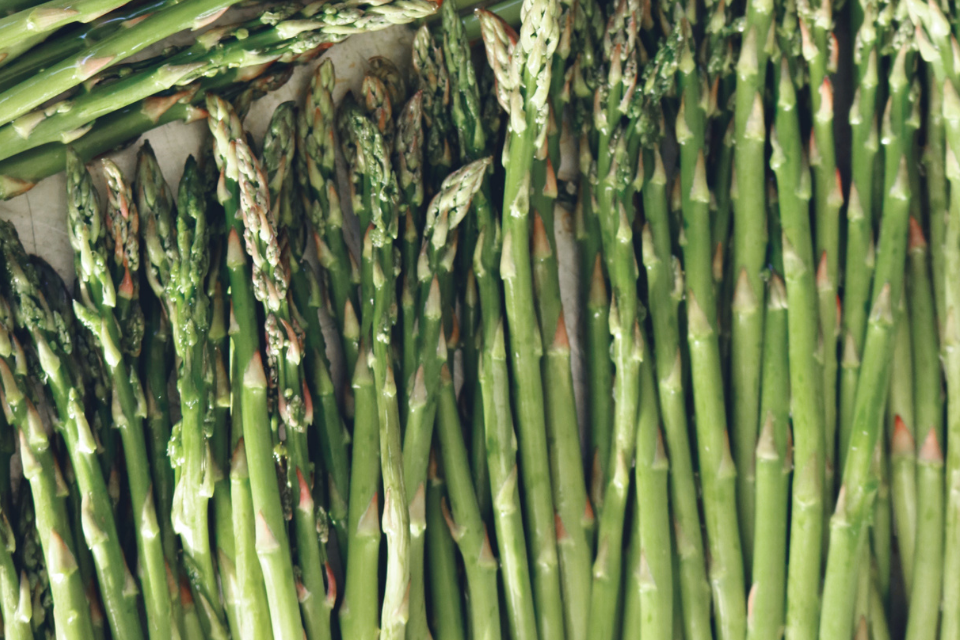
Starting asparagus from seed is the long method of growing asparagus.
In fact, it takes many years until you will be harvesting asparagus. Yes, years!
Horticulturalists say it typically takes 3-4 years after transplanting asparagus before you will get a harvest.
The more popular and speedier method is to plant asparagus crowns, which is a central group of stems surrounded by roots.
Asparagus is loved by many Zone 3 gardeners (myself included!) because of how cold tolerant it is. Plus, it’s usually one of the first edibles to pop up in the Spring.
Here’s links to my fav asparagus varieties for Zone 3:
- Guelph Millennium — really cold tolerant!
- Voltaire White Asparagus — hardy to Zone 2!
11. Foxgloves
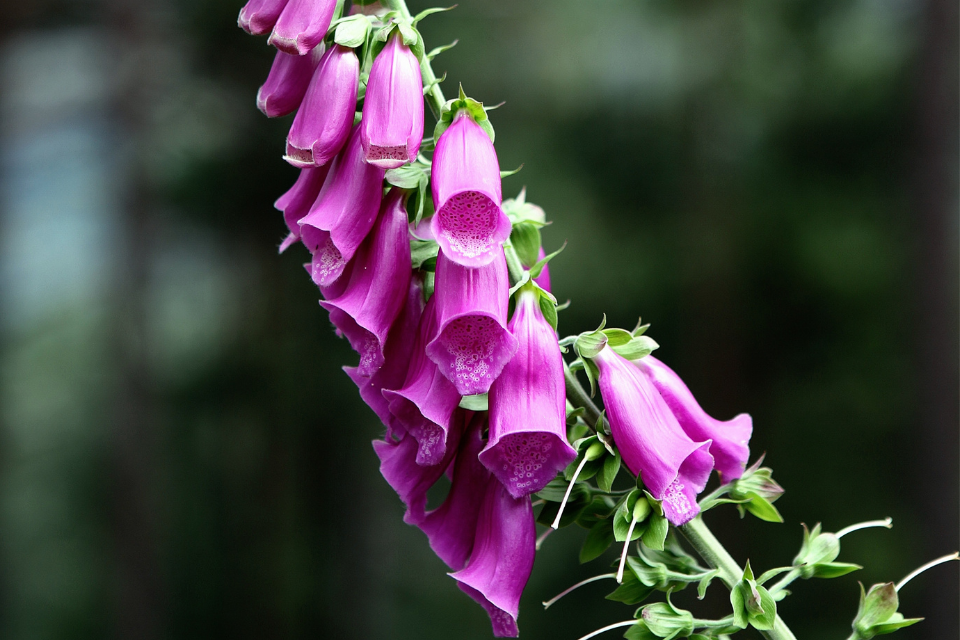
Foxgloves are one of those striking flowers that make you look twice in the garden. They are absolutely stunning in my opinion! And add lots of height to beds.
Foxgloves can be a hardy Zone 3 perennial if mulched and protected over winter.
Be sure to cover your foxgloves with a heavy layer of straw or leaf mulch in the Fall.
I suggest starting your foxglove seeds indoors in January in order to have them flower in their first year. You can certainly start them later on, as late as March, but you likely won’t see flowers in year one.
Foxgloves are actually a biennial plant, meaning they require two years to complete their life cycle. In year one, the plant typically only produces foliage and leaves. Whereas in the second season the plant flowers.
However with foxgloves, if started in January you can trick the plant into flowering in its first year!
12. Artichokes
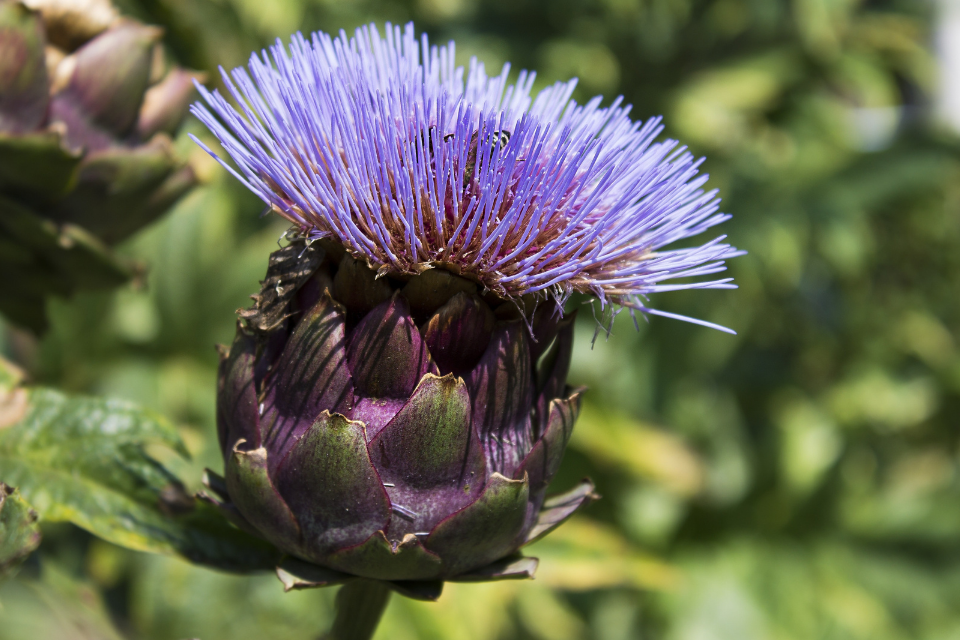
I love growing artichokes. They’re one of those unusual edibles you wouldn’t expect to see in a Zone 3 or 4 garden.
Though artichokes are not hardy enough to be a perennial in Zone 3, they actually do really well as an annual. And can produce several fruits per plant if started indoors in January.
In past years, I’ve grown both edible and ornamental artichokes in my garden.
Here’s links to my fav artichoke varieties for Zone 3:
- Cardoon Artichokes — a fantastic flowering variety that produce spikey flowers (pictured above)
- Imperial Star Artichokes — my preferred edible variety that produce uniform artichokes late in the season around August
Starts the seeds indoors as you would most other edibles. Use a seed starting soil mix and place the seeds under grow lights. Transplant into the garden in the Spring after your last frost date.
13. Rosemary
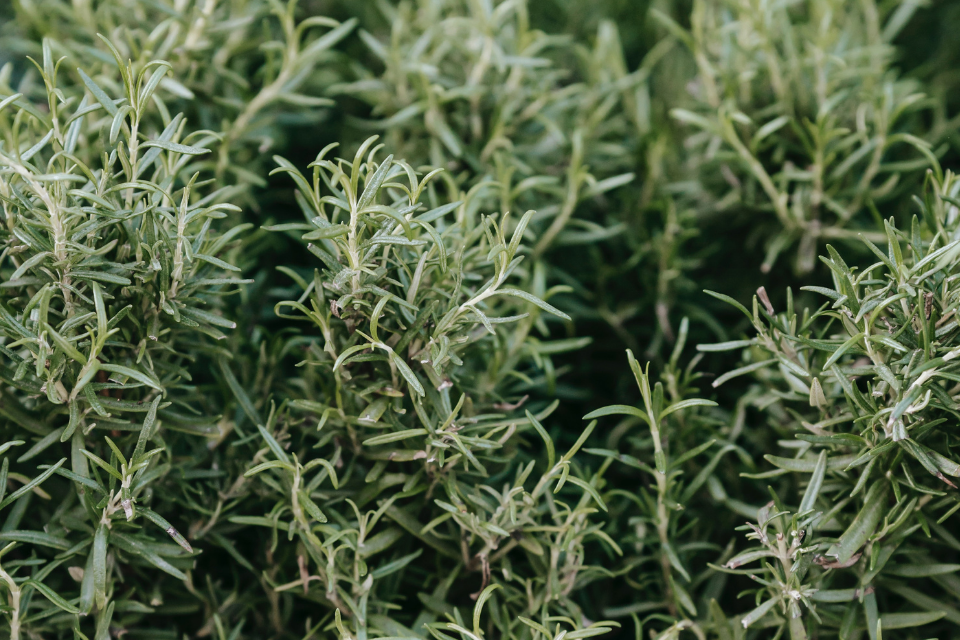
Rosemary is another woody herb that benefits from being started indoors in January. Especially if you are in Zone 2, 3 or 4.
Rosemary very slow to get started and can take weeks to germinate.
Follow the same seeding instructions as you would with the other woody herbs mentioned in this list, like oregano and thyme.
Rosemary is unfortunately not hardy as a perennial in Zone 3. It won’t survive our cold winters.
But I’ve had a lot of luck bringing my rosemary indoors over winter! I simply place it near a south-facing window where it is a bit cooler. I water it irregularly throughout winter, waiting until the soil is really dry before heavily watering. I start fertilizing my rosemary again come Spring.
14. Lemongrass
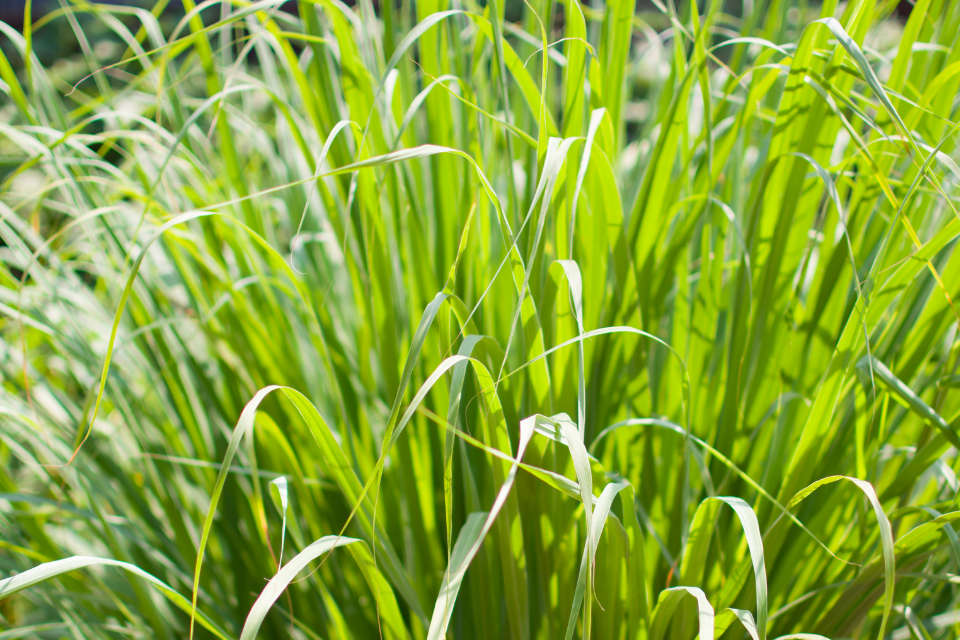
Lemongrass is a tropical plant you might be surprised to learn you can grow in Zone 3 or Zone 4….with the right growing conditions!
Because it is native to regions in Asia, lemongrass requires lots of heat and humidity to thrive as an annual herb. But if you start lemongrass seeds indoors in January, you will definitely harvest a good yield come late Summer-early Fall!
Sow lemongrass seeds on the surface of damp seed starting soil mix. Keep moist and humid during germination. Bottom heat from a seedling heat mat is especially beneficial with lemongrass.
I’ve had success with germinating lemongrass under grow lights.
However, many horticulturalists suggest actually providing lemongrass seeds a dark period during germination. Some say keeping them in a dark room for up to 21 days will result in the best germination rates.
15. Sage
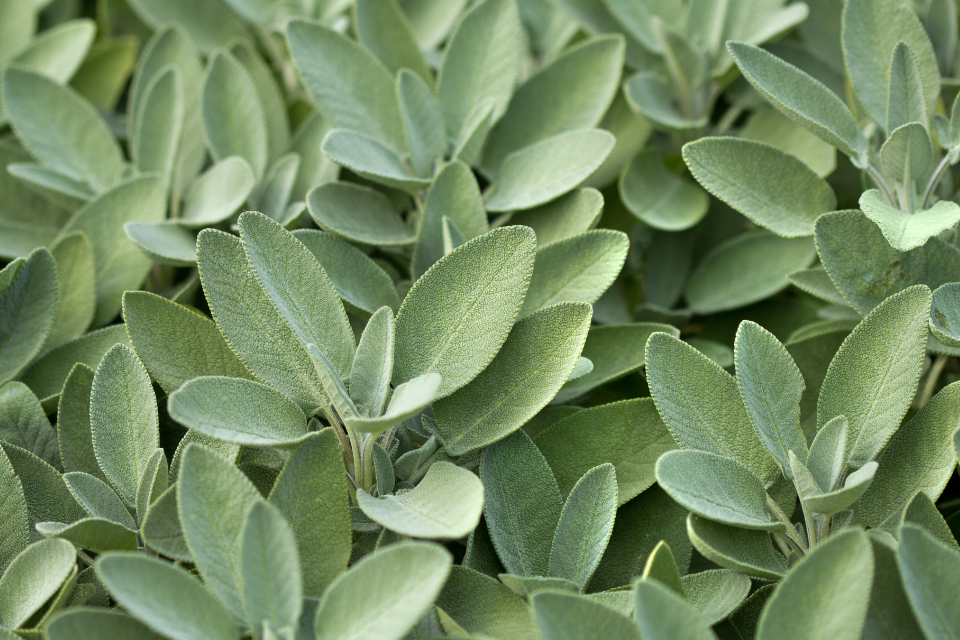
Sage is one of those herbs you can’t help but bend down and smell every time you pass it in the garden.
I unfortunately haven’t had any luck keeping sage as a perennial in my Zone 3 garden. It has never made it through our winters even when protected with a thick layer of mulch.
But I still grow sage as an annual every year. It’s worth it!
Start sage seeds indoors in January by sowing just under the soil surface. Keep soil damp but not too wet and keep under grow lights.
I have found that sage is also quite slow to germinate, sometimes taking up to two weeks before I see any growth. Keep at it and ensure your soil remains moist during this time.
16. Curry Leaf Plant
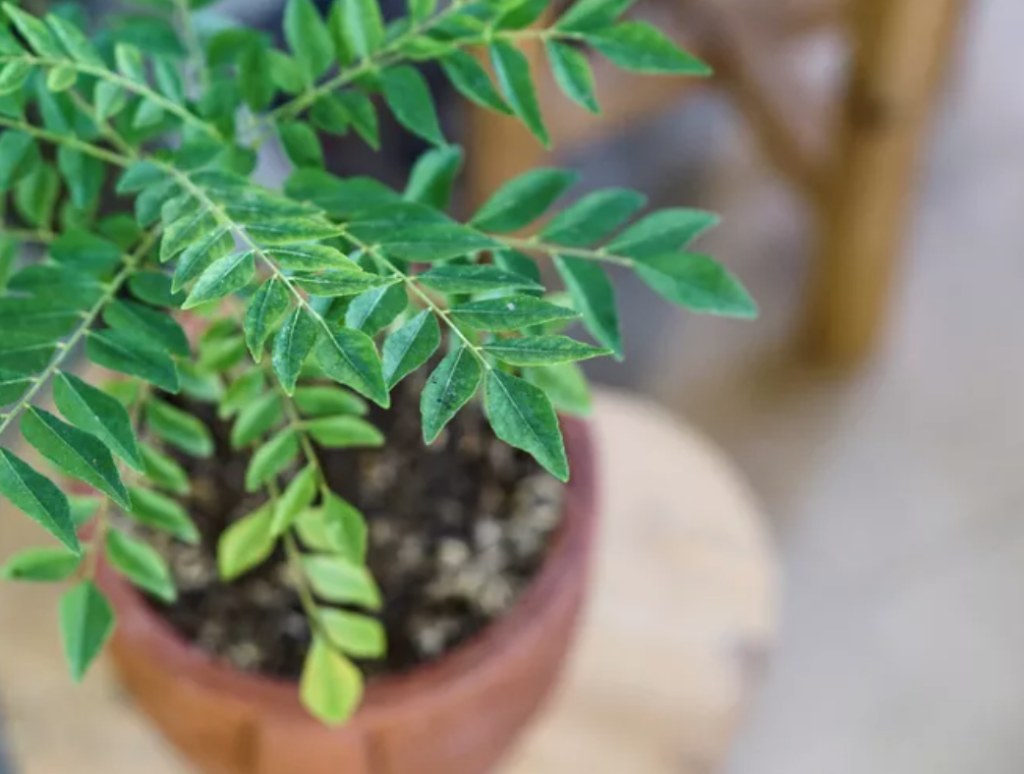
Curry leaf plant is definitely one of the more unusual seeds you can start indoors in January!
Though I have never started curry leaf plant seeds myself, my friends at Sage Garden Greenhouses do. And here’s what they have to share:
“Our experience with curry leaf is that the plants are initially slow to develop, but over time they become large, indoor and patio plants that can be harvested regularly. They do best when not situated near heating or air conditioning vents.”
17. Luffa Gourds
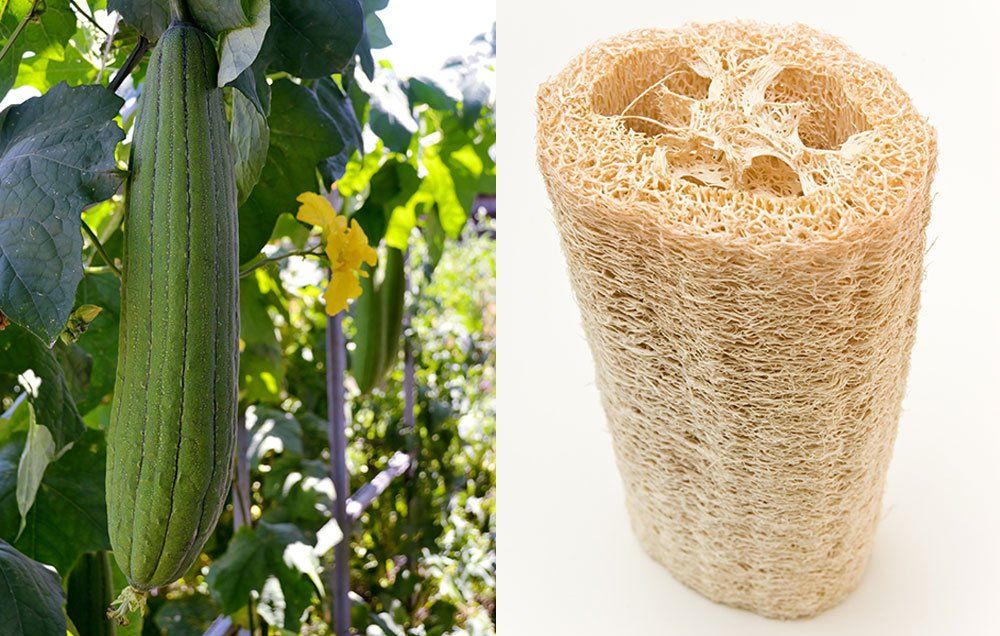
Luffa gourds blew up in popularity over the last few years. Many cold climate gardeners have started to grow them.
And for good reason! They are such a unique addition to the garden, develop beautiful vines, and produce a luffa sponge at the end of the season. So cool.
Luffa gourds require 200+ days of growing. Hence why starting seeds indoors in January is key if growing in Zone 3 or Zone 4.
Luffa seeds take a long time to germinate. So be patient, but treat them as you would other squash plants.
And be sure to provide something for them to grow up as they will quickly produce vines.
18. Cinnamon
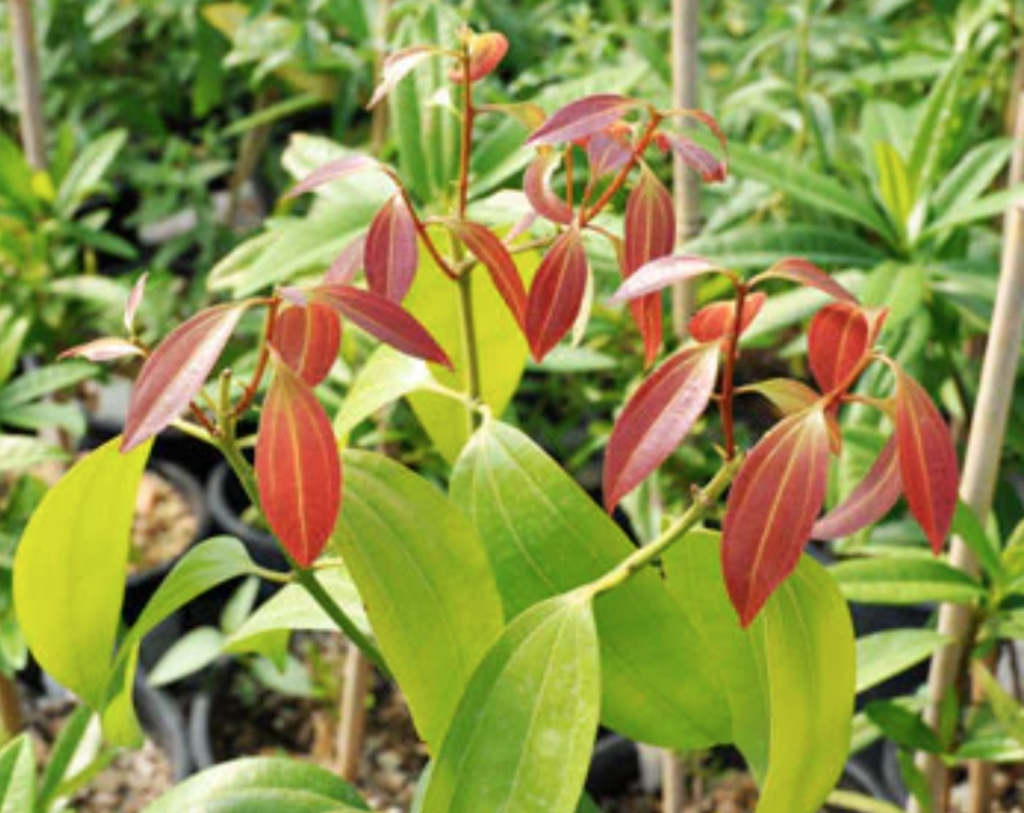
Yes, you can grow your own cinnamon even in Zone 3 and Zone 4!
The tricky thing is getting your hands on some seeds. If looking to source seeds, look for the latin name Cinnamomum zeylanicum.
Use caution if shopping for cinnamon seeds from sellers on Etsy. There’s a risk the seeds will not be viable once shipped as they require delicate care.
Cinnamon plants are also extremely slow growers. So while it’s cool to say you can grow cinnamon in your Zone 3 or Zone 4 garden, it’s not for the faint of heart!
19. Very Hot Peppers
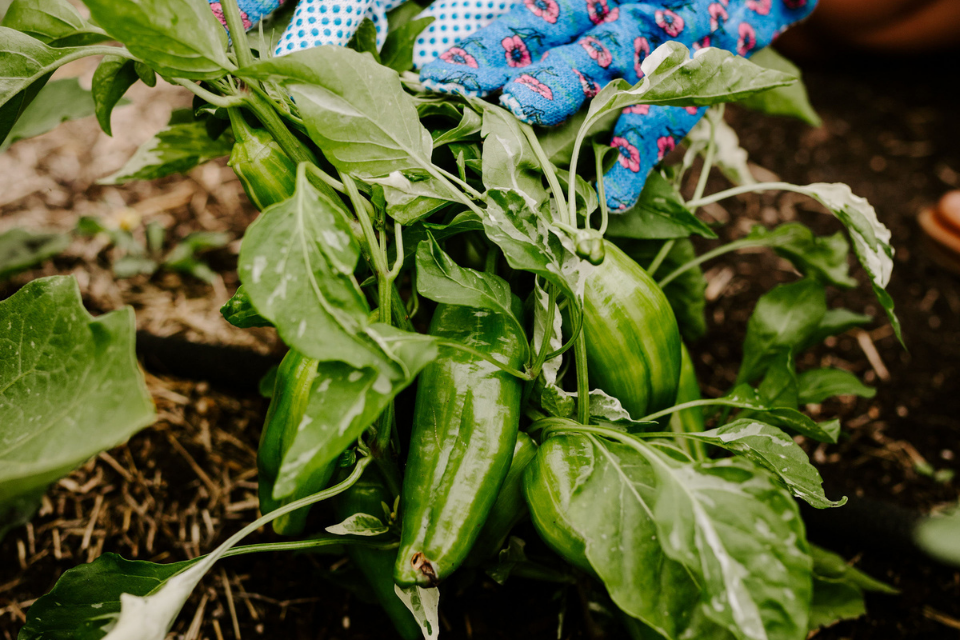
Every year I’m inclined to start my hot peppers earlier and earlier.
But as you’ll find in my February Seed Starting Guide, I typically start my hot peppers seeds right around Valentine’s Day.
However, you can experiment and get some going a little earlier in January. There’s no harm to this! If anything, you will just enjoy an earlier hot pepper harvest.
And because hot peppers are typically harder and slower to germinate, starting in January gives you enough time to troubleshoot. Germination can take anywhere from 21-30 days.
My go-to extra hot pepper varieties for Zone 3:
- Ghost Chilli — as hot as they come!
- Trinidad Moruga Scorpion — can be harvested earlier for a more mild flavour, grows great in our greenhouse!
20. Eucalyptus
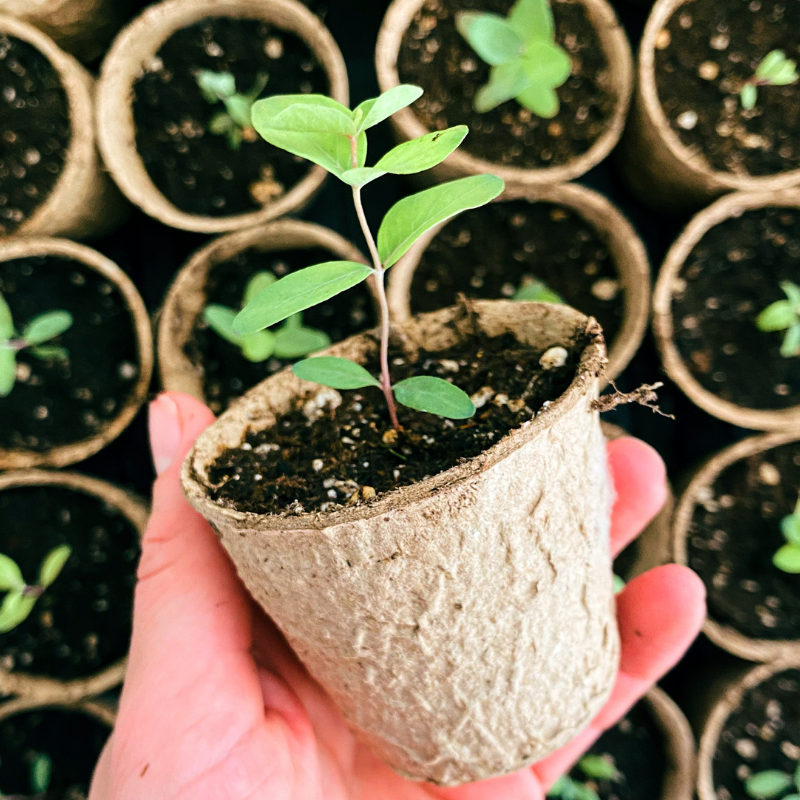
Last but not least, one of the more challenging yet rewarding flowers to grow in Zone 3….eucalyptus.
Who doesn’t want to grow stunning, tall eucalyptus plants for cut flower bouquets? I do!
However, eucalyptus can be a tricky one to succeed with.
I have a full guide covering Starting Eucalyptus From Seed here!
You’ll definitely want to start your eucalyptus seeds indoors in January if you are in Zone 3 or Zone 4. They are very slow to germiante and even slower to put on growth.
So give yourself a good head start on the season by starting them indoors in January.
And there you have it!
That covers 20 seeds to start indoors in January in Canada.
See, there’s lots of seeds you can start indoors in January in Zone 3 & Zone 4!
The hardest part of seed starting is getting started.
My best seed starting advice — just go for it!
A pack of seeds will cost you $2-$5, so you really don’t have much to lose.
I hope you enjoyed this read! And would love to hear from you in the comments. I answer all comments. It truly makes my day to learn about your gardens.
You can follow @fromsoiltosoul on Instagram and Pinterest for more gardening content too.
Happy seed starting!
More Organic Gardening Blogs:
8 Seeds To Start Indoors In February In Zone 3
Answers To Your 25 Most Asked Seed Starting Questions
Garden Planning 101: How To Draw A Garden Map You’ll Actually Stick To

Awesome post! I never realized you could grow turmeric here! That’s awesome! I like to try one or two new/unusual plants each year, alongside my regular plants. Maybe i’ll give turmeric a try! thanks for sharing! i’ll be following along 🙂 Happy gardening!
Thanks for the comment! Definitely give turmeric a try, it’s a fun tropical plant to have in the garden. You just need patience to wait out the 9 months it takes before being ready to harvest!