10 Easy Tips For Using Straw Mulch In The Garden

I’ve been using straw mulch in my organic garden for the last few years and honestly…. it’s made gardening 10x easier and more enjoyable. Mulching with straw means less watering and weeding. Who doesn’t want that? Plus, your soil will thank you for adding an organic material like straw to it.
So if you’re new to mulching or maybe wondering “what’s the purpose?”, here are my 10 easy tips for using straw mulch in the garden.
This post is proudly sponsored by: HealthiStraw
HealthiStraw is a Canadian company based right here in the Manitoba Prairies. Over the last 10 years they’ve made an “old world gardening practice” new again.
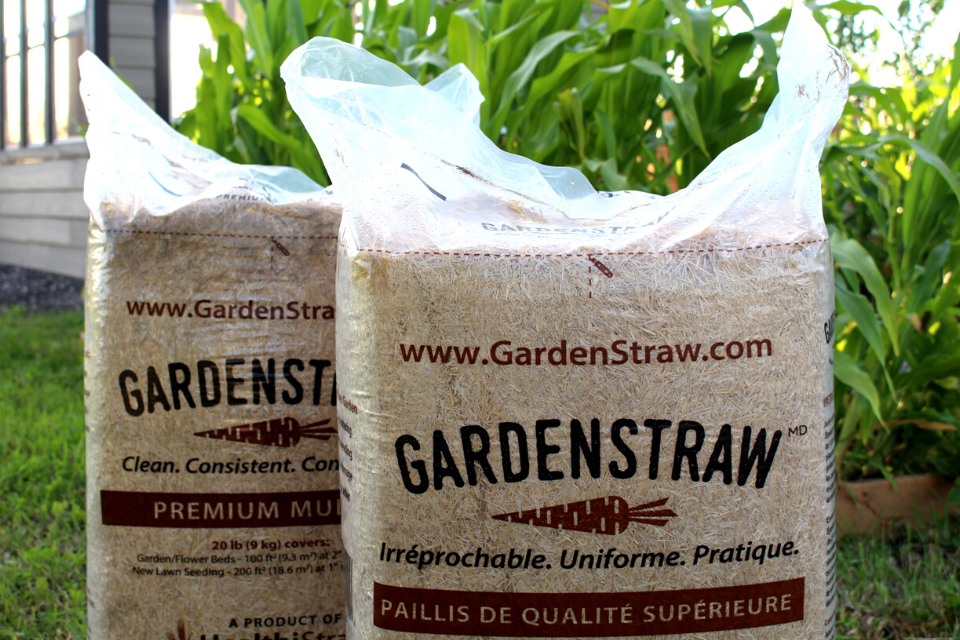
Their GardenStraw is an all-natural, biodegradable garden mulch. They work with a network of farmers across the province to harvest the stalks of dried cereal plants and then process it into a refined straw that is seed-free, dust-free and perfect as mulch in the garden.
If you’ve followed me on social for some time, you already know I mulch with GardenStraw each season. And love it!
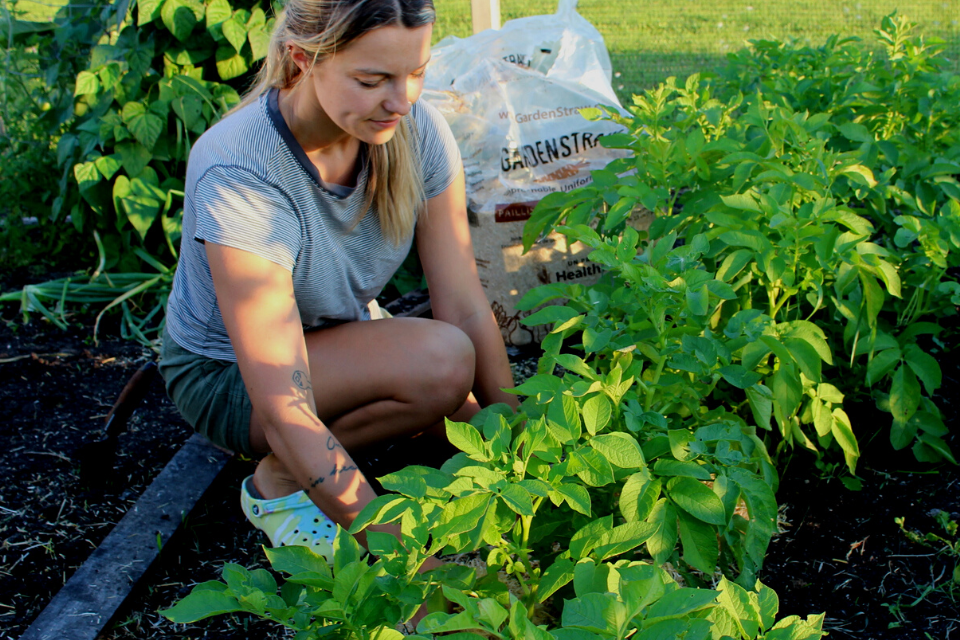
GardenStraw is a product Dave Hanson (owner of Sage Garden Greenhouses and my co-host on The Grow Guide podcast) introduced me to.
He’s carried it locally at Sage for years and I quickly fell in love after trying.
Which is why I’m thrilled to be working as a GardenStraw Brand Ambassador this year!
I’ll be sharing more tips, advice and a look at HealthiStraw’s full line of products throughout the gardening season.
Join me over on Instagram & Facebook to follow along.
What I Love Most About GardenStraw Mulch
- First, it’s extremely easy to apply to the garden
- Secondly, it suppresses weeds, saving me time!
- And lastly, it conserves water. As our climate becomes more unpredictable, using less water in the garden has become a top priority for me. I hope it is for you too.
- It’s easily accessible across Canada and the U.S.
Use HealthiStraw’s Retail Partner Finder to find where HeathiStraw is sold nearest your garden!
P.S. For more information on how exactly to apply straw mulch to your garden beds, check out my other post How To Use Garden Straw As Mulch For Vegetables.
This isn’t my first time blogging about straw mulch (I really love it lol).
10 Easy Tips For Using Straw Mulch in The Garden

Tip 1: Choose high quality GardenStraw NOT hay from a local farmer
While there are some areas of the garden where cutting corners can help, straw mulch is not one of them. Investing in a high quality straw mulch, like GardenStraw, ensures the product has been cut, split and cleaned.
Hay from your local farmer will have many impurities in it.
Plus, it will likely contain wheat seeds, which you don’t want reseeding in your vegetable garden.
HealthiStraw’s premium mulch, GardenStraw has actually been specially processed to an ideal, short length that encourages new plant growth while also helping to suppress annoying weeds. GardenStraw also offers a Certified Organic option!
So if you’re choosing to mulch with straw, make the investment and purchase a high quality product!
Tip 2: Mulch with straw once seedlings are established
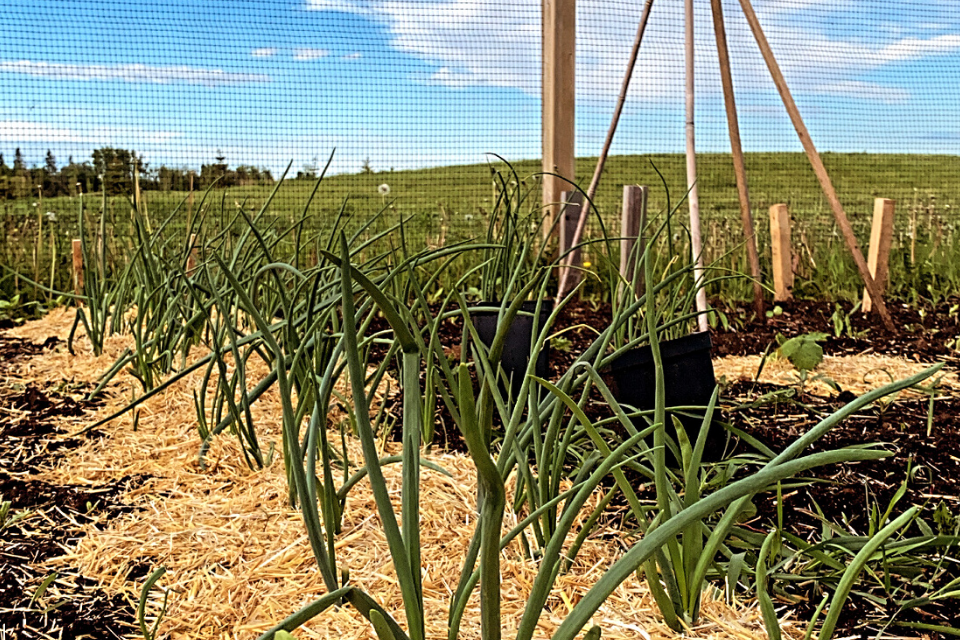
Wait until your seedlings have emerged and are 2-3 inches tall before mulching with straw. This will ensure they’re getting enough sunlight during germination.
Applying a layer of mulch before seeds have sprouted could prevent germination as it will block out some of the sun.
If you’re transplanting seedlings into the garden, apply your straw mulch directly after planting. Just be careful that the straw is not touching the leaves of the seedling. Your straw mulch should be around the base of your plant but not covering the stem.
As your plants mature and get larger, you can keep topping up your straw mulch.
Tip 3: A little straw mulch goes a long way
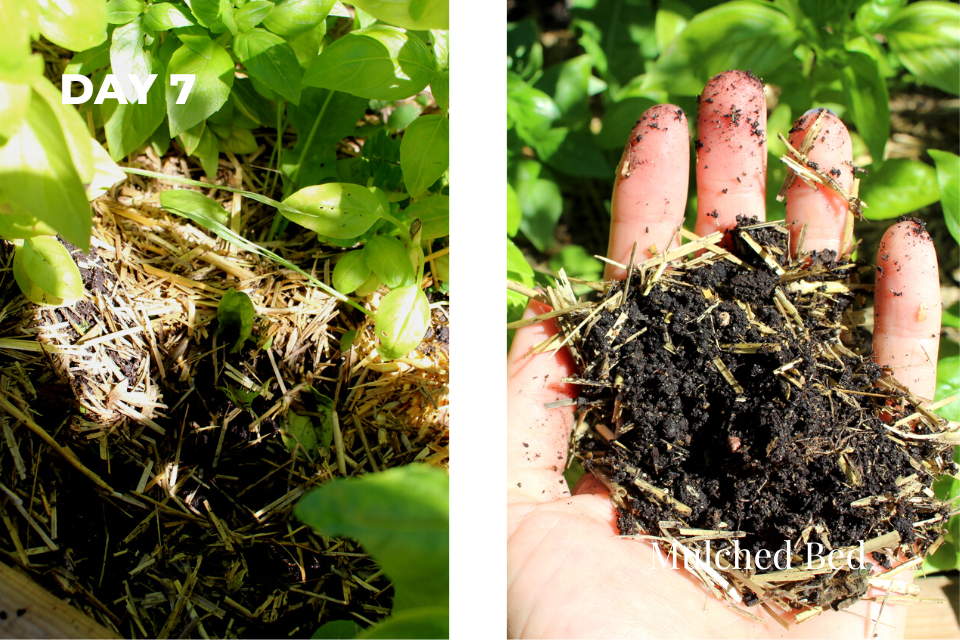
GardenStraw is a fantastic insulator and does not need to be applied with a heavy hand. Just a few handfuls will help retain water and keep the soil cool.
To apply, simply add a few handfuls around the base of your plant.
HealthiStraw offers bags of GardenStraw in two convenient sizes — large 3 cuft (85L) bags as well as Mini 0.5 cuft (14L) bags.
Now, there are some plants that do benefit from a heavier mulching of straw.
For example, I mulch my greenhouse tomatoes and cucumbers with 4-5 inches of straw mulch. This is because they are in a very warm, humid environment and tend to dry out quicker.
So use your own discretion when it comes to how much straw mulch to apply. You know your garden best! Anywhere from 2-5 inches of straw mulch is ideal.
Tip 4: Be targeted with your placement of straw

As mentioned above, you don’t need to apply straw mulch with a heavy hand. Place it around the base of your plant only for best results. Get as close to the stem of your plant as possible. Gently pack it down and smooth over the soil.
Mulching follows the same principles as watering.
To water your plants effectively, you should target the root area rather than watering the top or surrounding area of your plant.
Straw mulch will be most effective if it’s applied close to your plant. There’s no need to sprinkle it everywhere throughout your garden. Be targeted!
Tip 5: Water directly after applying your straw mulch
This tip might be the most important!
Be sure to water your straw mulch directly after applying it to your soil. This ensures the straw does not blow away. GardenStraw specifically is cut and split in a way that once wet, it naturally adheres to itself. How smart is that?
I often get asked “doesn’t your straw blow away?” And the answer is NO!
Our garden is located in a space with little to no wind protection and we don’t have any issues with this.
As long as you water your straw after laying it around your plants, it will bind together and stay nicely in place.
Tip 6: Prioritize plants that will benefit from straw mulch the most.
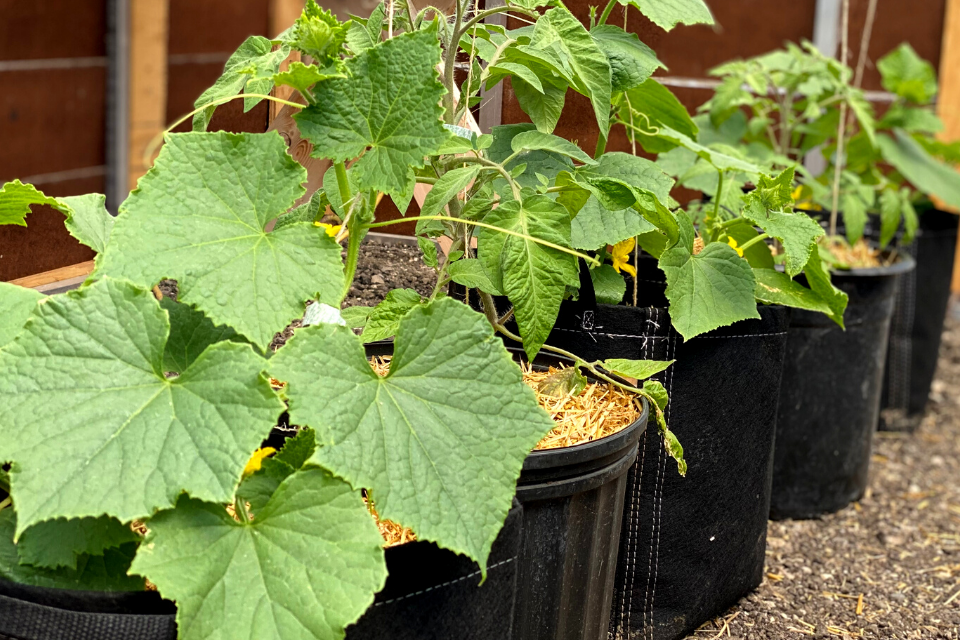
While all vegetables, flowers and herbs can be mulched with straw, there are some plants that benefit from it more.
- Annuals in Containers tend to dry out quickly, so apply a thick layer of straw mulch over the entire soil surface.
- Garlic benefits from straw mulch in the Fall as it acts as insulation throughout the Winter.
- Perennial Herbs & Veggies also benefit from a Fall mulching before the cold comes. Cut back plants before applying straw overtop to act as a protective cover.
- Perennial Flowers can be mulched with straw in the Spring after beds have been cleaned up of debris and plants have been well-watered.
- Fruiting Plants like tomatoes, melons, strawberries and cucumbers will especially benefit as the straw will protect the fruit from sitting directly on the soil. This can help reduce the risk of soil borne diseases.
Tip 7: Use any extra straw mulch to suppress weeds in pathways
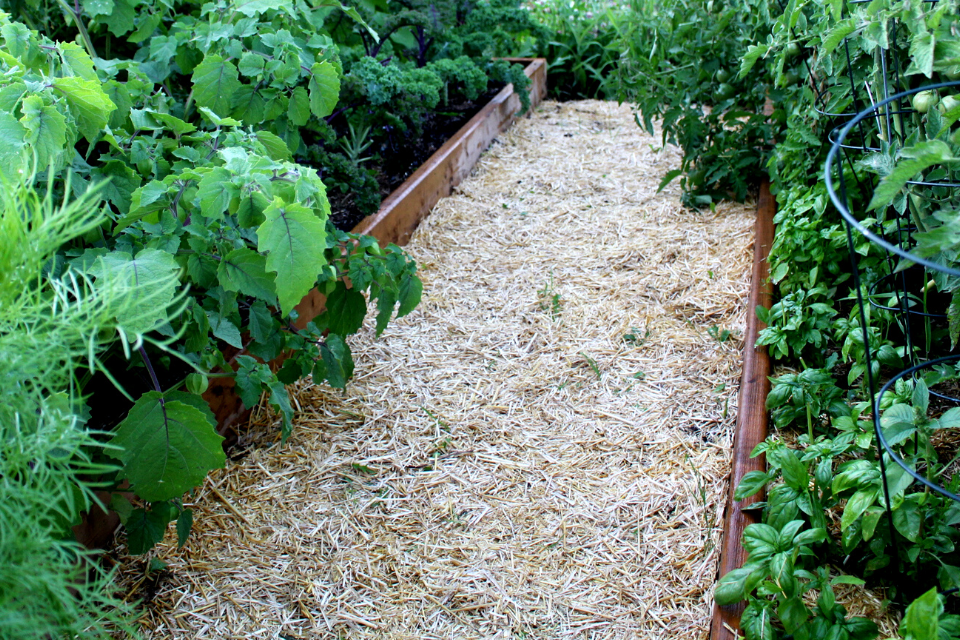
Weed suppression is one of the great benefits of straw mulch!
It prevents most weeds from germinating as it doesn’t let the sun get in. Any weeds that do push through (because let’s be honest, it will happen) are usually easier to pull out as the soil is softer and looser where straw mulch has been applied.
If you have extra straw after mulching your plants, use it to cover your pathways or on areas where weeds tend to appear. To keep in place, give the straw a gentle watering then walk over it a few times. This will help it stick to the soil.
Tip 8: Use a light dusting of straw to improve germination
While you don’t want to entirely cover freshly sow’d seeds with straw mulch, a light sprinkling can actually improve germination rates. Wild, but true!
Straw mulch adds carbon to your soil, offering seeds additional nutrients while germinating.
I’ve tested this with many different veggies but have found the results are best when direct sowing root crops like carrots and beets.
The straw also helps retain moisture, which is so key during germination.
Tip 9: Replenish your straw mulch throughout the gardening season especially into the Fall/Winter
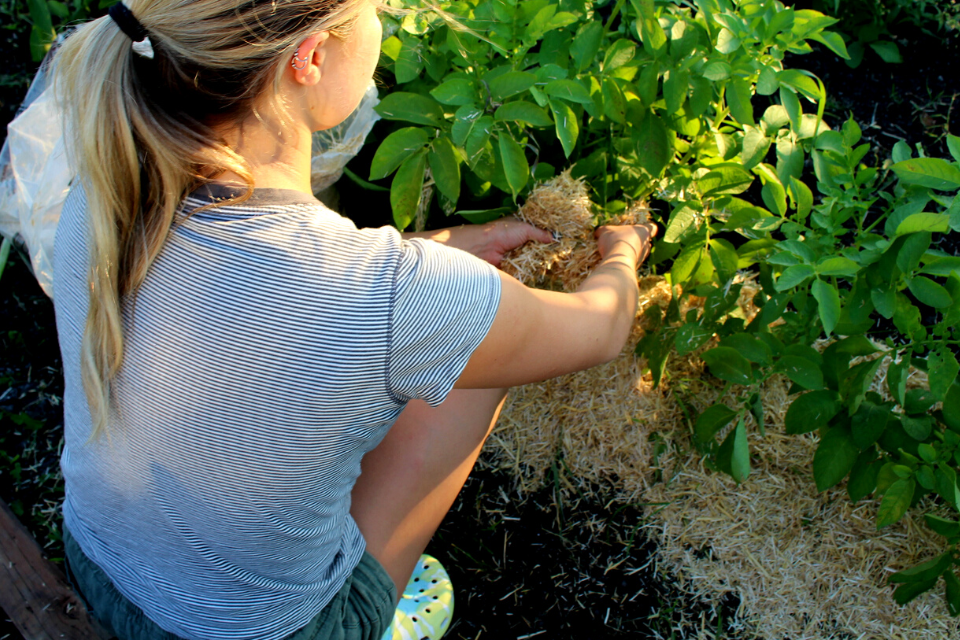
Since straw is a natural, biodegradable material, it will slowly break down into the soil throughout the gardening season. So apply more every few weeks or so!
I typically add a few extra handfuls around the base of each plant at the mid-way point of the season (usually the end of July here in my Zone 3 garden).
Then, add more straw mulch in the late Fall to insulate your plants over Winter.
If you’re a Northern gardener like myself, this is when straw mulch really comes in handy! Straw retains heat in the soil and acts as insulation to keep hard frost from killing plants.
In October before the snow comes, I cover my freshly planted garlic patch with a thick layer of straw. Typically 6 inches or more.
I also mulch my perennial herbs, like mint and chives, with straw. I’ve been doing this for the last few years and am always so pleased to see my herbs bounce back in the Spring.
Tip 10: DON’T discard your straw mulch at the end of the season.
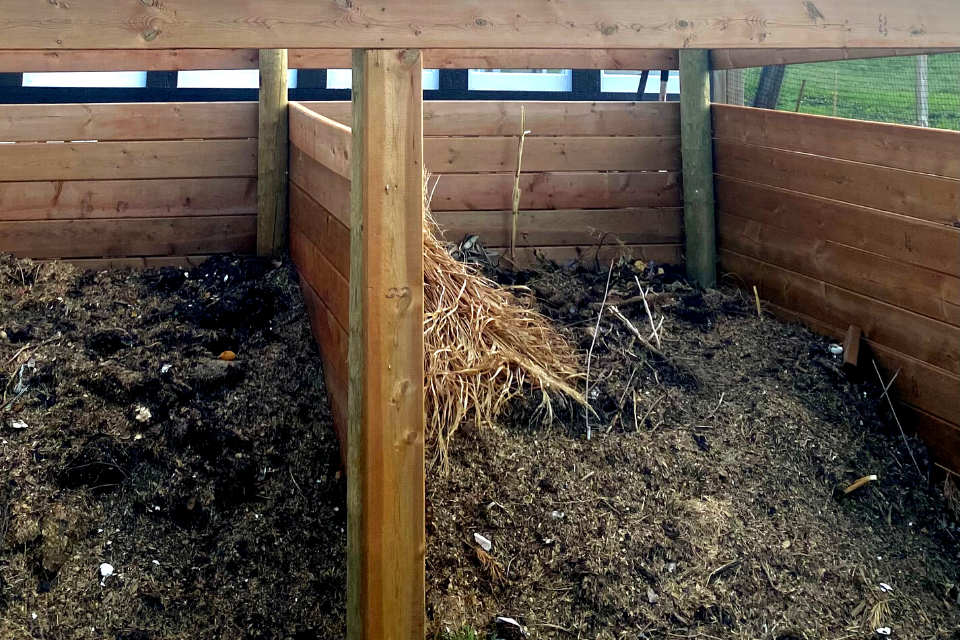
Your mulch is not waste at the end of the gardening season. In fact, it’s quite the opposite! Straw mulch is food for your garden.
Mix your straw mulch into the soil to improve structure, micro-organisms and fertility.
Alternatively add your straw mulch from containers or other areas of the garden to your compost pile.
Straw is full of carbon and acts as a necessary “brown” material needed to balance out the “greens.” I’ve also found it helps suppress any odour from decomposing foods.
And there you have it!
Those are 10 easy tips for using straw mulch in the garden.
Leave a comment below if you have any questions, I answer all comments! Or share your own experience with straw mulch. There’s so many creative ways to use it in the garden.
Now you might be wondering, where exactly can I get some GardenStraw to mulch my garden this season?
Where To Buy Straw Mulch In Canada
You can find HealthiStraw’s products online or in-store at these retailers.







You can also find straw mulch near you by using HealthiStraw’s Retail Store Locater.
Simply enter your address and it will populate the retailer closest to you.
Easy as that!
More Organic Gardening Blog Posts
- How I Plan Out My Zone 3 Veggie Garden
- When To Add And How Much Worm Castings To Use In Your Veggie Garden
- Complete Raised Bed Gardening Guide For Beginners
- Straw Mulch In The Veggie Garden — How-To & Benefits
I hope you enjoyed this read! And would love to hear from you in the comments. I answer all comments. It truly makes my day to learn about your gardens.
You can follow @fromsoiltosoul on Instagram and Pinterest for more gardening content too.
Happy mulching!

Thanks for your blog, nice to read. Do not stop.
In my windy area I find that some of the straw blows out of my hand before I can even place it on the soil. So only on some days and only usually before 10 a.m. can I apply the straw. How do you manage it? You write that you are also in a windy place.